
Men's curly hair doesn't forgive cutting mistakes the way straight hair does. What looks like an even line when wet can shrink by several centimeters once dry, revealing every inconsistency. That's why cutting curls is, above all, a skill of predicting how the hair will behave once it dries and how volume will distribute. Below is a concrete workshop: how to read the curl pattern, what and how to cut with, how to control volume, and how to finish the haircut so it holds up day to day.
How to Read Curly Hair Structure
Why Curls Behave Differently Than Straight Hair
Curly hair is typically more porous, loses moisture faster, and frizzes more easily. From a cutting perspective, though, something else matters more: curls have what's called spring-back, meaning they shrink after drying. This phenomenon is called shrinkage. A section that reaches the shoulders when wet can shorten by a third of its length or more once dry. If you cut wet without allowing for this, the client walks out with a haircut shorter than what you agreed on.
Before you pick up the scissors, assess the section dry: how much it shrinks, how tight the curl pattern is, and whether it's consistent across the whole head. We break down this analysis, along with cutting for curl pattern, step by step in the course Bringing Out Curl Pattern with Circle Cutting.
Curl Types and What They Mean for Cutting
Identifying the curl type determines how much extra length you leave and how aggressively you can texturize. The tighter the curl, the greater the shrinkage, and the more carefully you need to cut for length.
- Type 2 – wavy hair. Minimal shrinkage; the wave opens up with more length. Layering and light end-texturizing work well here.
- Type 3 – defined curls and spirals. Significant shrinkage; the curl holds a clear shape. Curl-by-curl and point work best here.
- Type 4 – very tight curls, afro-textured hair. The greatest shrinkage. You measure length dry, and build shape more with clippers and comb than with length alone.
On a single head, you'll often find a mix of curl types: looser waves on top, a tighter curl at the nape and above the ears. Assess each zone separately.
Preparation and Tools
Wet or Dry
For curly hair, dry cutting is the default choice. It lets you see the real fall of the hair, its natural direction, and the final length, with no surprises once it dries. Wet cutting gives you a precise line and even sections, but it falls short with tighter curls because it doesn't reveal shrinkage.
A practical compromise is working in two stages: you can set the base structure and sides on damp hair, then refine the final length and texture on dry, naturally-fallen curls. This gives you control over the line while still cutting to the real fall of the hair.
Tools and How They Differ in Use
- Sharp classic scissors – the foundation for point cutting and slide cutting. They need to be genuinely sharp, because a dull blade crushes and frays the curl's tip, which later shows up as split ends and frizz.
- Thinning shears – for controlled removal of volume from inside the section. With curls, use them sparingly and never right at the ends.
- Wide-tooth comb – for separating sections without tearing apart the curl pattern. A fine-tooth comb breaks up the spring on curly hair and creates frizz.
- Clippers with guards and a trimmer – the foundation for the sides and transitions in a fade or undercut.
- Sectioning clips – for clean zone division and working without losing the line.
Scissor sharpness isn't optional when cutting curls, it's a prerequisite for a clean cut. We cover how to keep your scissors in shape in the article The Secrets to Keeping Your Barber Scissors Sharp.
Curl Cutting Techniques
Dry Cutting
This is the base technique for curls. You work on dry, naturally-fallen hair and adjust length while seeing the final result right away.
- Dry the hair without straightening it and let it fall the way the client wears it day to day.
- Divide the head into zones with clips: top, sides, nape, and front.
- Work section by section, adjusting length without stretching the hair. Any stretching of the curl distorts the length.
- Step back regularly and assess the overall silhouette from a distance, not just up close.
This technique requires a trained eye. Before you try it on a client, practice on a training head with a texture close to curly hair.
Curl by Curl
A method for clearly defined type 3 curls, when you want to preserve the shape of every spring.
- Divide the hair into small, clearly defined sections.
- Take a single curl and follow its natural spiral without straightening it.
- Wrap the curl around your finger and trim only the stray hairs that break the shape, plus any over-dried tip.
This technique is time-consuming, but it gives you a haircut that falls back into shape on its own after washing. We show how to master it in practice in the course Bringing Out Curl Pattern with Circle Cutting.
Point Cutting
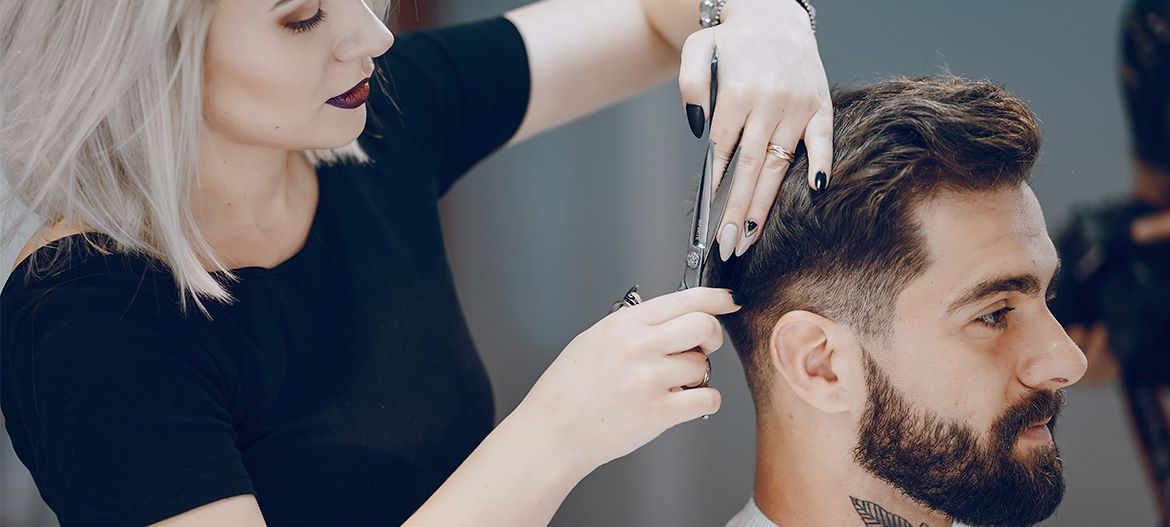
Point cutting breaks up a hard, straight line and introduces texture. On curls, it softens the ends and removes weight without losing shape.
- Take a small section between your fingers.
- Hold the scissors vertically, tips pointing into the section, and make small, shallow cuts.
- The deeper you go with the scissors, the more you texturize. With curls, stick to shallow cuts to avoid causing frizz.
Important: point cutting is done with scissors, not thinning shears. Thinning shears at the curl's ends create short, sticking-out hairs that frizz with every change in humidity.
Palm Grading
A technique for building natural length graduation without rigid layers, good for the top of the head and the front section.
- Comb through the hair with your fingers and let it fall onto your palm the way it naturally sits.
- Trim only what extends beyond the plane of your palm, guiding your hand along the line of the head.
- Gradually move your palm, building a smooth transition of length from top to bottom.
Sides, Blends, and Volume Control
Clippers, Guards, and Blade Angle
Most men's curly hairstyles rely on clippers for the sides and nape, leaving the top for scissors. The key to a clean blend is the choice of guards and the angle you hold the blade at.
- Plan the guard graduation from shortest at the bottom to longer toward the top, for example from a zero or a #1 guard at the skin line, moving up through #2 and #3.
- Run the clippers against the grain, moving from the bottom up, and tilt them away from the head in the transition zone to soften the line between lengths.
- Blend the joining zones using the guard open-and-close technique, or with a comb and clippers, until the visible line disappears.
- Finish the hairline at the nape and temples with a guardless trimmer.
We break down the full craft of blending, with angles and zone mapping, in the Burst Fade course.
How to Remove Volume Without Causing Frizz
Curls naturally build volume, so the problem usually isn't a lack of it, it's an excess in the wrong place. Remove volume in specific spots and from the inside, never in bulk with thinning shears across the whole head.
- Work from underneath the section, leaving the top layer untouched. The top gives the haircut smoothness; the underneath is responsible for weight.
- Don't thin closer than a couple of centimeters from the ends. Thinned curl tips splay out and frizz.
- Most of the weight usually needs to come off above the ears and in the temple area. Target those zones, not the middle of the crown.
Uneven Curl Pattern Across the Head
It's very common for the curl to be tighter on one side or at the nape, and looser on top. If you cut everything to the same length, the haircut will come out asymmetrical once it dries. Match the length in each zone to its curl pattern: where the hair shrinks more, leave more extra length so the final silhouette stays balanced.
Finishing, Drying, and Styling
Drying That Defines the Curl
Finishing can make or break a good haircut. The goal is a defined curl with no frizz.
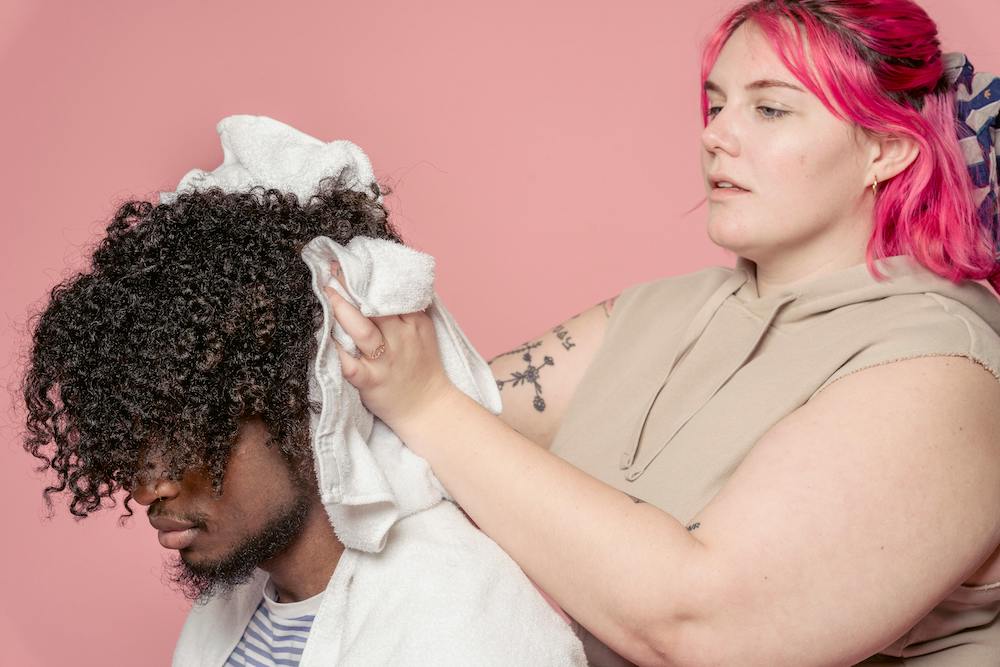
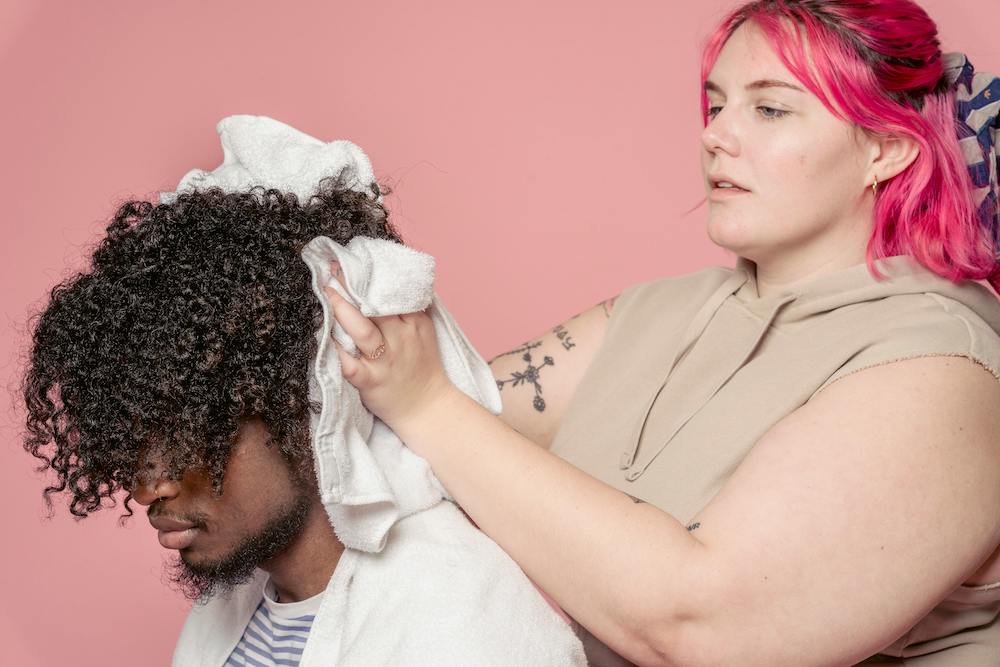
- Dry the hair with a microfiber towel, pressing and scrunching the curl up toward the scalp. Don't rub, because friction from a terry towel breaks up the curl pattern and creates frizz.
- Apply product to damp hair, neither wet nor dry, spreading it with a scrunching motion rather than combing it through.
- Dry with a diffuser on low airflow, scrunching the curls upward from underneath toward the scalp. This builds volume at the root and doesn't blow apart the spring.
- Don't touch the curls until they're fully dry. Any adjusting mid-dry breaks up the definition.
Choosing Styling Products
- Curl creams and milks – definition and moisture with a light hold, good for looser curl patterns.
- Mousse – frizz control and a stronger set for the spring, works well on tighter curls.
- Oils – shine and smoothing for the ends, but use sparingly, since too much weighs down the curl and flattens volume.
Match the product to the curl type and hair density, not the other way around. We also cover modern products and care in the context of men's hair in the article The Latest Trends in Men's Hair Coloring.
Popular Hairstyles for Men's Curly Hair
Curly Fade
A classic pairing of shaved, graduated sides with curls on top. The contrast between the smooth blend and the textured crown does all the work here, which is why a clean fade determines the final look. You practice the blending technique in the Burst Fade course.
Curly Quiff
A quiff with curls gains height and movement at the front. Leave more length up front and guide the graduation gently toward the back, so there's enough to style into lift.
Curly Undercut
Short sides against a long, curly top create a strong, bold contrast. Unlike a fade, an undercut leaves a sharper line between lengths. We show how to combine different cutting techniques for this effect in the Dynamic Crop-Mullet Hybrid course.
Natural Afro
For very tight type 4 curls, a hairstyle built on even texture and volume works best. Here you sculpt the shape mainly with clippers and a comb, and measure length exclusively dry, since shrinkage is at its greatest.
Cutting for Different Lengths
Short Curly Hair
- Use point cutting to add texture and break up hard edges.
- Leave a bit more length on top, so the curl has room to fall and can be styled.
- Watch out for cutting too short. A shortened curl springs upward and creates an uneven, spiky surface.
You sharpen your work on short hair and clean lines in the Buzz Cut Classic course.
Medium Length
- Layer to give the haircut shape and remove excess weight, but avoid layers that are too short on top, since those tend to frizz.
- Consider slight asymmetry or a longer front section for more styling freedom.
- Keep volume under control by graduating from underneath, not by shortening the whole head.
Long Curly Hair
Long curls can easily fall into the "Christmas tree" effect, tapering toward the bottom with flared-out sides. To avoid this, limit layering and pay close attention to cutting direction.
- Cut dry, on the curl's real fall.
- Use slide cutting for gentle texturizing of the ends without creating hard layers.
- Avoid too many layers. Every extra layer is potentially more frizz on the sides.
You'll find inspiration and technique for longer, curly men's hair in the Wavy Mullet course.
Natural Texture and Directional Cutting
Working with the Natural Curl Instead of Fighting It
More and more, clients want to highlight their natural texture rather than force it into submission. From a cutting perspective, that means fewer layers, more curl-by-curl work, and a finish focused on defining the spring rather than smoothing it out.
We build relaxed, effortless hairstyles based on the natural curl pattern step by step in the Curly Messy course.
Asymmetry for Face Shape
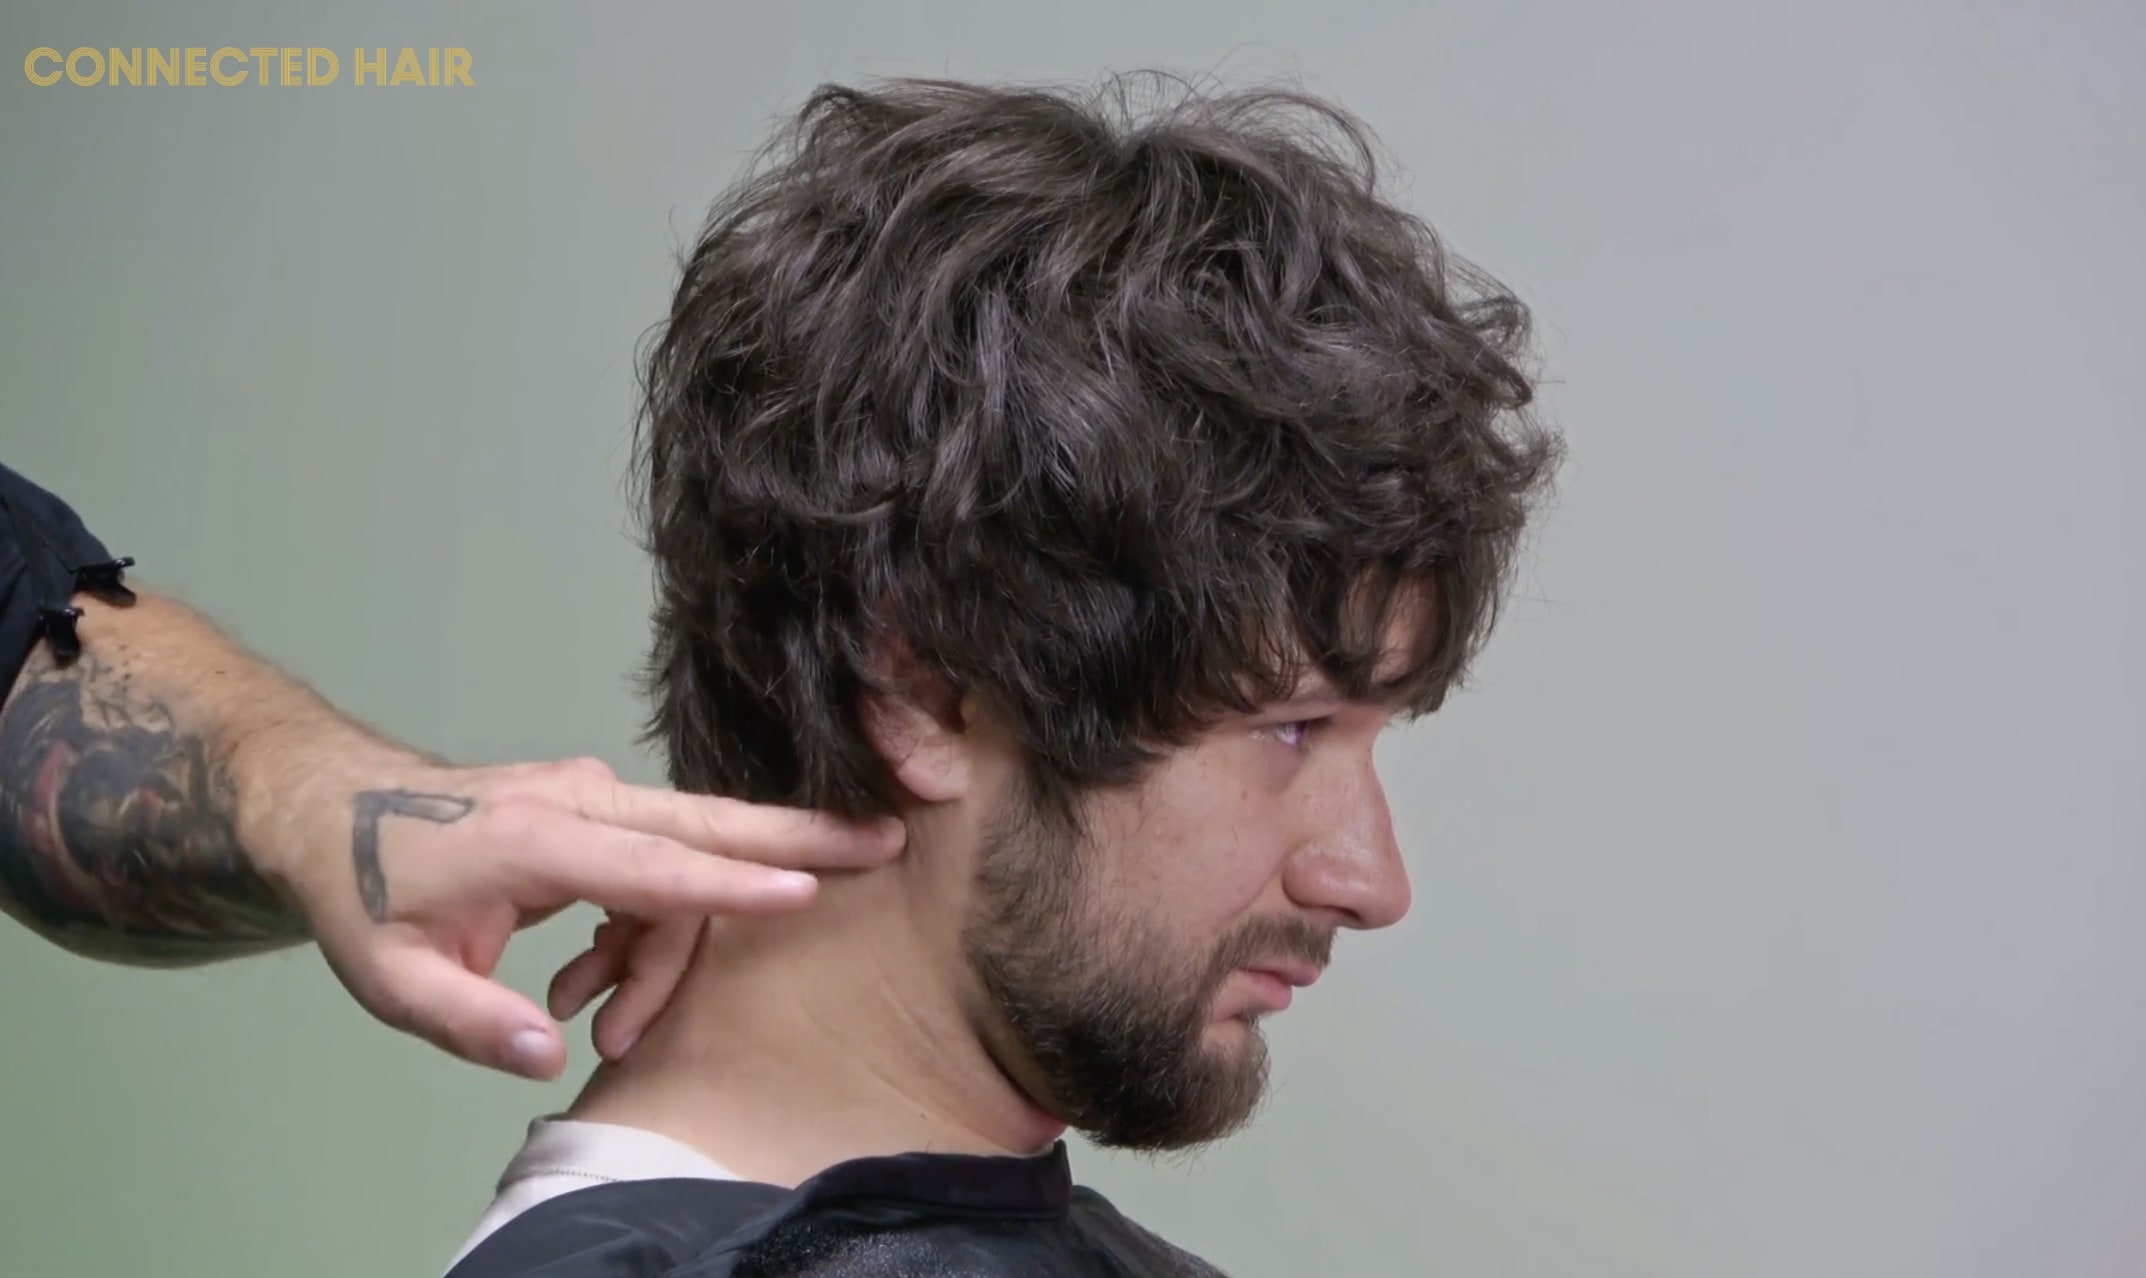
An asymmetric cut adds dynamism, but it also has practical value: it lets you optically correct facial proportions. For round or square faces, more length and volume on top with less on the sides elongates the silhouette of the head.
Coloring Men's Curly Hair
Color on curls plays by its own rules. Curly hair is more porous, so it absorbs lightener faster and unevenly, and a damaged curl loses its spring. That's why protecting the structure matters just as much as the shade itself when coloring curls.
Subtle Lightening
Subtle lightening adds depth and dimension to curls, since the play of light on the spirals brings out the shape. Keep in mind that curly hair often looks lighter than it actually is, due to how it reflects light, so choose your intensity with a margin in mind.
We teach safe curl lightening that doesn't damage the curl pattern in the Hair Lightening course.
Multidimensional Color
Balayage and ombre can produce an exceptional effect on curls, since the curl pattern naturally blends the shades and creates a sense of depth without hard lines. Place the lightening where light naturally falls on top of the curls.
Client Education and Aftercare
The best curl cut falls apart at home if the client doesn't know how to recreate it. That's why aftercare is part of the service, not an add-on.
- Wash less frequently than with straight hair, usually 2-3 times a week, to avoid stripping natural moisture.
- Prioritize hydration, since porous curls lose water quickly and frizz.
- Detangle only when wet, with conditioner, using fingers or a wide-tooth comb, never dry.
- Dry with a diffuser or air-dry, without rubbing with a towel.
A short, written care routine handed to the client after the appointment increases the odds they'll come back with the haircut still in good shape. If you're building your own brand and offer around curly hair work, you'll find practical tips in the guide How to Start a Career as a Barber: The Complete Guide.
The Most Common Mistakes When Cutting Curls
- Cutting wet without allowing for shrinkage, resulting in a haircut shorter than what the client asked for.
- Stretching the curl while cutting, which distorts the length and gives an uneven result once dry.
- Thinning shears at the ends, a source of frizz and short, stray hairs sticking out.
- Cutting the same length across the whole head despite different curl patterns in each zone.
- Rubbing with a terry towel during finishing, which breaks up curl definition.
Summary
Cutting men's curls comes down to three things: read the curl pattern and shrinkage, cut dry to the hair's real fall, and remove volume in specific spots from underneath. The rest is handled by a clean clipper blend and a finish that defines the spring instead of breaking it up. The better you understand how the hair will behave once dry, the fewer corrections and surprises you'll have.
For step-by-step techniques and full video haircuts, check out our barbering blog and course offerings.
See it in practice: in the textured curl cutting course with Klaudia Piotrowicz you'll follow the entire process step by step on a model, with commentary from the instructor.


