
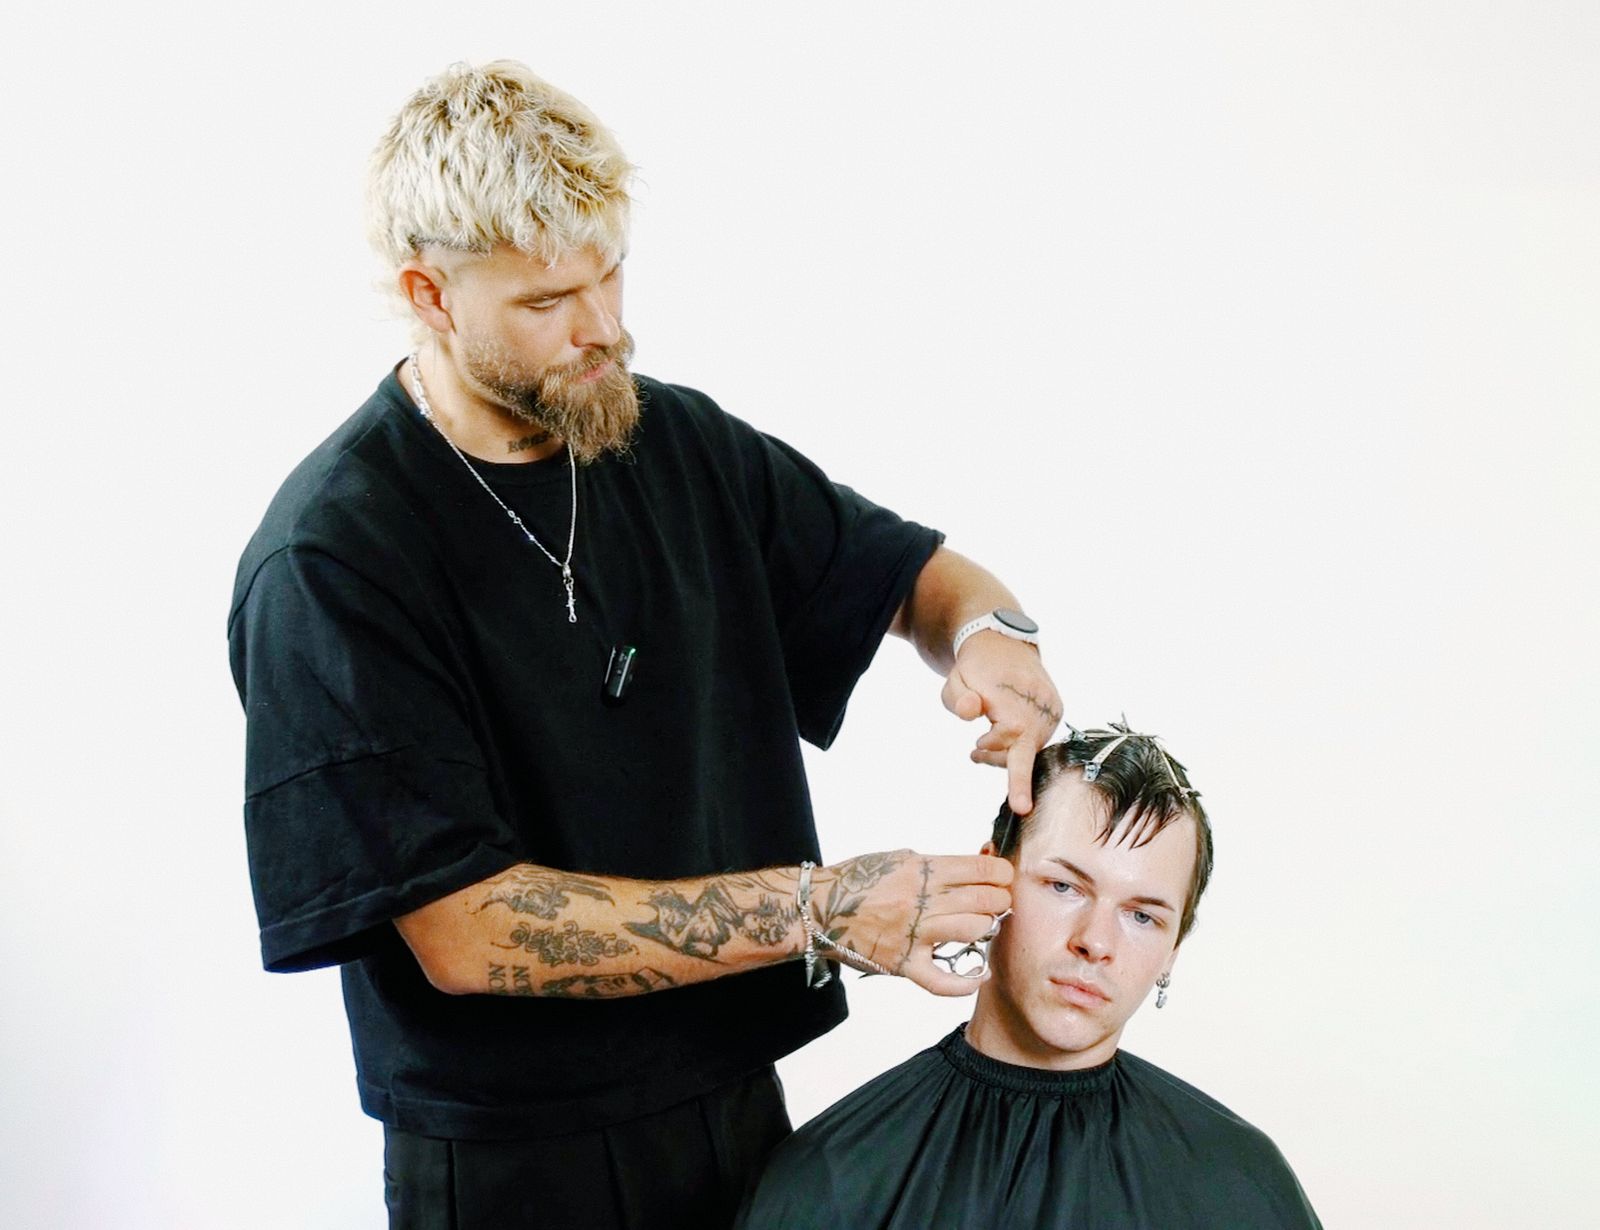
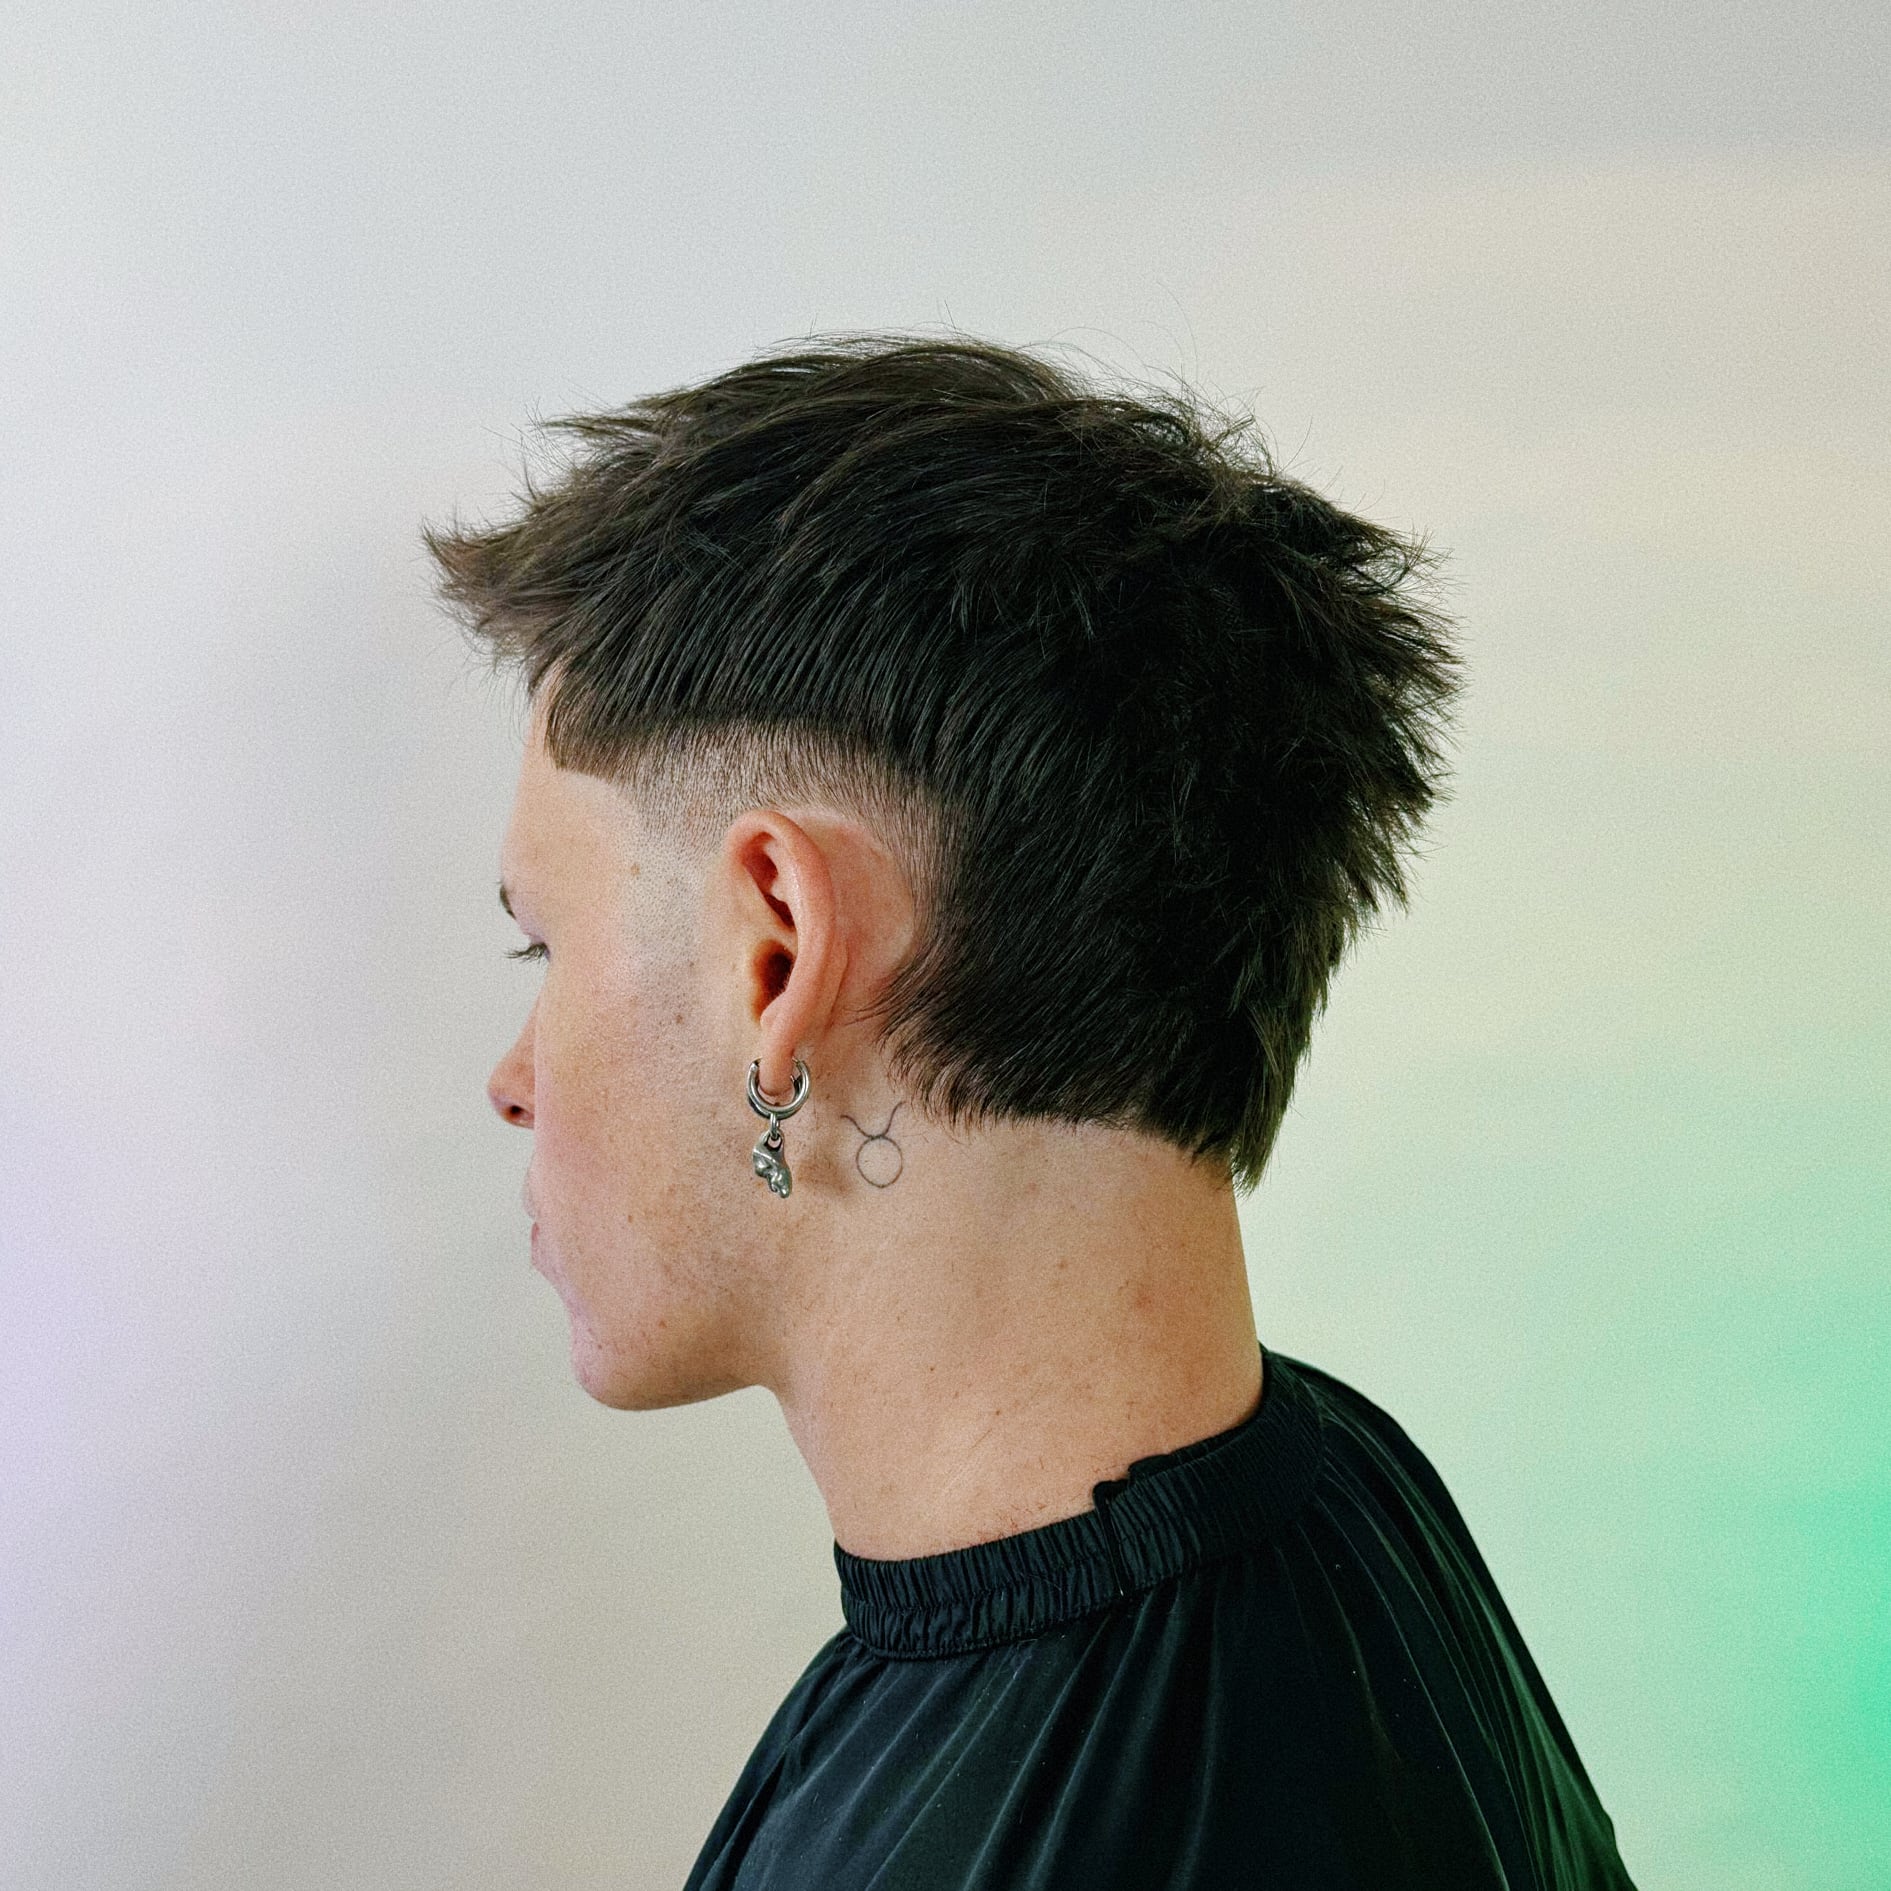
Fine, straight hair that “won't style itself” is the most common material clients bring to the chair when asking for something creative. The messy taper answers that directly: a distinct taper with a strong flare at the zero line, a longer back in the form of a short mullet, and a top filled with texture you can lift with just your fingers every day.
The messy taper is a creative men's haircut built around three elements: an aggressive taper weight line, disconnection between the sides and the top, and a heavily textured square on top with an extended back. It works where a classic fade would be too tame — on fine, straight hair that needs structure and movement. Below, Mateusz Banaszek breaks down the entire process from consultation to the final mess up.
Consultation: Reading the Head's Internal Frame
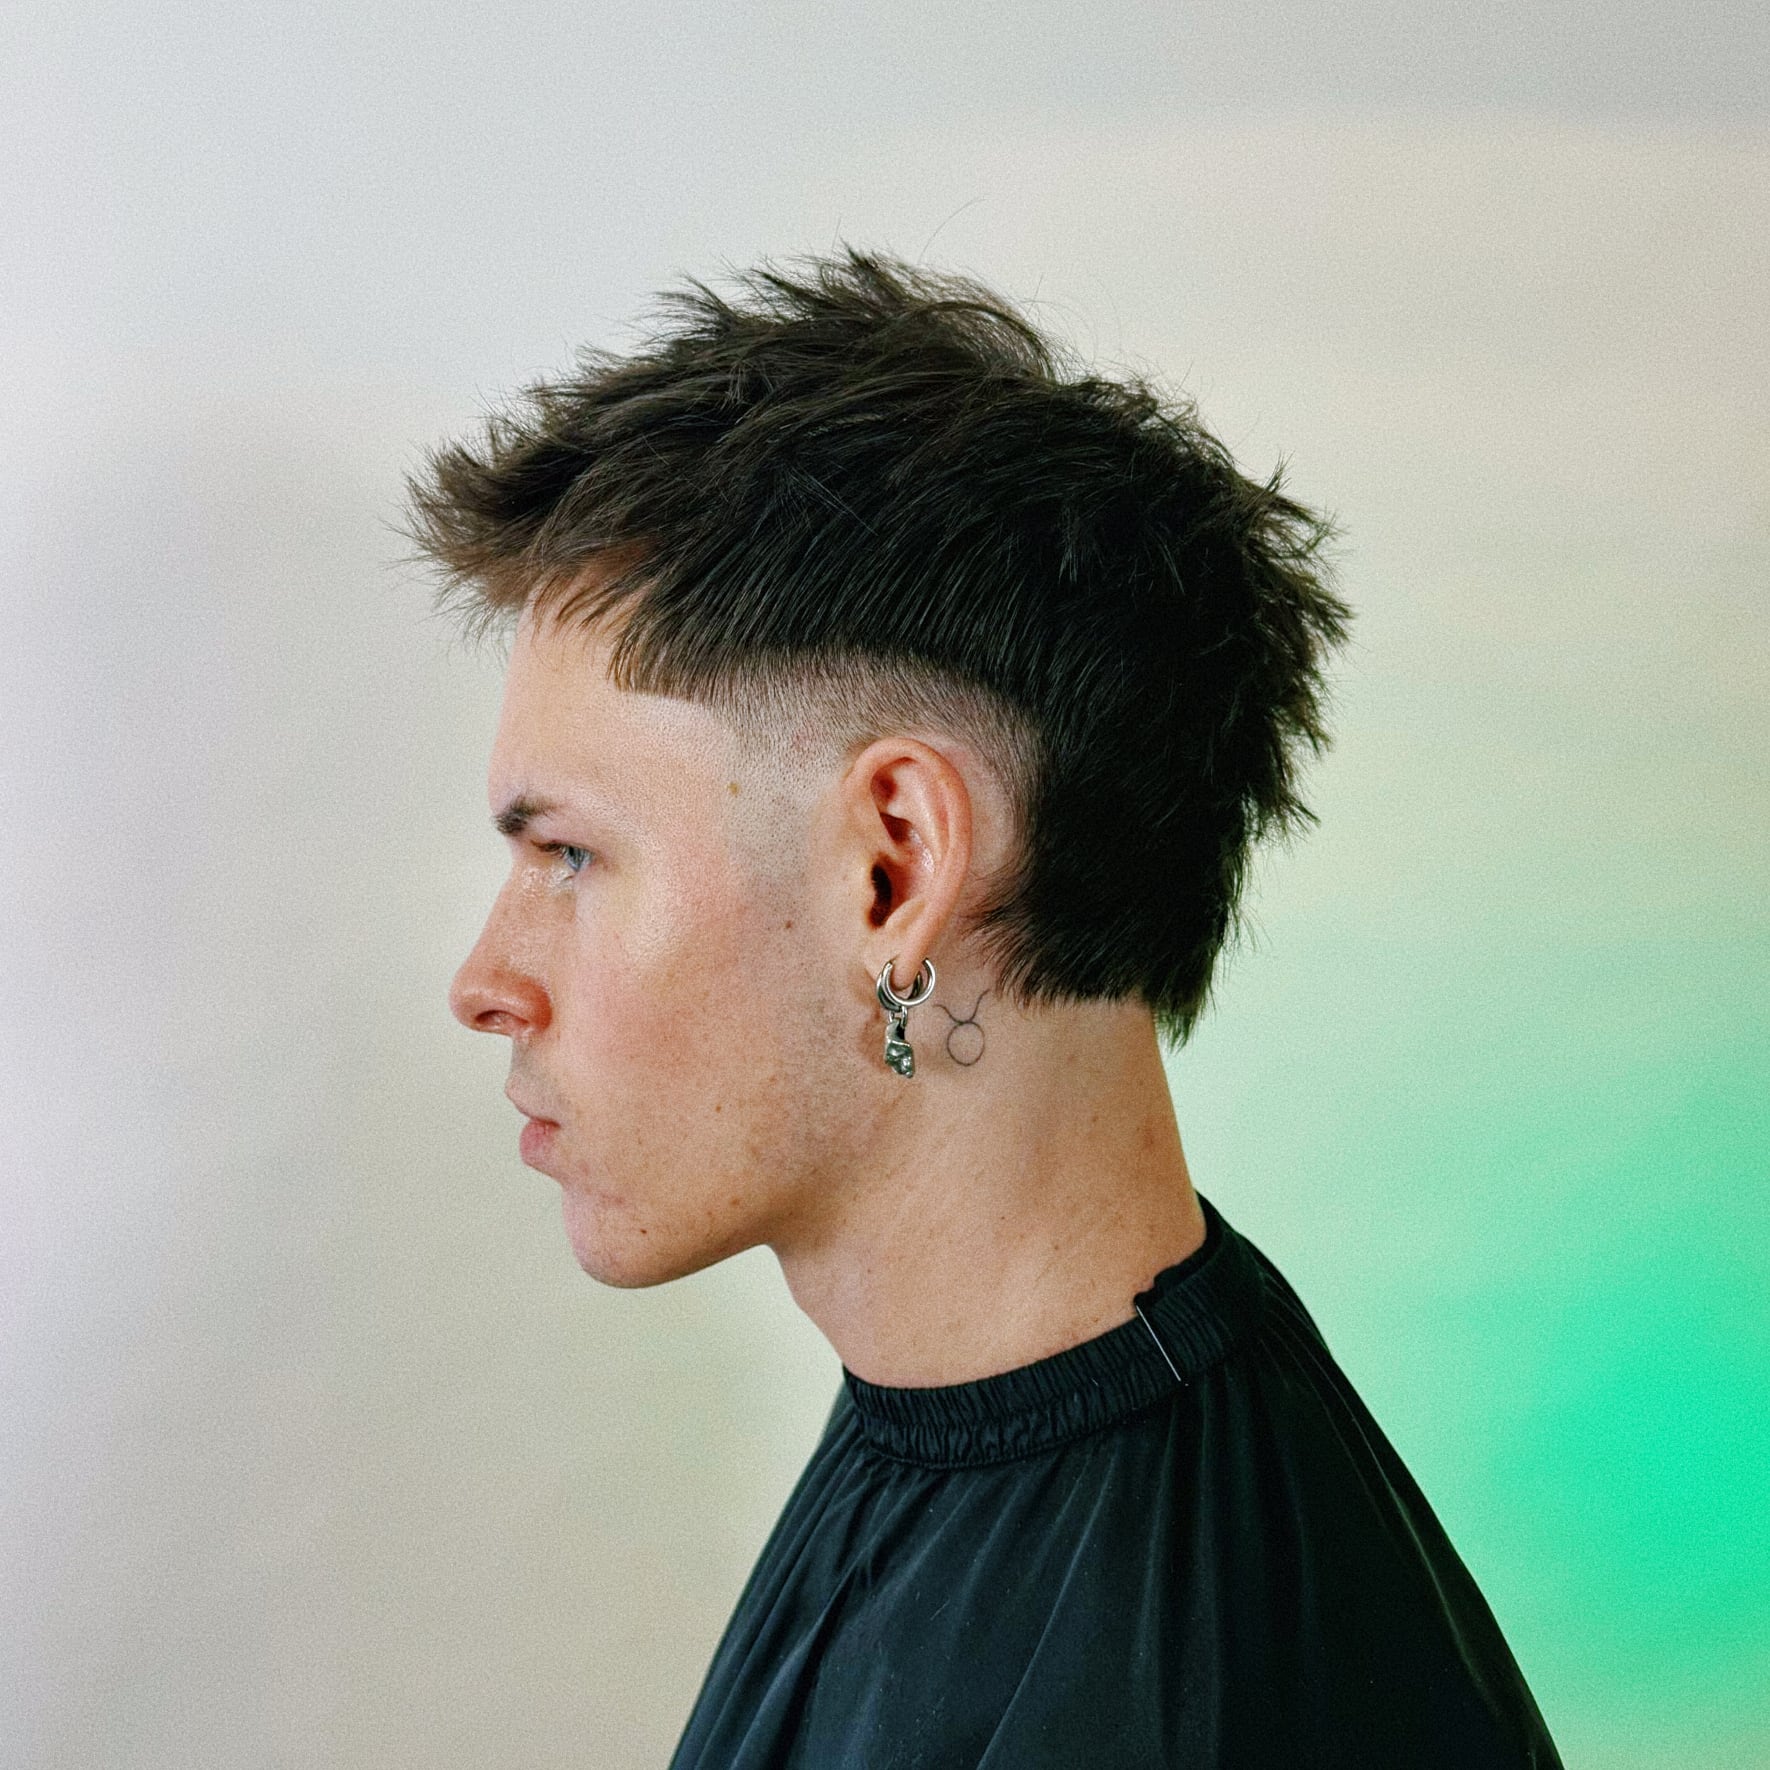
A good consultation starts by establishing the internal frame — the head shape you can't change with a haircut. Mateusz assesses it across two planes, horizontal and vertical, on wet, combed-back hair. Stepping back from the client and viewing the profile from a distance reveals what will be problematic and what will work in the hairstyle's favor.
With the word “creative,” the task is twofold: the hairstyle needs to stand out, yet remain wearable day to day. In this case, the face rounds slightly inward, so the square on top adds aggression and room for texture, while the longer back is kept and simply refreshed. This is the moment when the whole composition gets decided.
- Check the profile on wet hair across the horizontal and vertical planes
- Pay attention to the client's clothing style, because “creative” means something different for everyone
- Decide which elements should stand out — for Mateusz, that's the taper and the disconnection
Splitting Into Two Zones Instead of Textbook Sections
With hair this short, Mateusz divides the head into just two areas: the top, and the sides with the back. This is a deliberate simplification, not a shortcut — with short hair, growth direction matters more than a ruler-straight line. The parting starts at the whorl at the back of the head and follows the spine of the comb along the curve of the skull, in a U-shape, deliberately uneven.
The reasoning is practical. If you redirect short hair the wrong way, it will stick out and bounce back, and the hairstyle will lose its natural movement in everyday wear. Two areas are enough to work quickly and cleanly, treating the top later as a separate panel.
Sides: Stationary Guide and Round Graduation
The most important decision on the sides is the height and length of the stationary guide — the top section the clippers travel up to, where weight gets built. This choice sets the length for the entire hairstyle. Mateusz works in diagonal sections around the head, changing the elevation within a single section, which builds round graduation fitted to the head shape.
Comb from below and you get lightness; comb from above and you get weight. On the sides, where clippers will go over the area anyway, the first two sections will later be reworked with clippers, so they don't require the same precision as the ones that follow. Section number three is the key one — it connects the temple to the back and sets the length that gets worked with scissors afterward. At the back, the elevation goes above ninety degrees, somewhere around one hundred to one hundred twenty.
I work above ninety degrees, which lets me keep the hair light while shortening the internal length. That's very important.
Mateusz Banaszek
The Guidepost: How to Simplify the Other Side
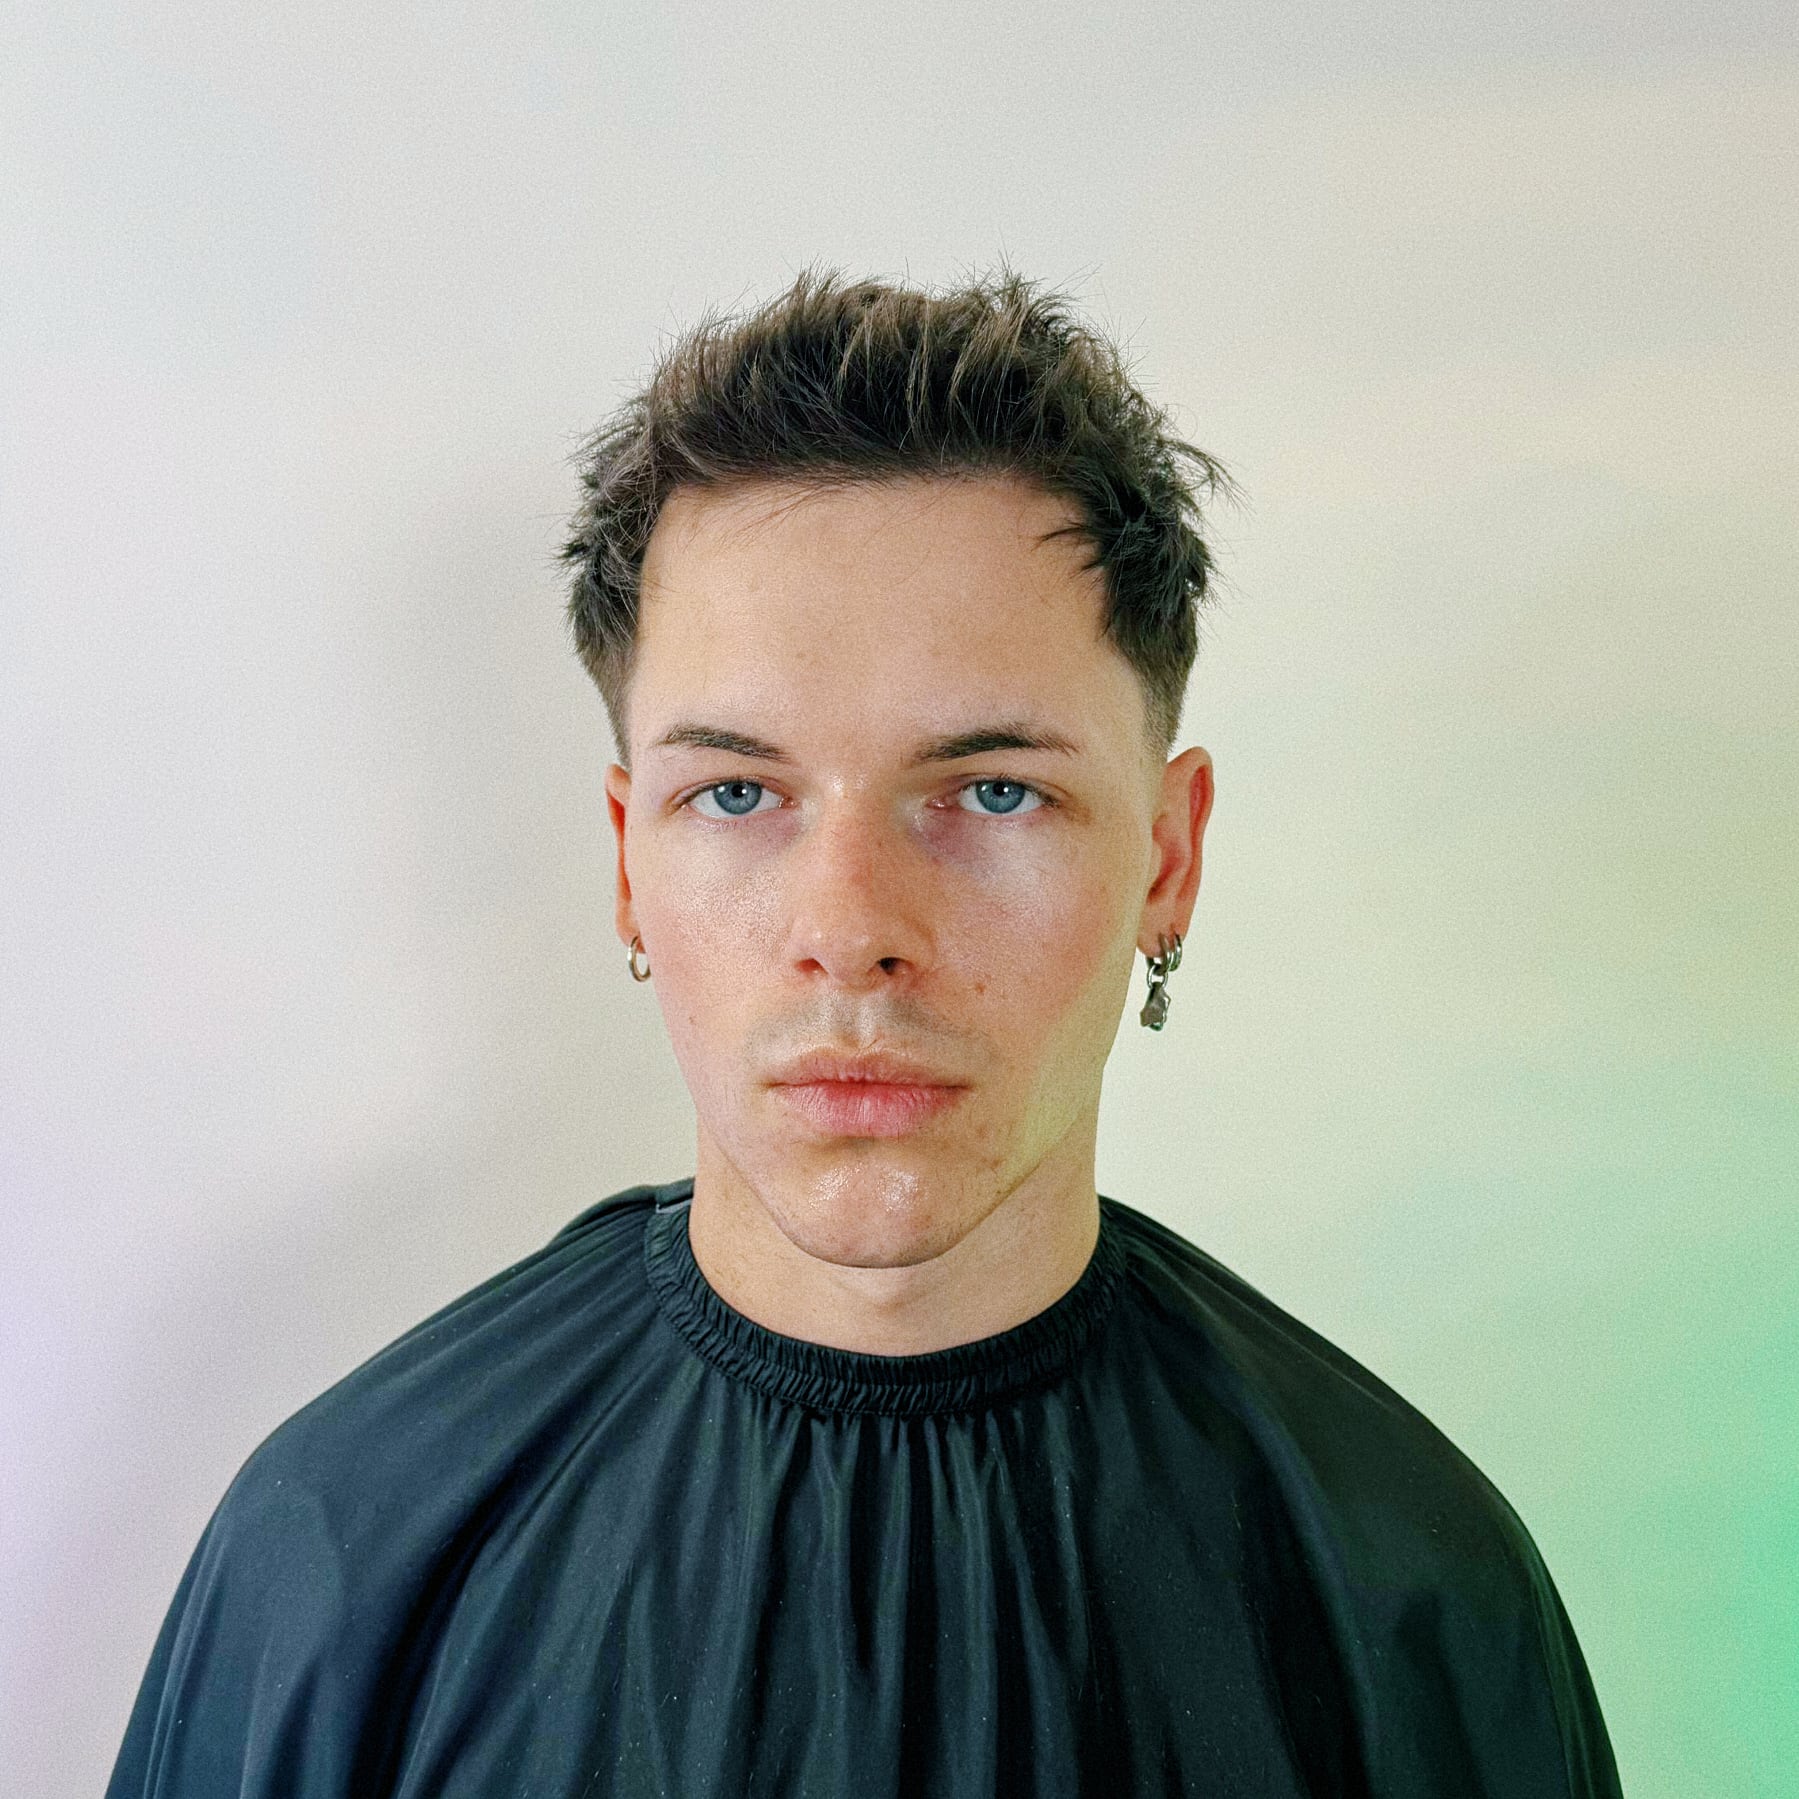
The other side is simpler, because long sections trimmed from start to finish create a length guidepost. These two points — the length at the back and the length at a given height on the side — become the reference for the rest of the cut. Once you hit the back's length by the fourth or fifth section, you have two anchor points, and the cutting comes down to blending those lengths.
Here, too, the angle of your fingers matters just as much as tension and elevation. Mateusz builds section number three into a square, and section number four around the curve, which directly shapes the result — where to lengthen the temple, where to lengthen the back, and where to stay true to the head shape.
The Top as a Separate Panel: Square Shape and Deep Point Cutting
The top is treated completely separately from the cut sides to preserve the disconnection. Mateusz sets a new stationary guide and builds a square horizontally and a circle vertically. In practice, this means that from the front, the top holds a stronger, square line, while from the profile it rounds off to follow the head, so the fringe doesn't get too heavy.
The texture comes from deep point cutting. You need to go at least two centimeters deep and create small triangles that act as a scaffold. Thanks to them, fine, straight hair lifts up and gives the impression of dynamic movement. The more hair that stays around the curves of the head on the sides, the stronger the disconnection and the more material there is for the final mess up.
If I go in horizontally, I'll get a square shape, and I want the semi-round one.
Mateusz Banaszek
Taper: The Weight Line and the Holy Grail
The taper is built with clippers moving from the wrist only, with the elbow and shoulder locked. Mateusz uses sharp Gamma Boosted clippers, starting at six millimeters and going in fairly high, into the weight area prepared earlier by graduation. The clippers rest on four fingers, the thumb controls the lever, and the semi-circular motion of the wrist creates the layering.
This is the longest part of the cut, and the moment where many people work too fast. It's about precisely placing the weight line at the ideal point — what Mateusz calls the taper's Holy Grail. After six millimeters, he moves down to four and a half, then three, then one and a half, clearing excess length below the line and defining it more sharply each time. The shaver at the zero line creates the flare that lets you control the entire transition.
We never go above this weight line. It's sacred. If we do, we have to fix the entire taper from scratch.
Mateusz Banaszek
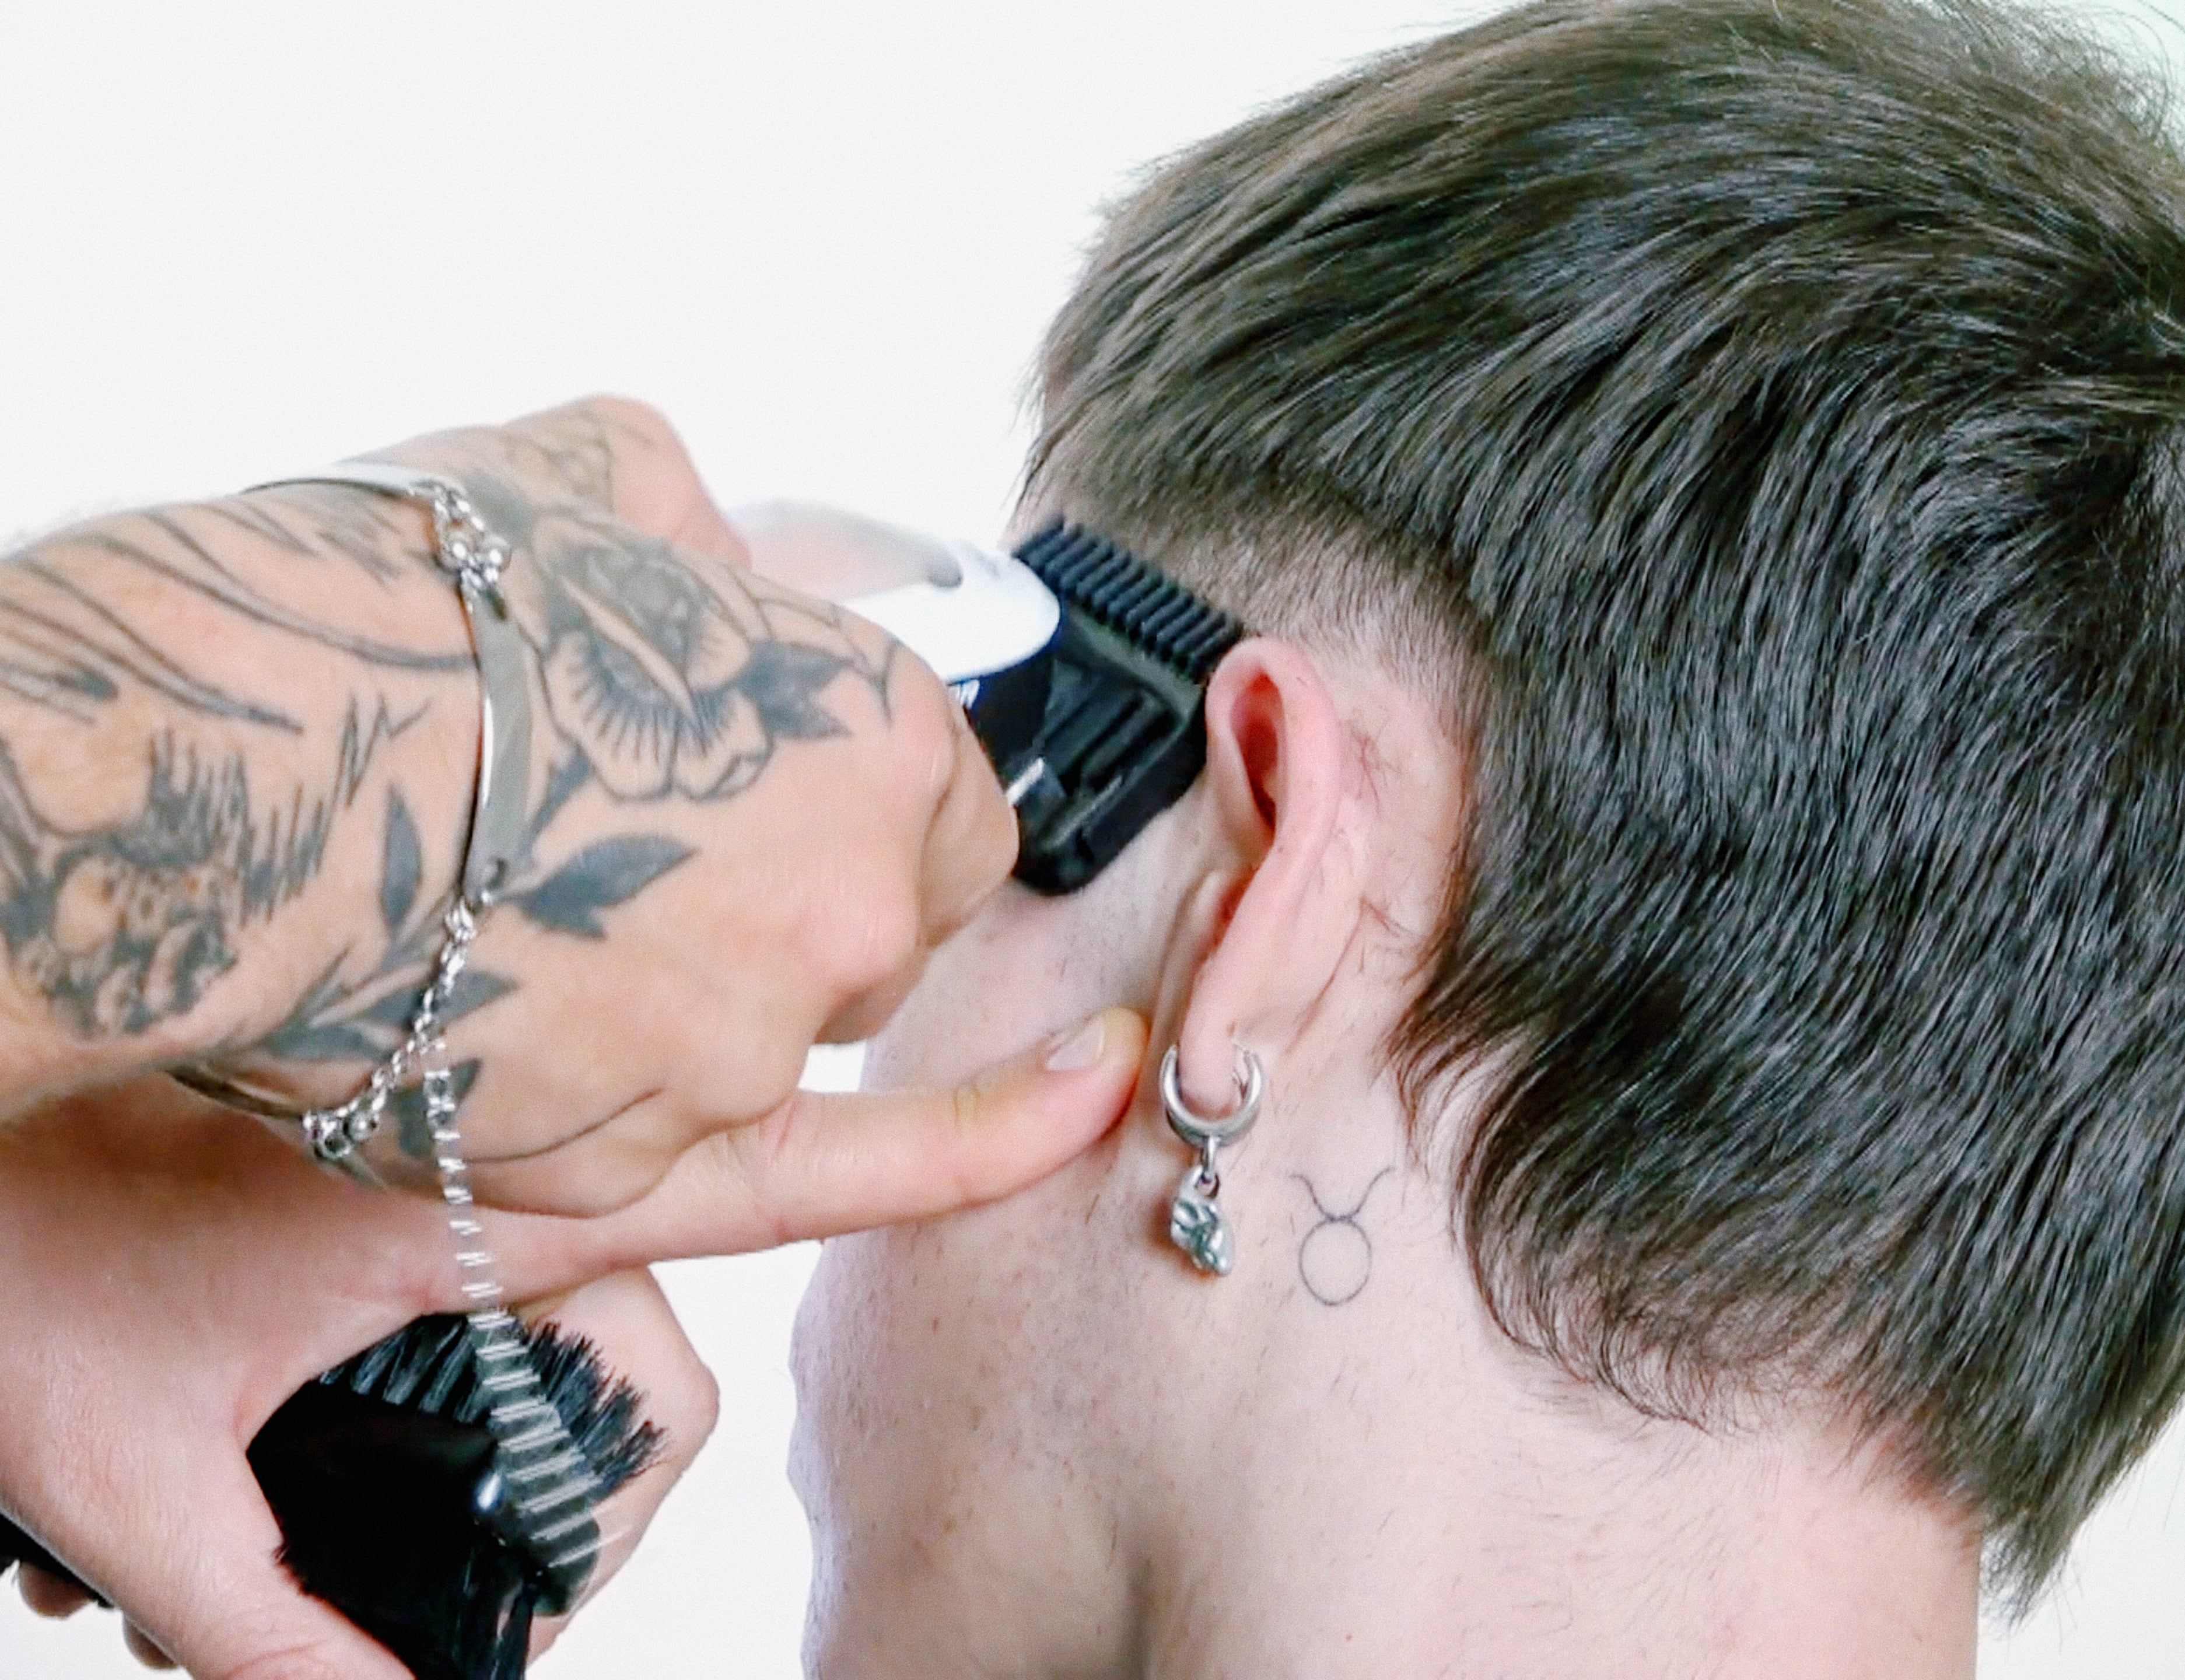
The height of the line determines the character. A taper pushed too high gives a classic, square effect. Mateusz deliberately keeps it lower and pulls the weight out into a triangle, so the weight stays up top and the hairstyle turns out more creative.
It's best seen in motion. Below, Mateusz guides the clippers with the wrist alone and sets the weight line — a moment no description can fully capture:
Notice that the clippers never go above the weight line, not even once. This single boundary decides whether the taper stays creative or slips into an ordinary, correct-but-plain layering job.
Disconnection and Finishing in Five Points
Blending the sides into the taper is done with the comb from below, lifting the hair under the weight line without erasing it. Mateusz uses notching shears only to blend the taper into the back, softening the transition, while leaving intentional disconnection toward the top. A razor closes out the lines above the ear and at the nape.
The finish gets checked at five points across the full hairstyle: the fringe, the line-up, the nape, the arc above the ear, and the occipital bone and crown. Cross-checking on each side confirms the plan is holding — that the cutting line is even and a graduation triangle is building on top.
Styling: Mess Up With Just Your Fingers
Blow-drying is the creative moment where the texture from the cut starts to work. Mateusz first dries without a brush or product, using just his hands, to see how the hair wants to fall. He combs the back with a small tunnel brush, because that area needs a clean line for the clippers, not texture.
The final styling is a diffuser with heat, matte paste, and a mess up done with just the fingers, which locks in the texture built during the cut. The end result: a strong mess up and a heavy top, a low, distinct taper with a clean transition, and a shortened back in the natural form of a short mullet you can style up every day.
Does your taper end up too high, too flat, or do you lose control of the weight line? In the full course (1 h 44 min), Messy Taper with Mateusz Banaszek, you'll see him set the weight line at a single point, change the elevation within a single section, and build texture that works without a brush. The entire haircut, step by step, on a model, with the instructor's commentary.


