
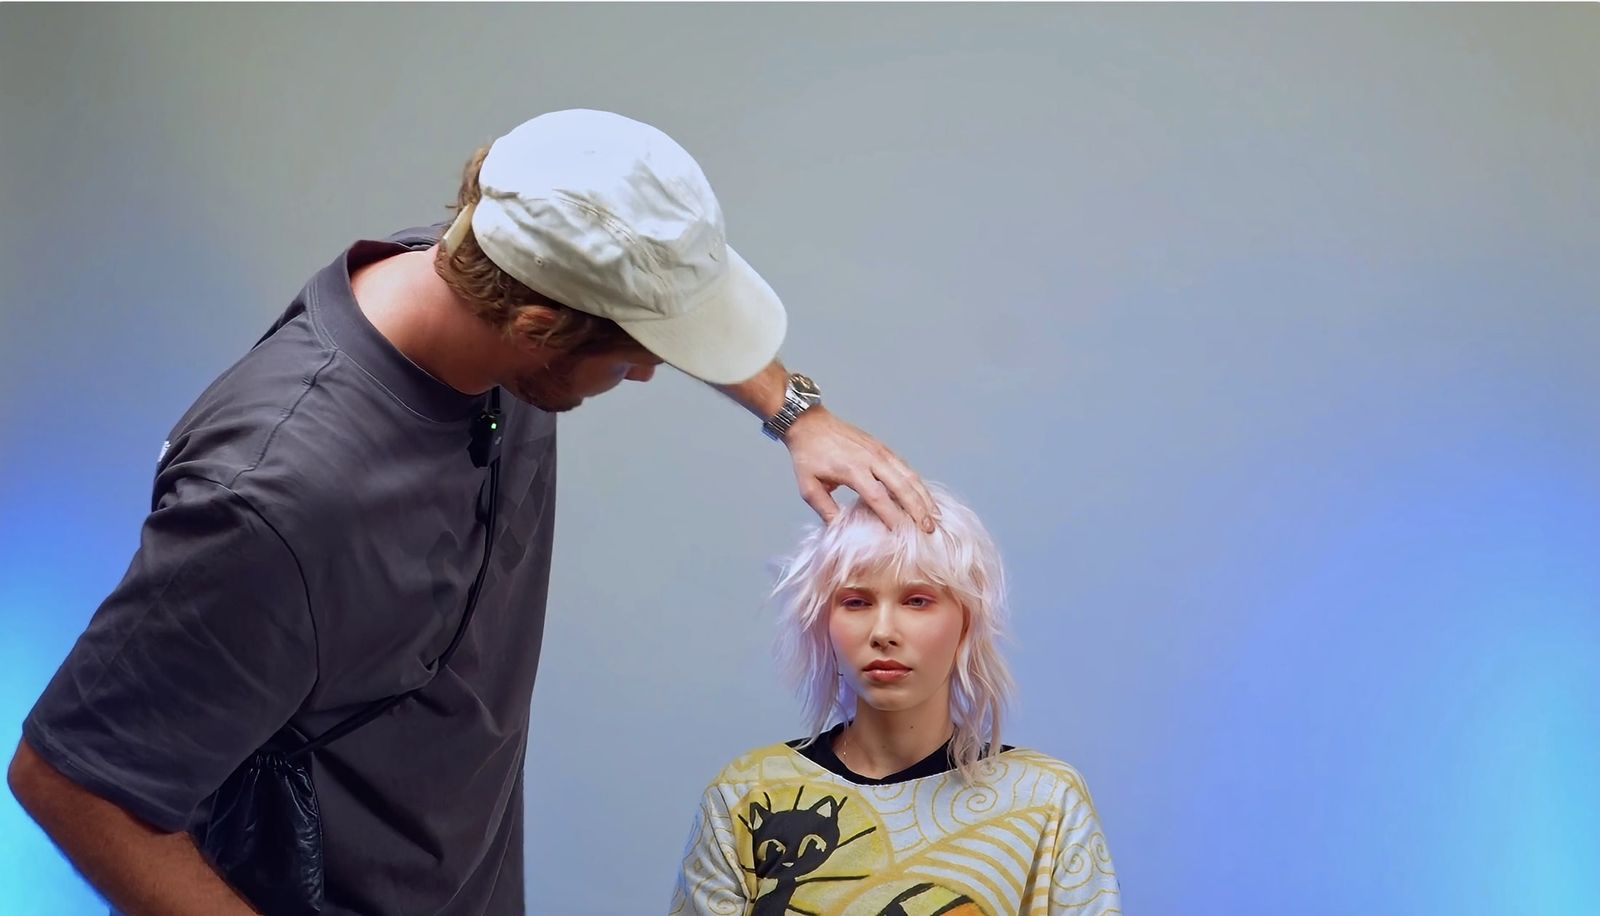
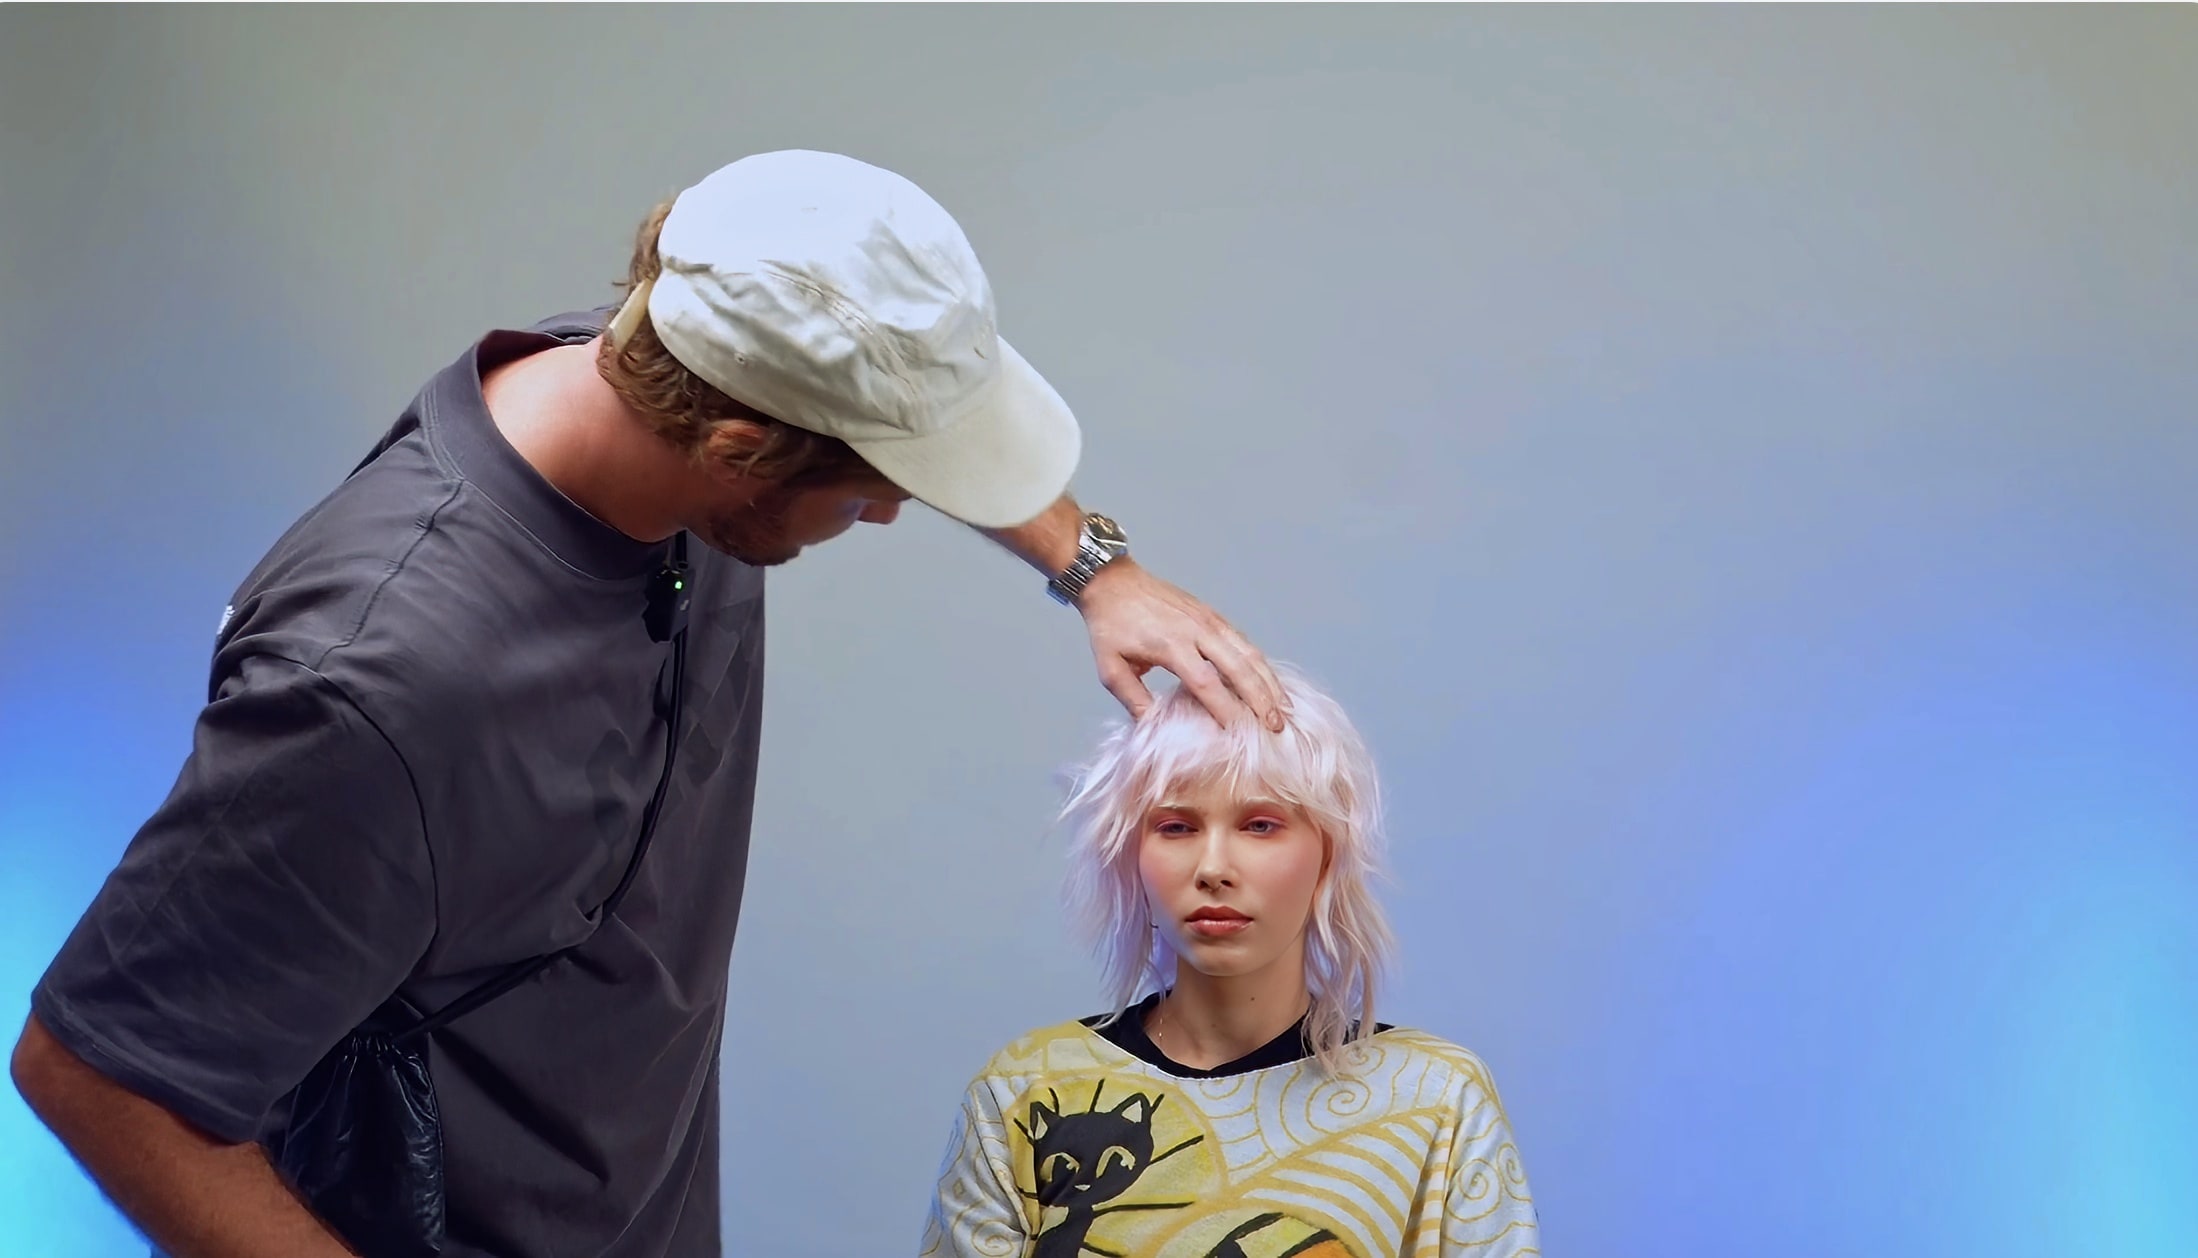
Wavy Mullet is a hybrid of the mullet and the wolf cut, where shorter sides meet an elongated front and back—long enough to tie back. The entire look relies on wave and texture, not a smoothly blow-dried shape. Tymoteusz Pięta breaks down this haircut step by step in his course on the Connected Hair platform, and below we walk through the cutting logic, tools, and sectioning the way it's done behind the chair.
What Wavy Mullet Really Is
The classic mullet is built on contrast: short at the sides and front, long at the back. Wavy Mullet shifts that balance. The front and back stay long enough to allow tying back, and the whole look gains a soft, wavy finish instead of hard lines. What was purely a cutting job in the classic version becomes, here, primarily a matter of texture work.
Pięta describes the hairstyle as a combination of the wolf cut and the mullet, with a longer front and back that allow for tying back. In practice, this means you're designing not one but several possible looks on the same head: worn down, loosely tousled, and tied up. This approach is close to modern men's haircutting and fits right into current haircutting trends.
Four Pillars of This Hairstyle
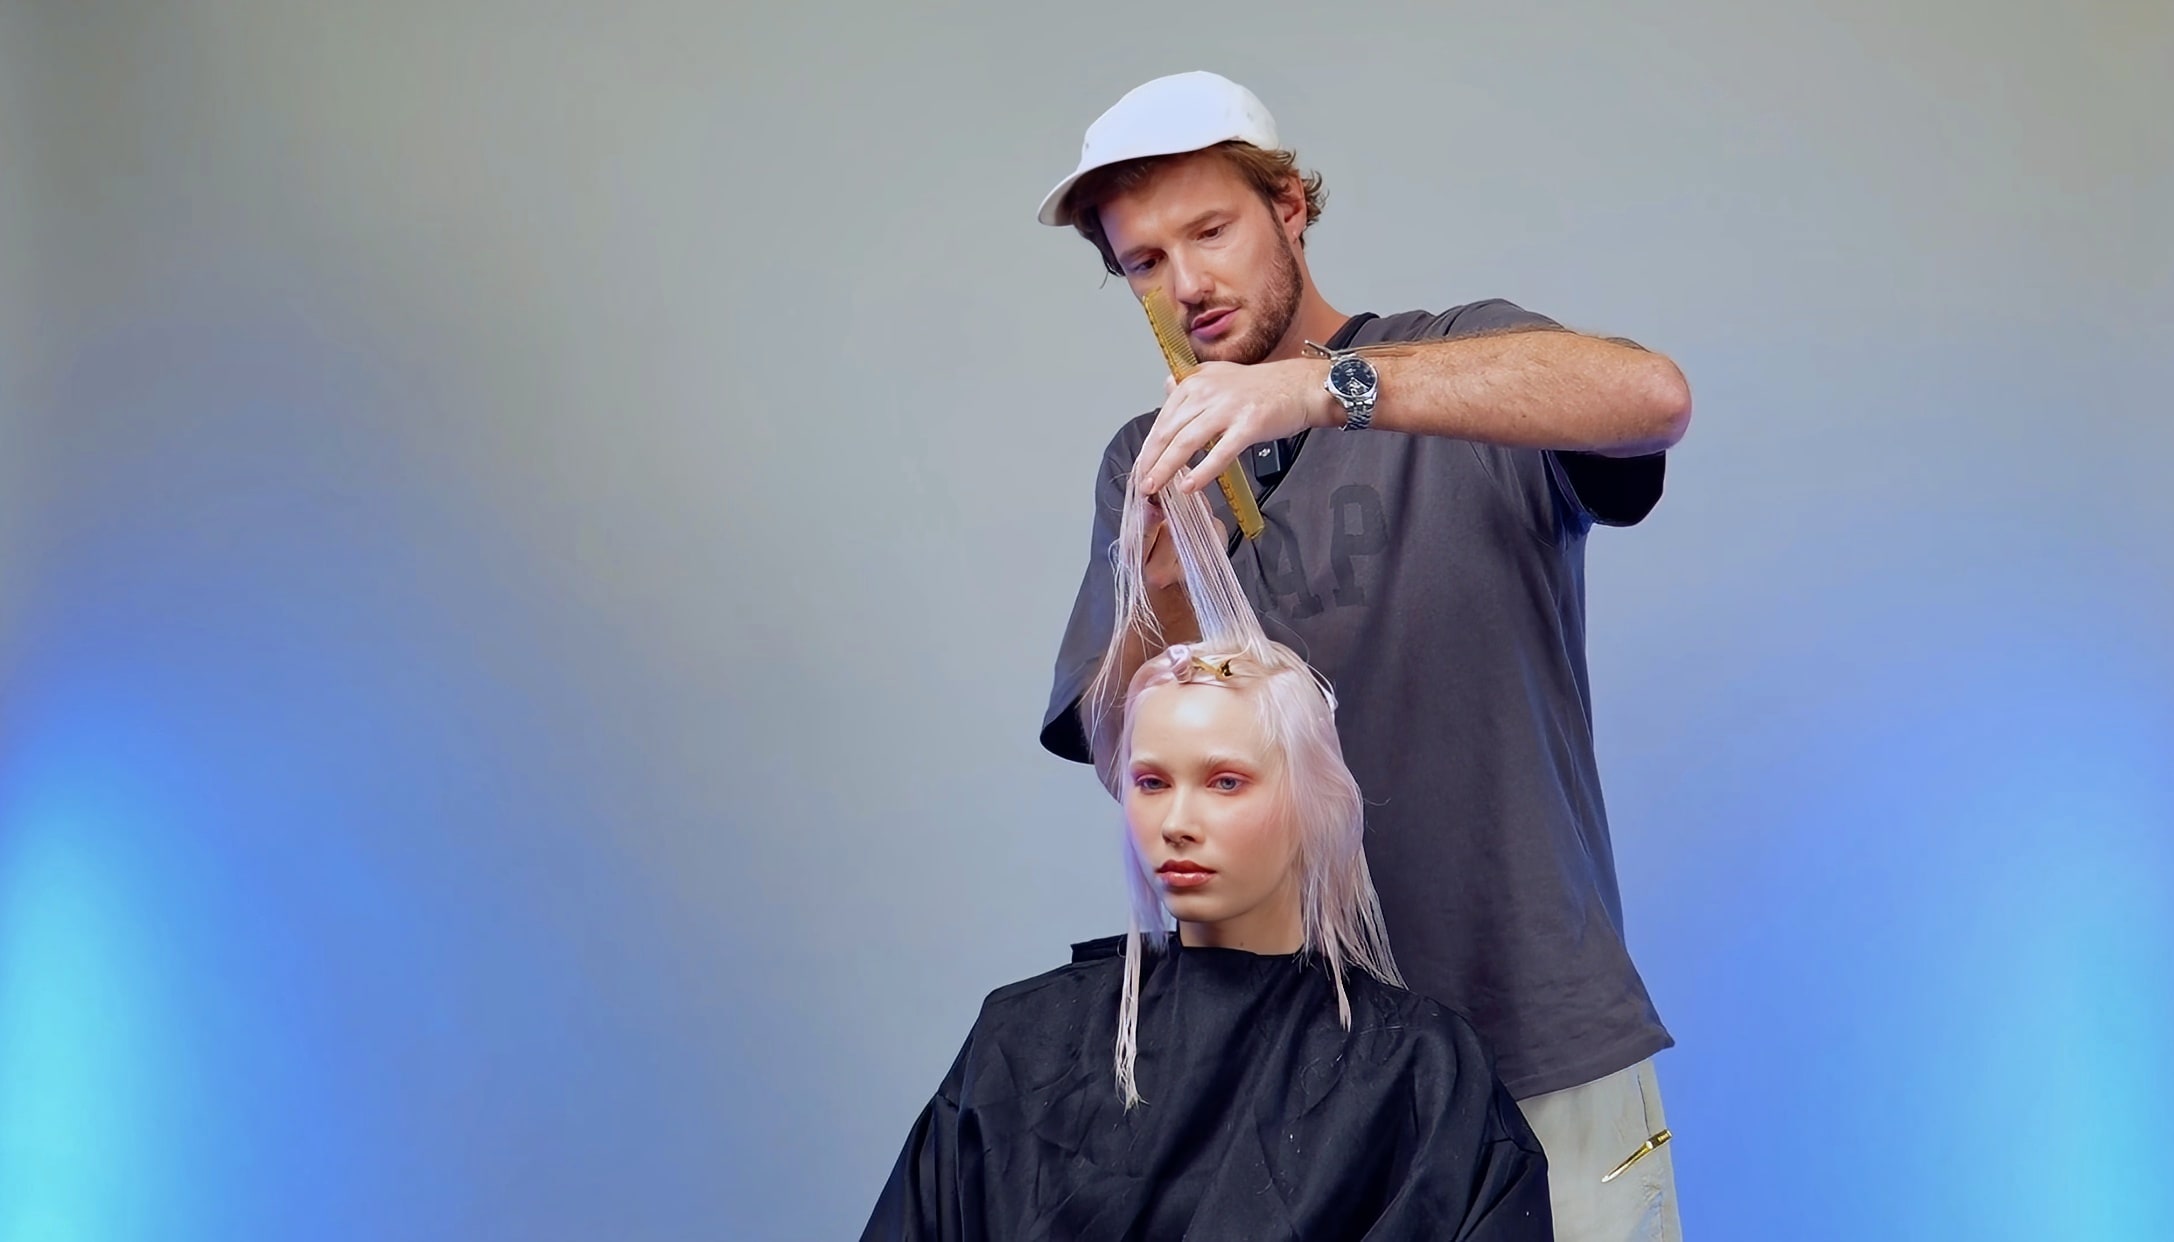
- Varied lengths: shorter sides contrast with a longer back and front. The key is smooth graduation in the blending zone, with no sharp step between planes—similar to the Dynamic Crop-Mullet Hybrid haircut.
- Texture and waves: natural hair texture should be highlighted, not hidden. The more movement you build into the cut, the less work is left for the finish—an approach that echoes the Curly Messy course.
- Personalizing the cut: you tailor the shape to face shape, density, and hair growth direction. You'll guide the fringe differently for a high forehead than for strong cowlicks—this is the essence of advising clients.
- Versatility: one cut, several styling options—from an everyday tousled look to tying the front and back, similar to the styling flexibility in the Middle Part course.
Techniques That Make a Difference
Wavy Mullet isn't so much a new shape as a set of technical decisions. Four elements determine whether the result comes out soft and modern, or flat and predictable.
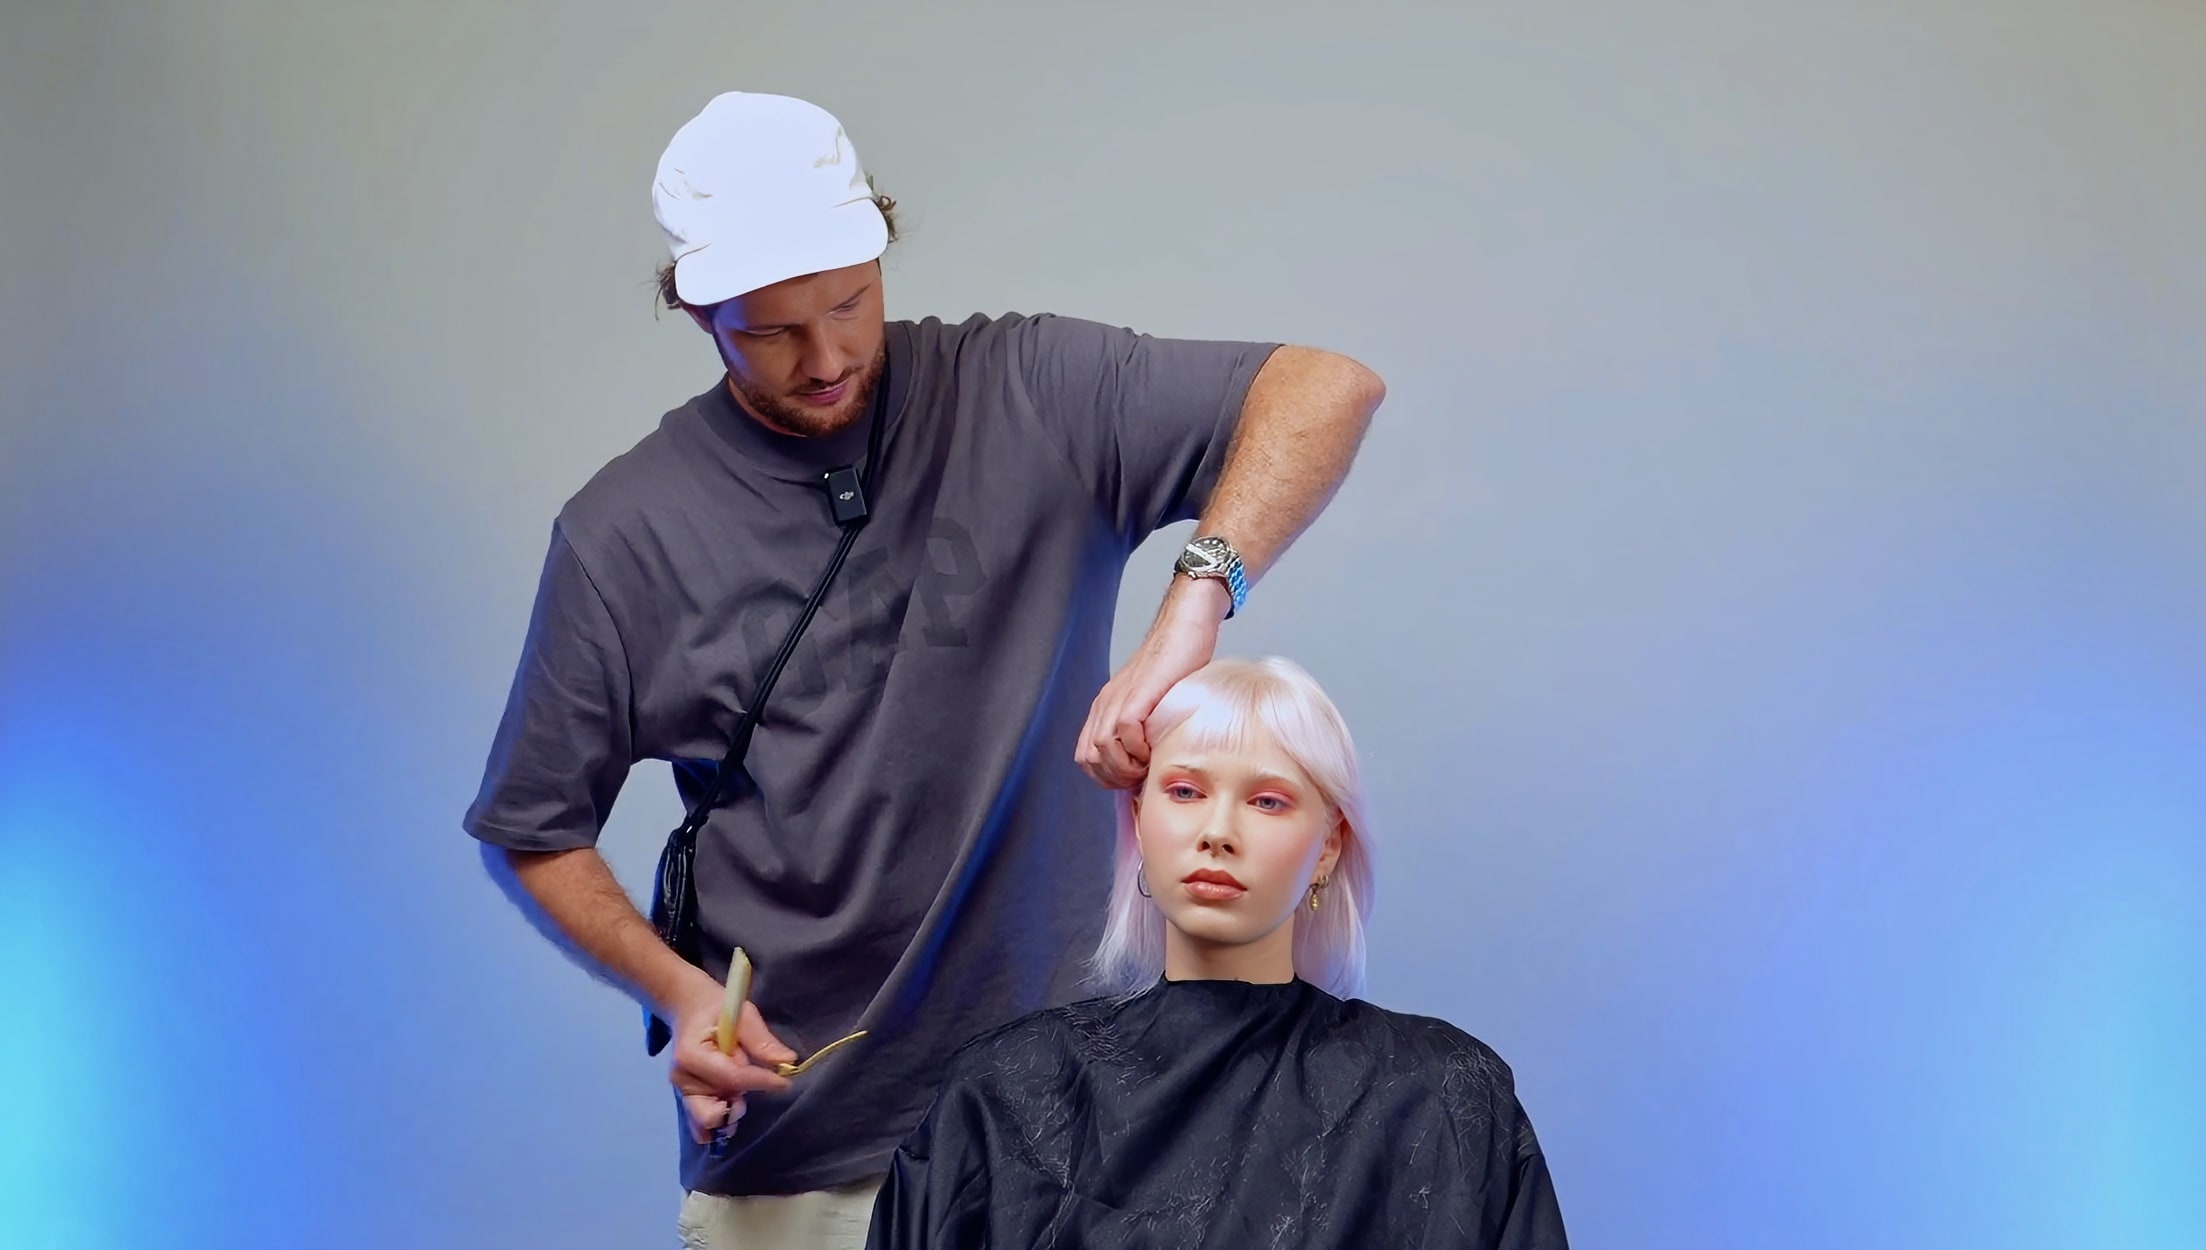
- Precise sectioning: Pięta separates the side at the point where two planes meet—the side and the back. This boundary determines the entire haircut. Set it too high and you'll lose length near the ear; too low and the blend will fall apart. Work with clean partings and comb each section out in one consistent direction.
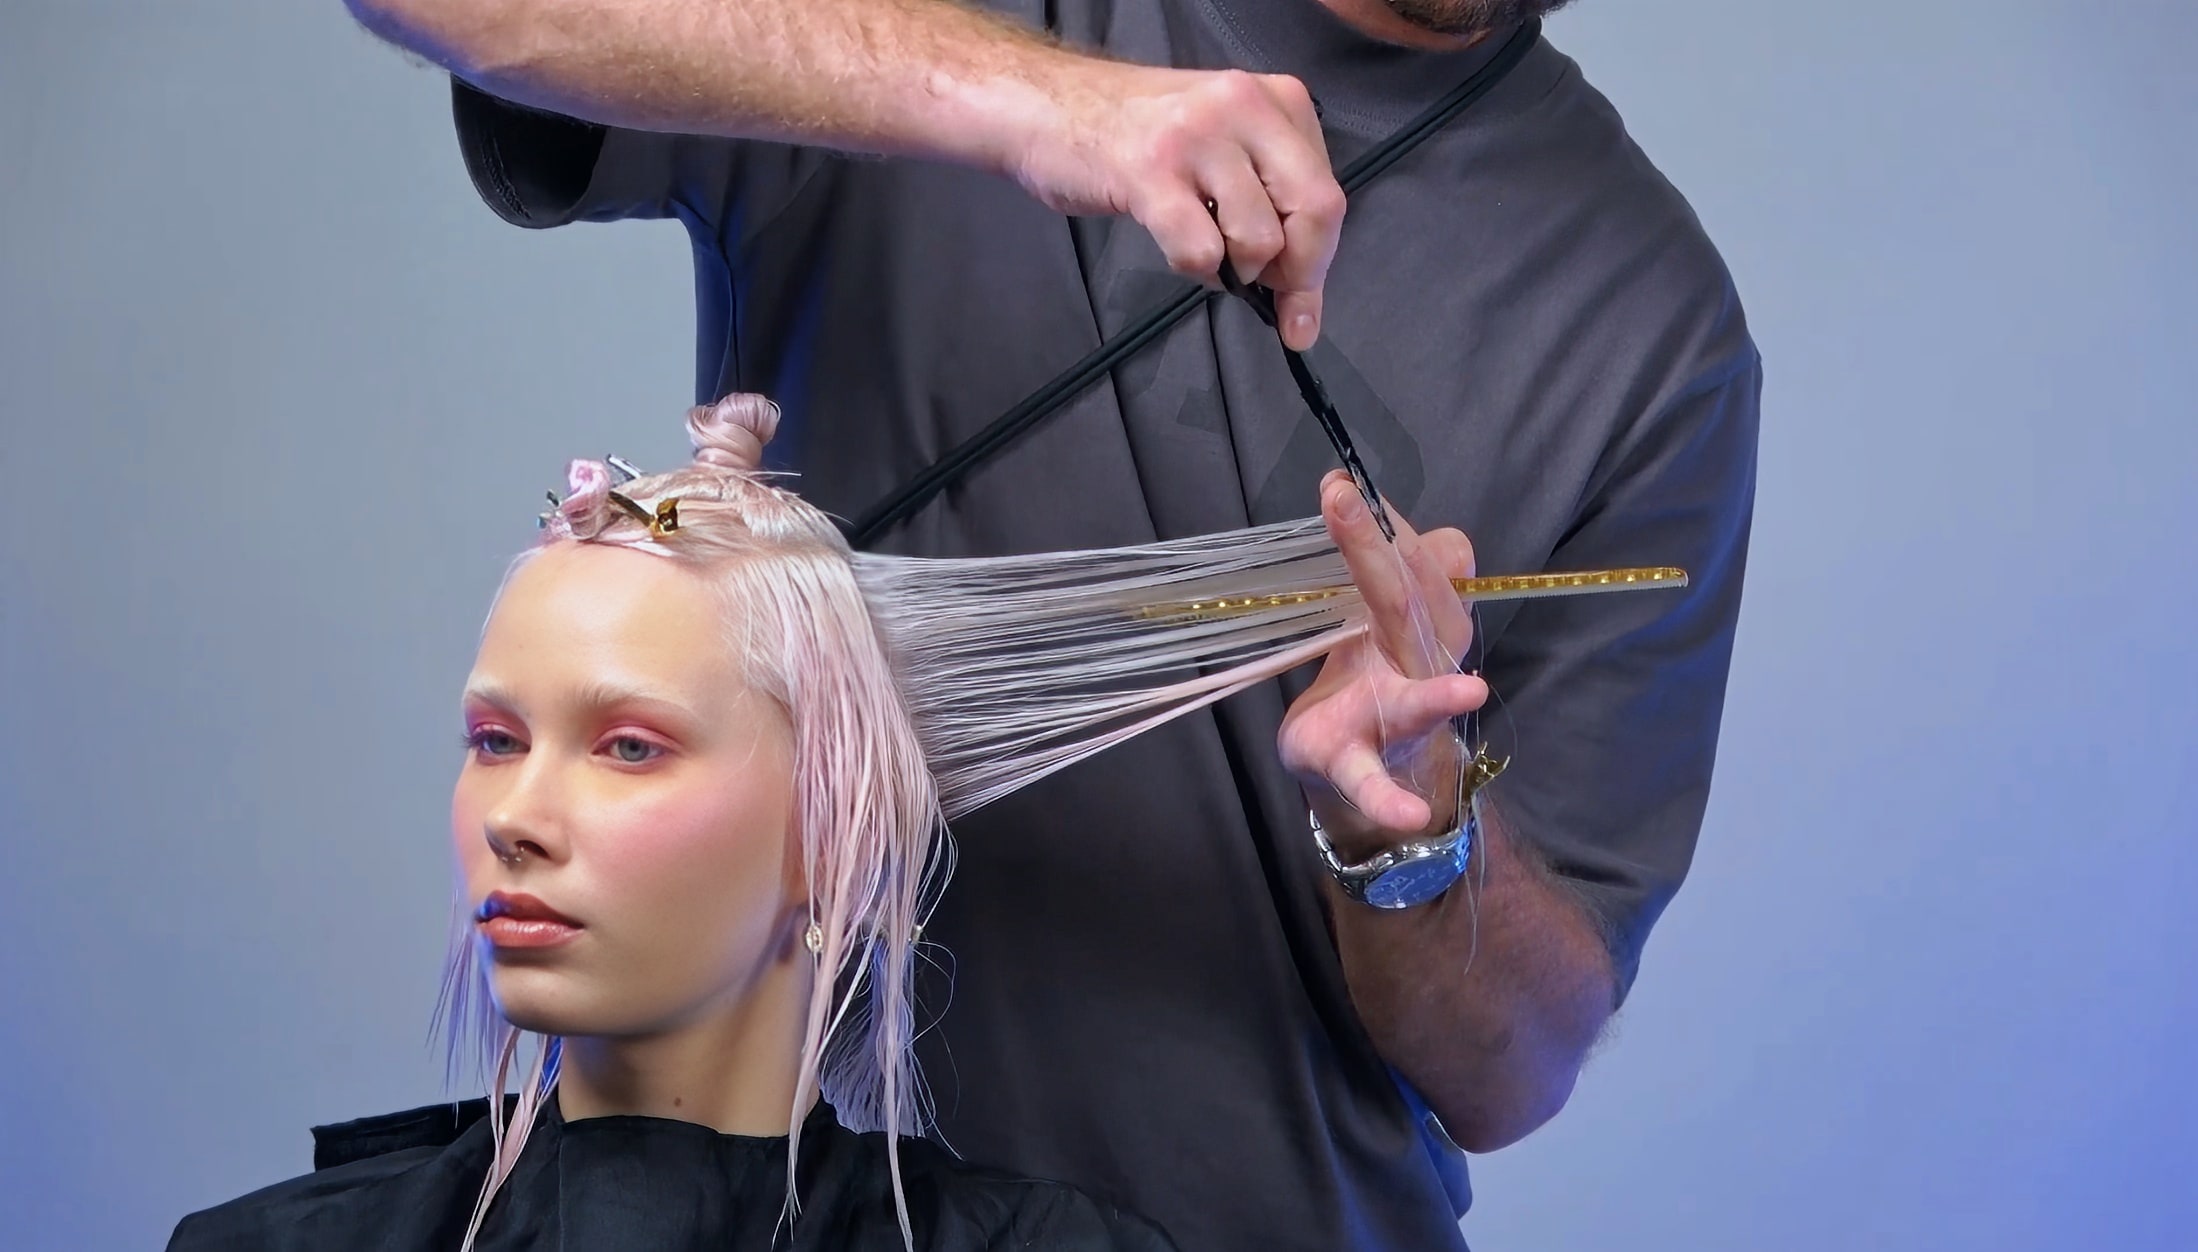
- Diagonal cutting: cutting on an angle instead of perpendicular to the floor gives smooth transitions between lengths and removes weight without creating a step. The same logic of angling the line is behind the triangular graduation with a square back plane.
- Razor work: Pięta reaches for the razor so that, as he puts it, the hair has a film on it. In practice: work on slightly damp hair with a touch of product so the blade glides over the section and cuts softly, drawing out the ends instead of chopping them off hard. Dry hair under the razor tears and frizzes.
- Texturizing: graduating the ends removes weight and builds movement into the cut, so the wave falls into place on its own. It's the same foundation as in the graduation and hair texturizing course.
Wavy Mullet Step by Step
Below is a condensed rundown of the cut in the order Tymoteusz Pięta follows it. Treat this as a work map, not a rigid recipe—you adapt every stage to the head in your chair.
- Preparation and sectioning:
- Divide the hair into the main zones: sides, back, and top.
- Separate the side zone from the point where the side and back planes meet—this is your reference point for the entire haircut.
- Section off the crown and fringe so you can work on them separately and avoid pulling length from the top into the sides.
- Cutting the sides:
- Start with the shortest elements—they set the minimum length you'll blend the rest toward.
- Cut on an angle to remove weight and avoid leaving a hard line.
- Gradually lengthen the shape toward the back of the head, checking length over your fingers and combing each section out in the same direction.
- Working on the back and crown:
- Use the razor on slightly damp hair to soften the ends and avoid hard edges.
- Lift sections at the crown to roughly 90-degree elevation from the head—this hold builds volume and root lift.
- Blend the top with the sides using smooth movements, checking the transitions on dry hair before you finalize the shape.
- Texturizing:
- Work into the ends with point cutting (vertical cuts with the tips of the scissors) to break up the hard line and add movement.
- Adjust the length and amount of texture to the client's density and natural wave—remove more on thick hair, go easy on fine hair.
- Use channel cuts (deeper notches along the section) to smoothly blend different lengths and eliminate visible steps.
- Cutting and styling the fringe:
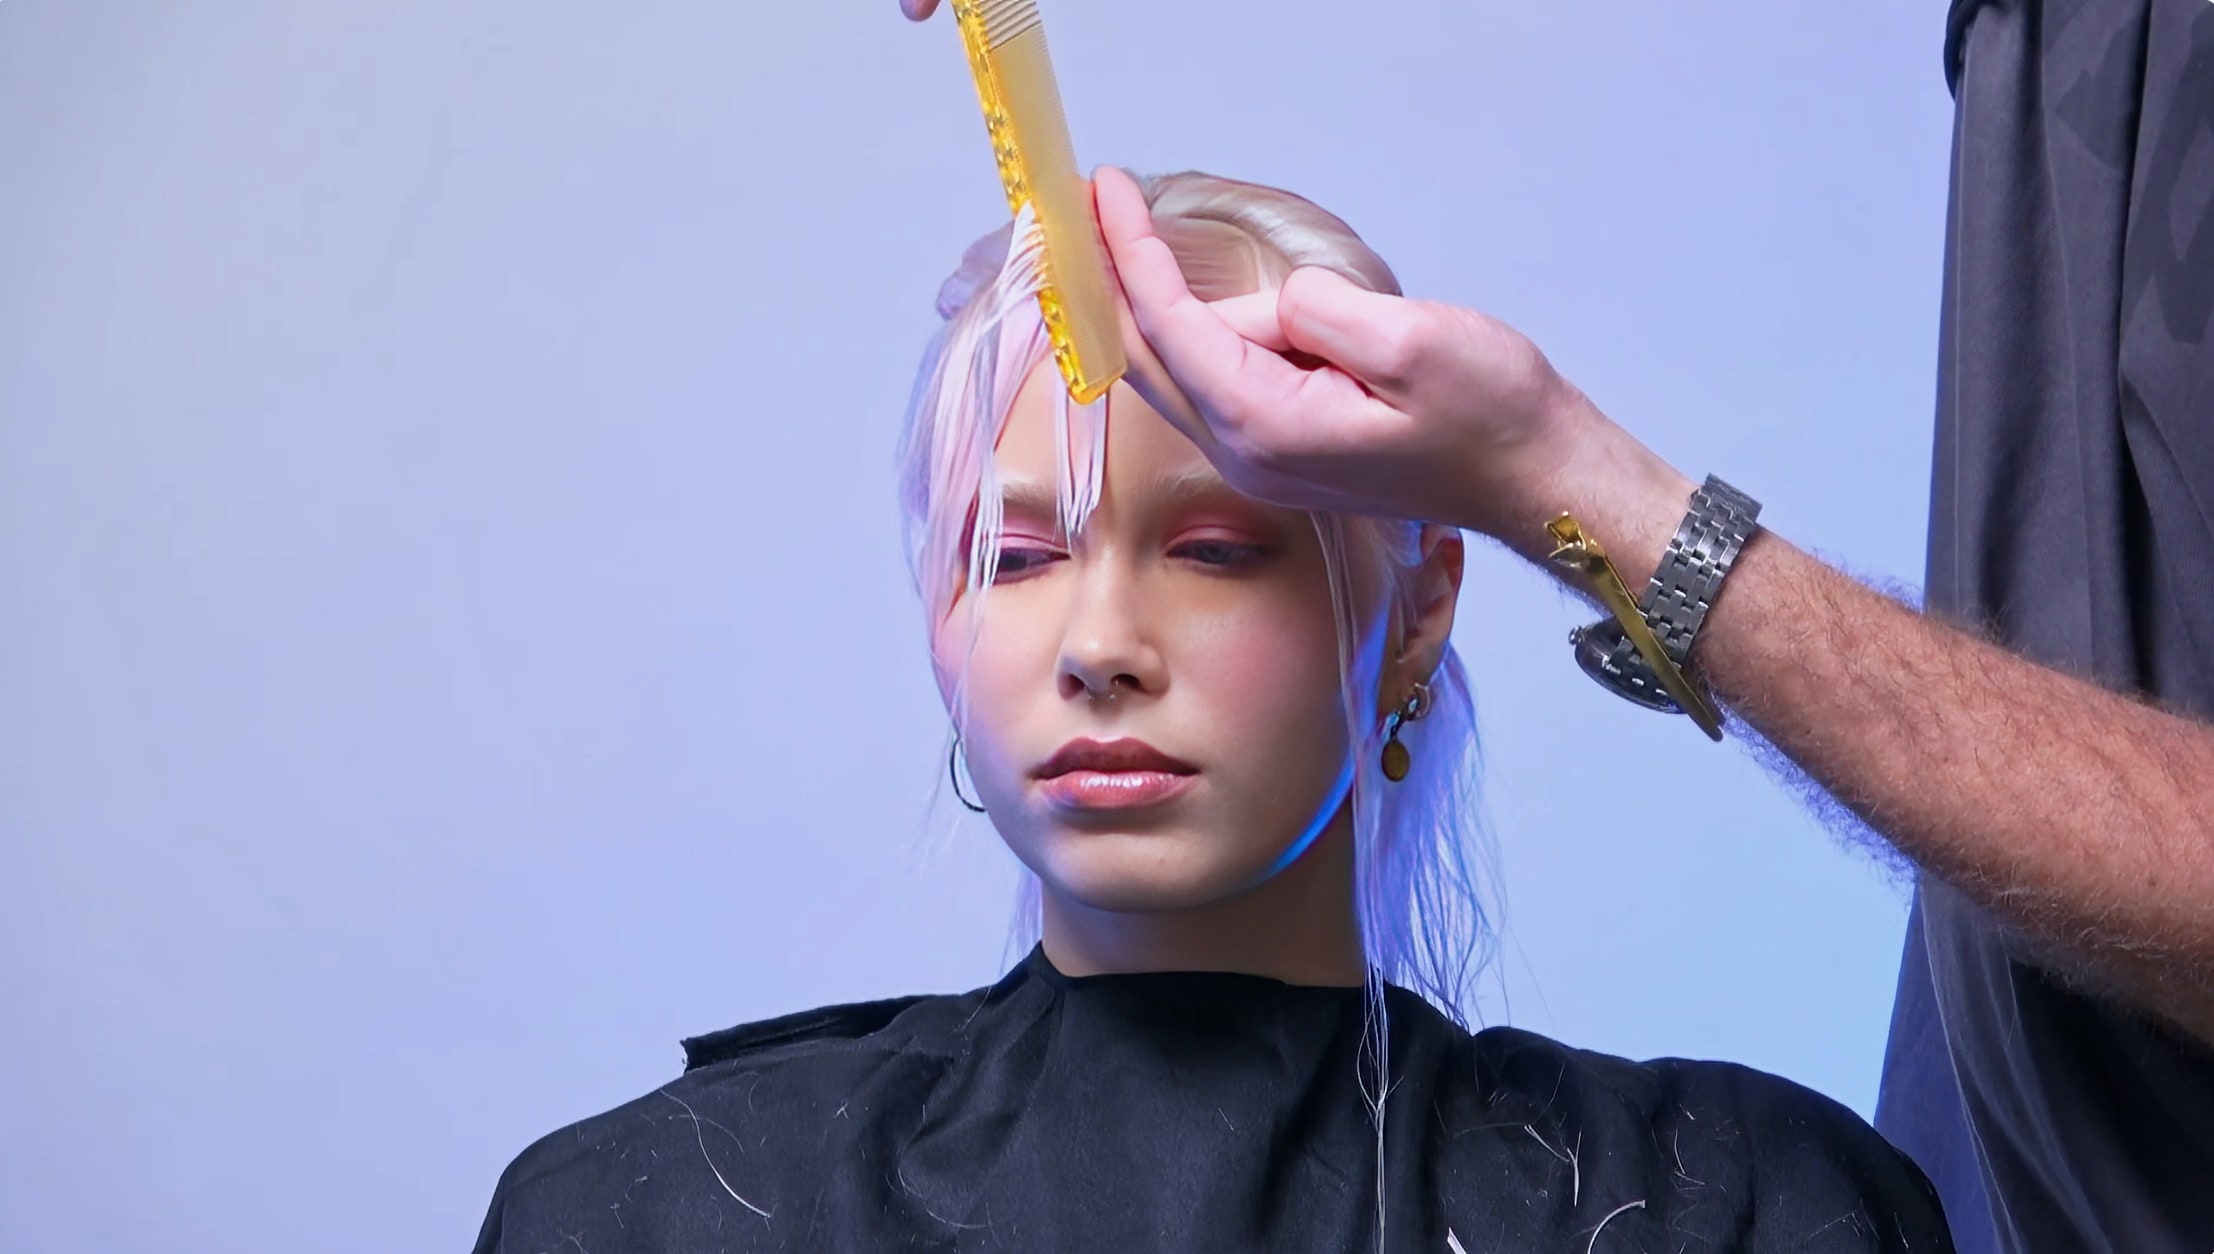
- Build a soft, textured fringe without a hard edge—so it blends into the sides rather than cutting off from the rest.
- Finish it with the razor for a natural, choppy effect.
- Connect the fringe to the sides with a smooth transition, checking the hair growth direction at the forehead.
- Styling and finishing:
- Blow-dry the hair with an emphasis on natural texture, lifting the roots for volume.
- Create waves with a flat iron, directing the first curl toward the face—this sets the movement that shows from the front.
- Apply mousse to lock in and enhance the texture without weighing the hair down.
- Finally, scrunch the hair in your hands until it takes on a loose, slightly tousled look.
Pięta emphasizes that success comes down to adapting every stage to the client—above all to the natural hair growth direction and structure. Cutting with that direction, rather than against it, is what makes the hairstyle fall into place after leaving the salon, not just in the chair.
Styling That Stands Out
In Wavy Mullet, the finish carries as much weight as the cut. It's at the styling stage that you decide whether the wave looks natural or artificial.
- Creating waves: Pięta uses a flat iron to create naturally-looking waves, directing the first curl toward the face. It's about irregular, effortless movement rather than even curls, similar to the Pompadour styling course.
- Product selection: from mousses to sea salt creams—you choose the product based on hair type and the effect you want. Mousse gives hold and volume, sea salt adds matte finish and texture, a point also emphasized by Maks Łukaszewicz in his courses.
- The tousled effect: scrunching the hair in your hands concentrates the texture and gives the hairstyle a loose, slightly ruffled character. It's the final step that ties the whole look together.
Who Wavy Mullet Is For
This haircut is for a client who consciously wants to stand out. As Pięta puts it: if we have a bold person in the chair who knows what they want out of life, we can really allow ourselves this kind of haircut. That's why a consultation before cutting is mandatory here—you need to know whether the client will accept the length at the back and the everyday finish.
Wavy Mullet fits well into the gender-neutral hairdressing trend, as it blends elements of traditionally men's and women's hairstyles into one flexible form.
What You Develop by Practicing This Cut
Wavy Mullet is good practice for your craft, since it forces you to control texture and transitions at the same time. By working on it:
- You practice working with different hair textures, which is key in haircutting techniques for curly men's hair.
- You master diagonal cutting, point cutting, and channel cuts—the same texturizing craft behind the Burst Fade course.
- You learn to advise clients on which version of Wavy Mullet to choose—and this also feeds into building a personal brand online, since cuts like this work well in a portfolio.
Learn Wavy Mullet from Scratch
In Tymoteusz Pięta's course on Connected Hair, you'll see the entire cut from sectioning to finish, including razor work, texturizing, and wave styling. This is knowledge you can bring straight behind the chair and add to your offering.
Join Academy Pro and work through Wavy Mullet step by step alongside the instructor. As Pięta sums it up: we take care of what we have and try to create a one-of-a-kind version.
Want to dive deeper? Check out our podcasts and in-person courses.
See it in practice: in the Wavy Mullet course with Tymoteusz Pięta you'll follow the entire process step by step on a model, with commentary from the instructor.


