
Curly Taper Crop
A men's haircutting course for hairdressers, teaching how to create a modern Curly Taper Crop on tightly curled hair. Learn the technique for building a square shape and a high taper that controls volume.
Result and process
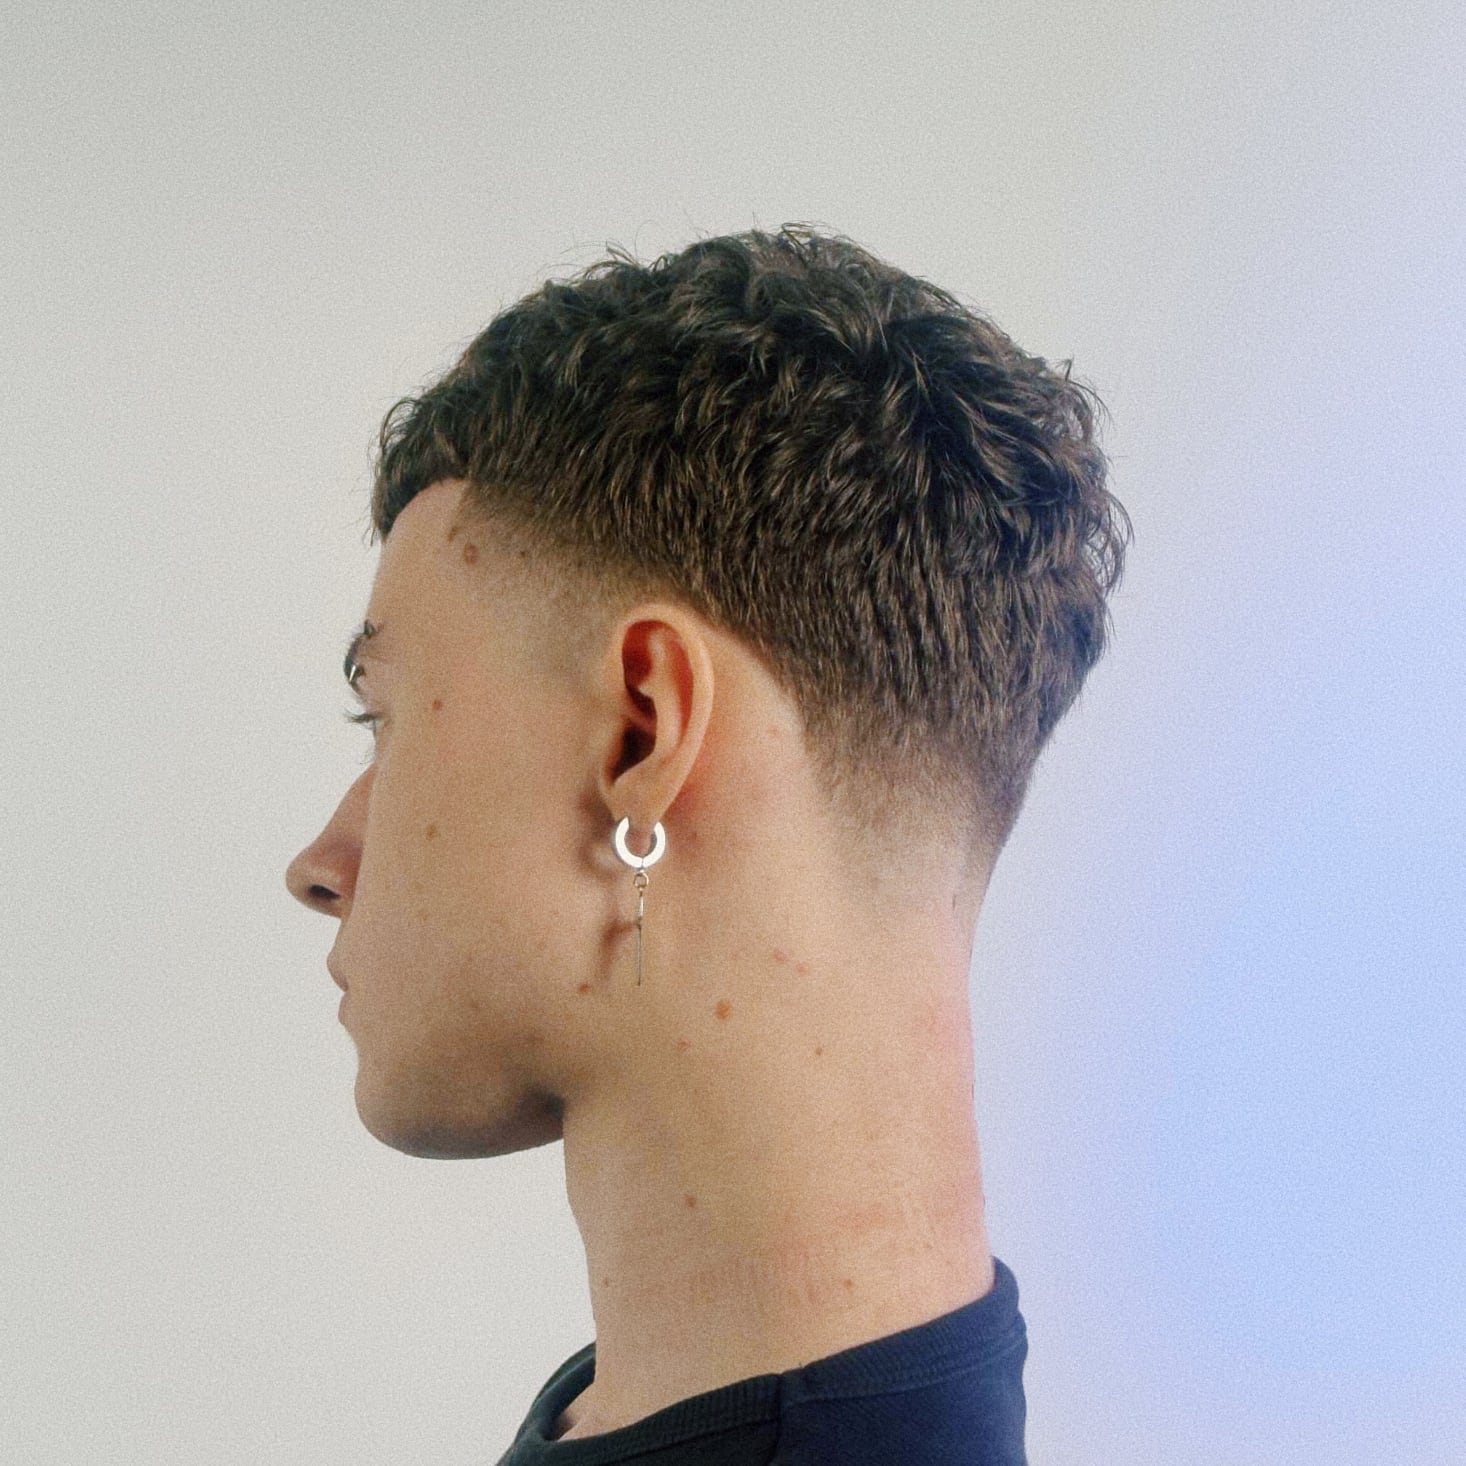
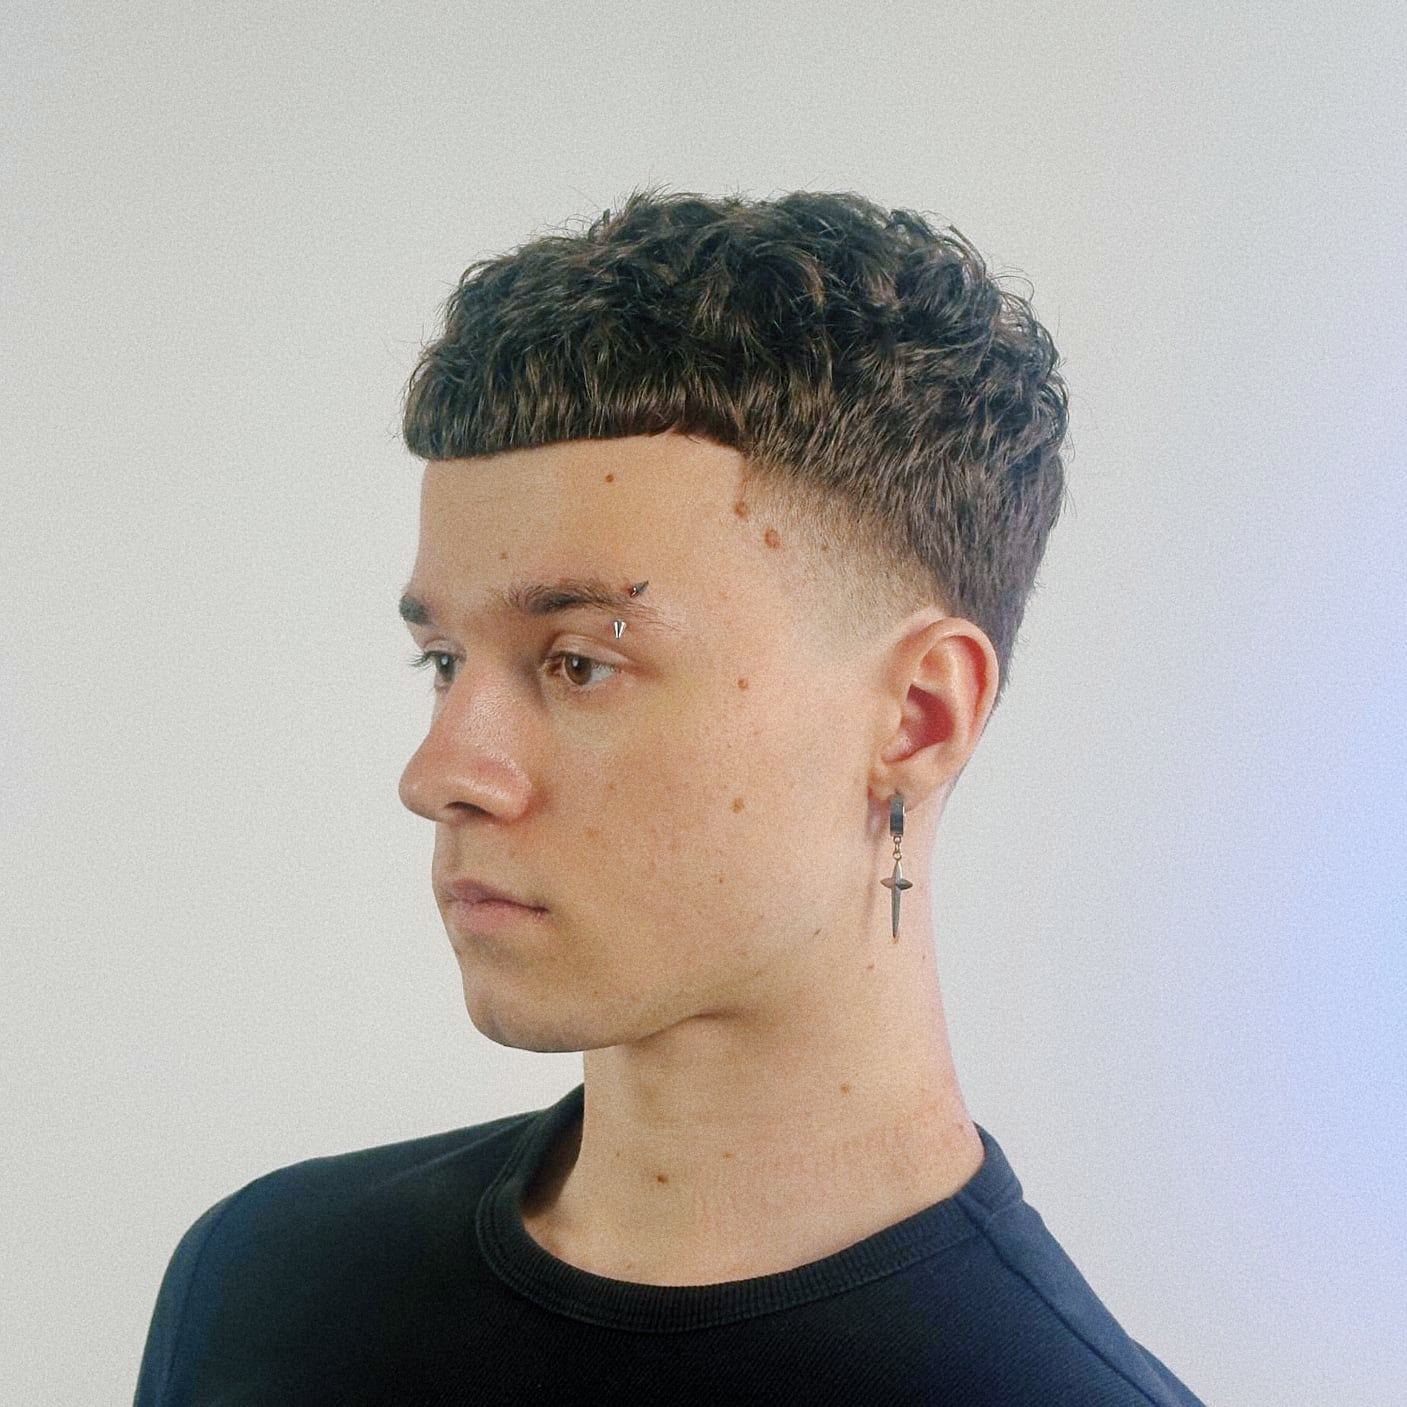
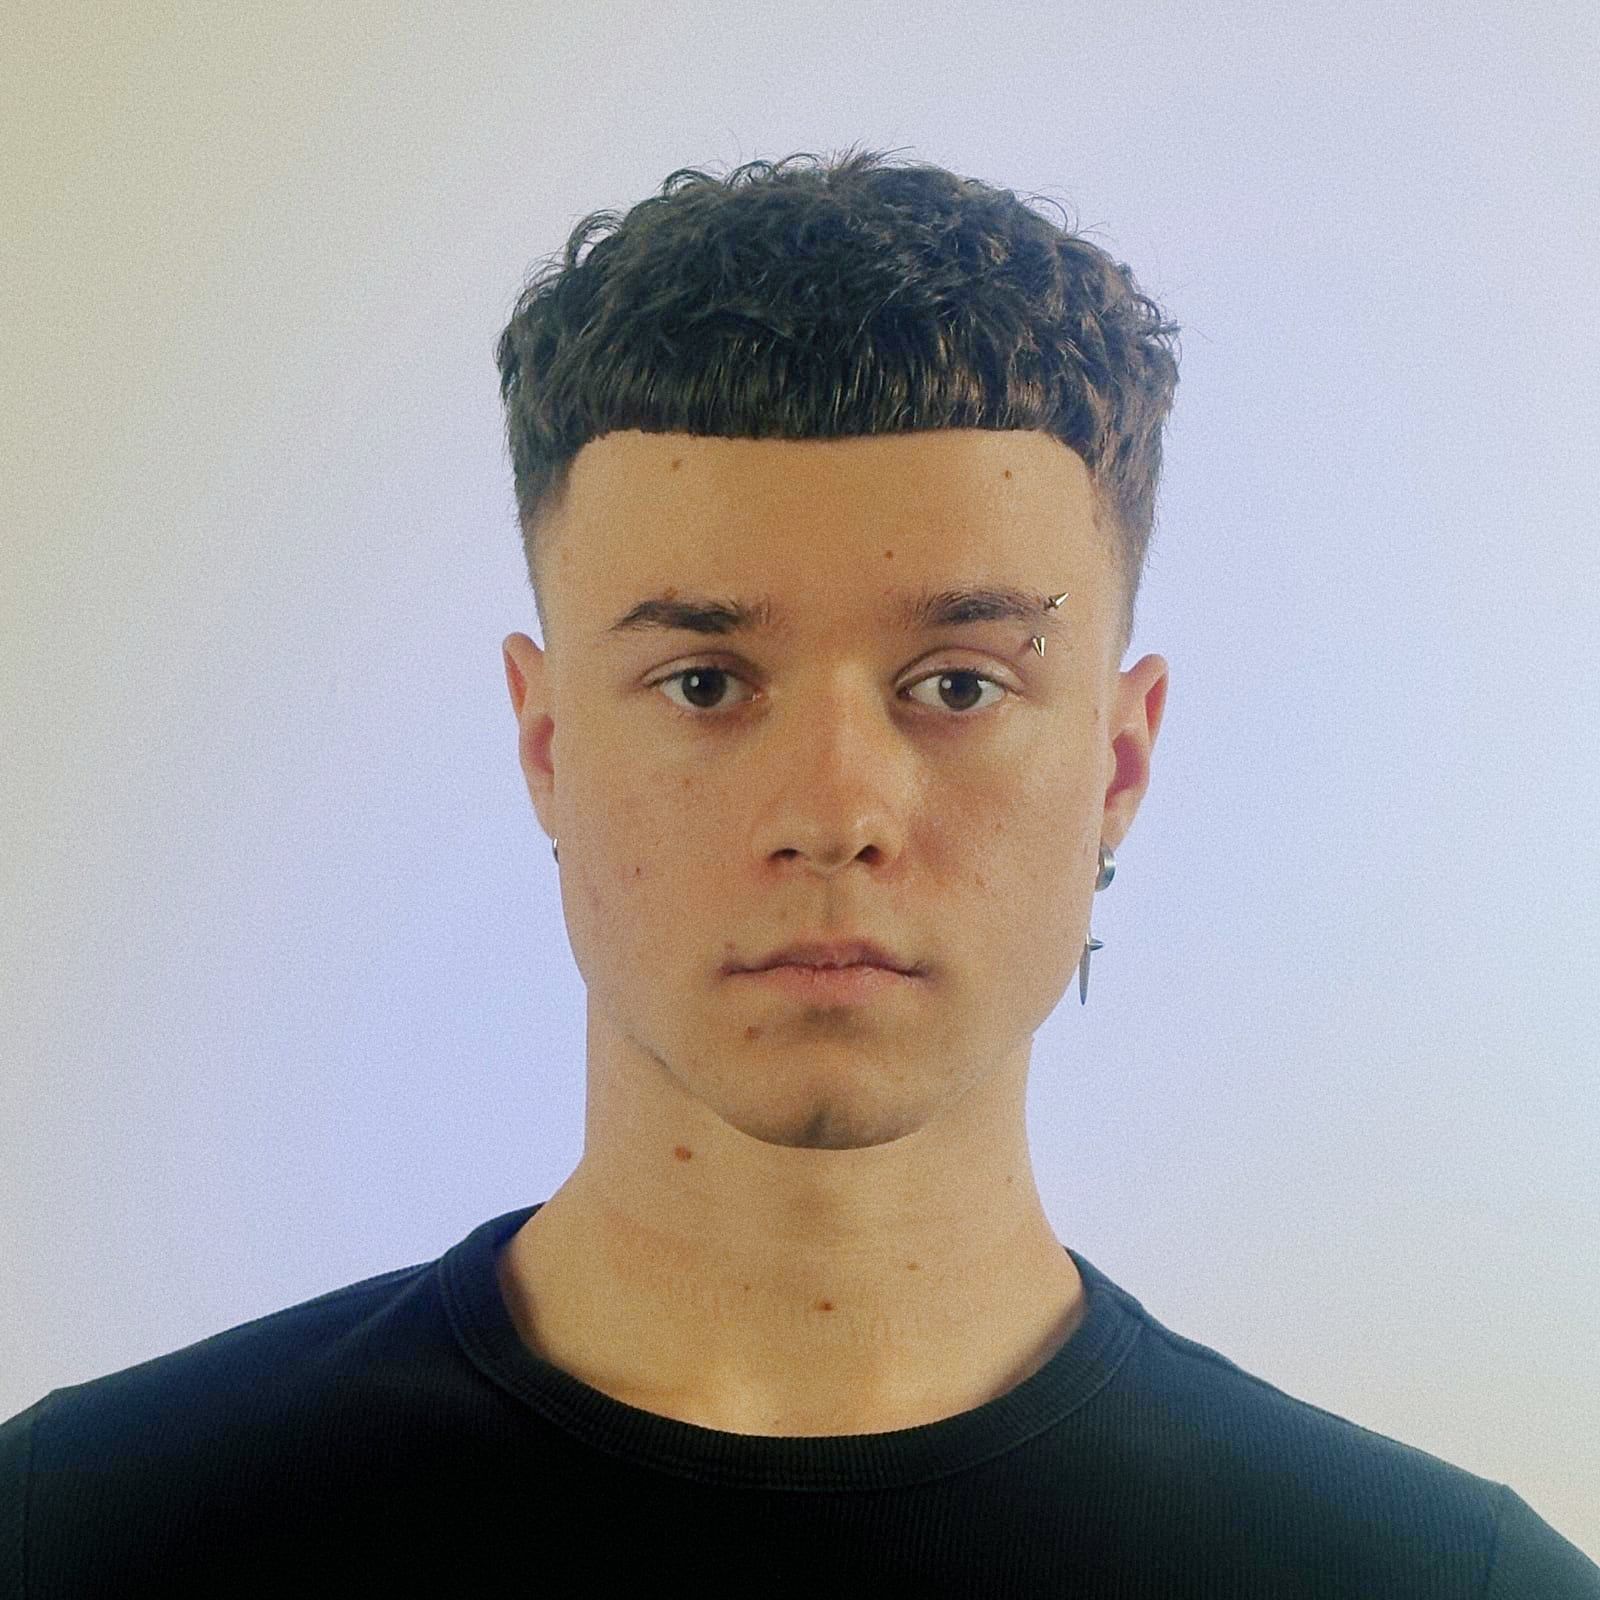
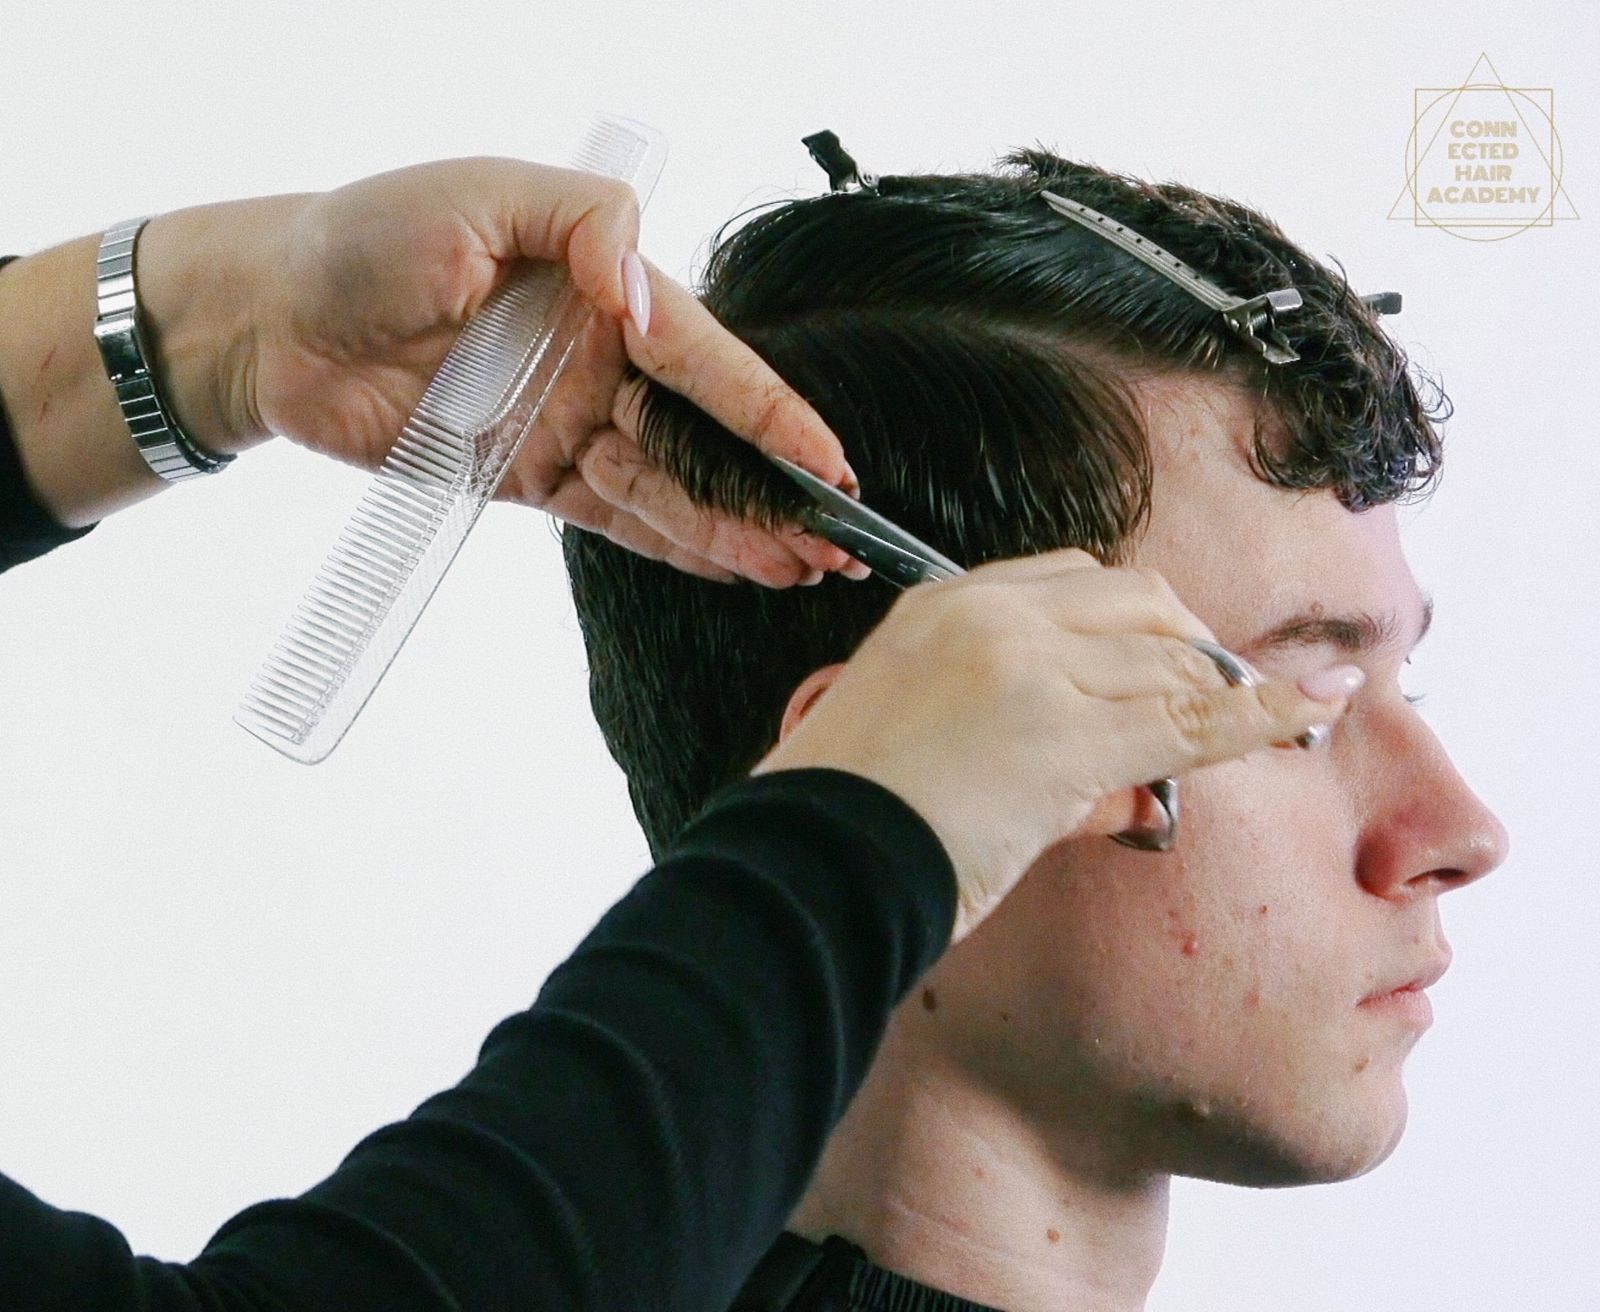
About the course
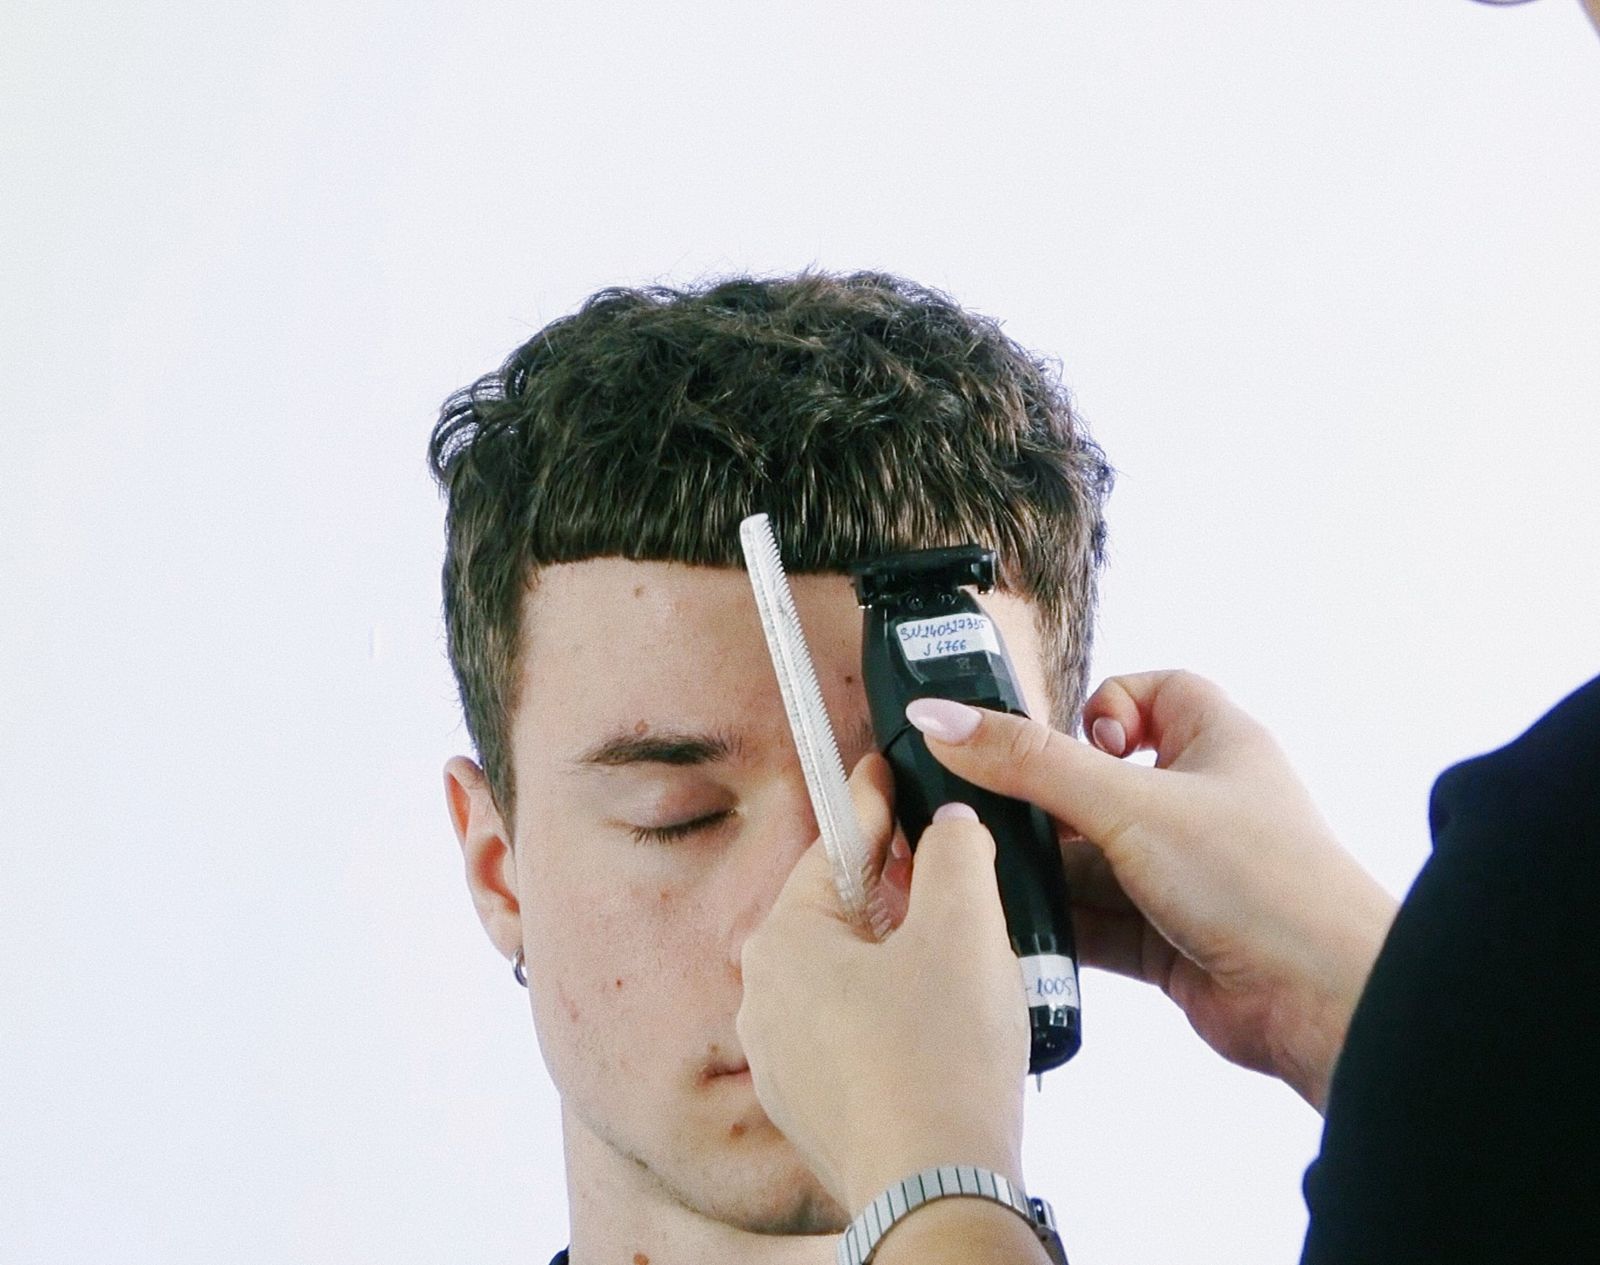
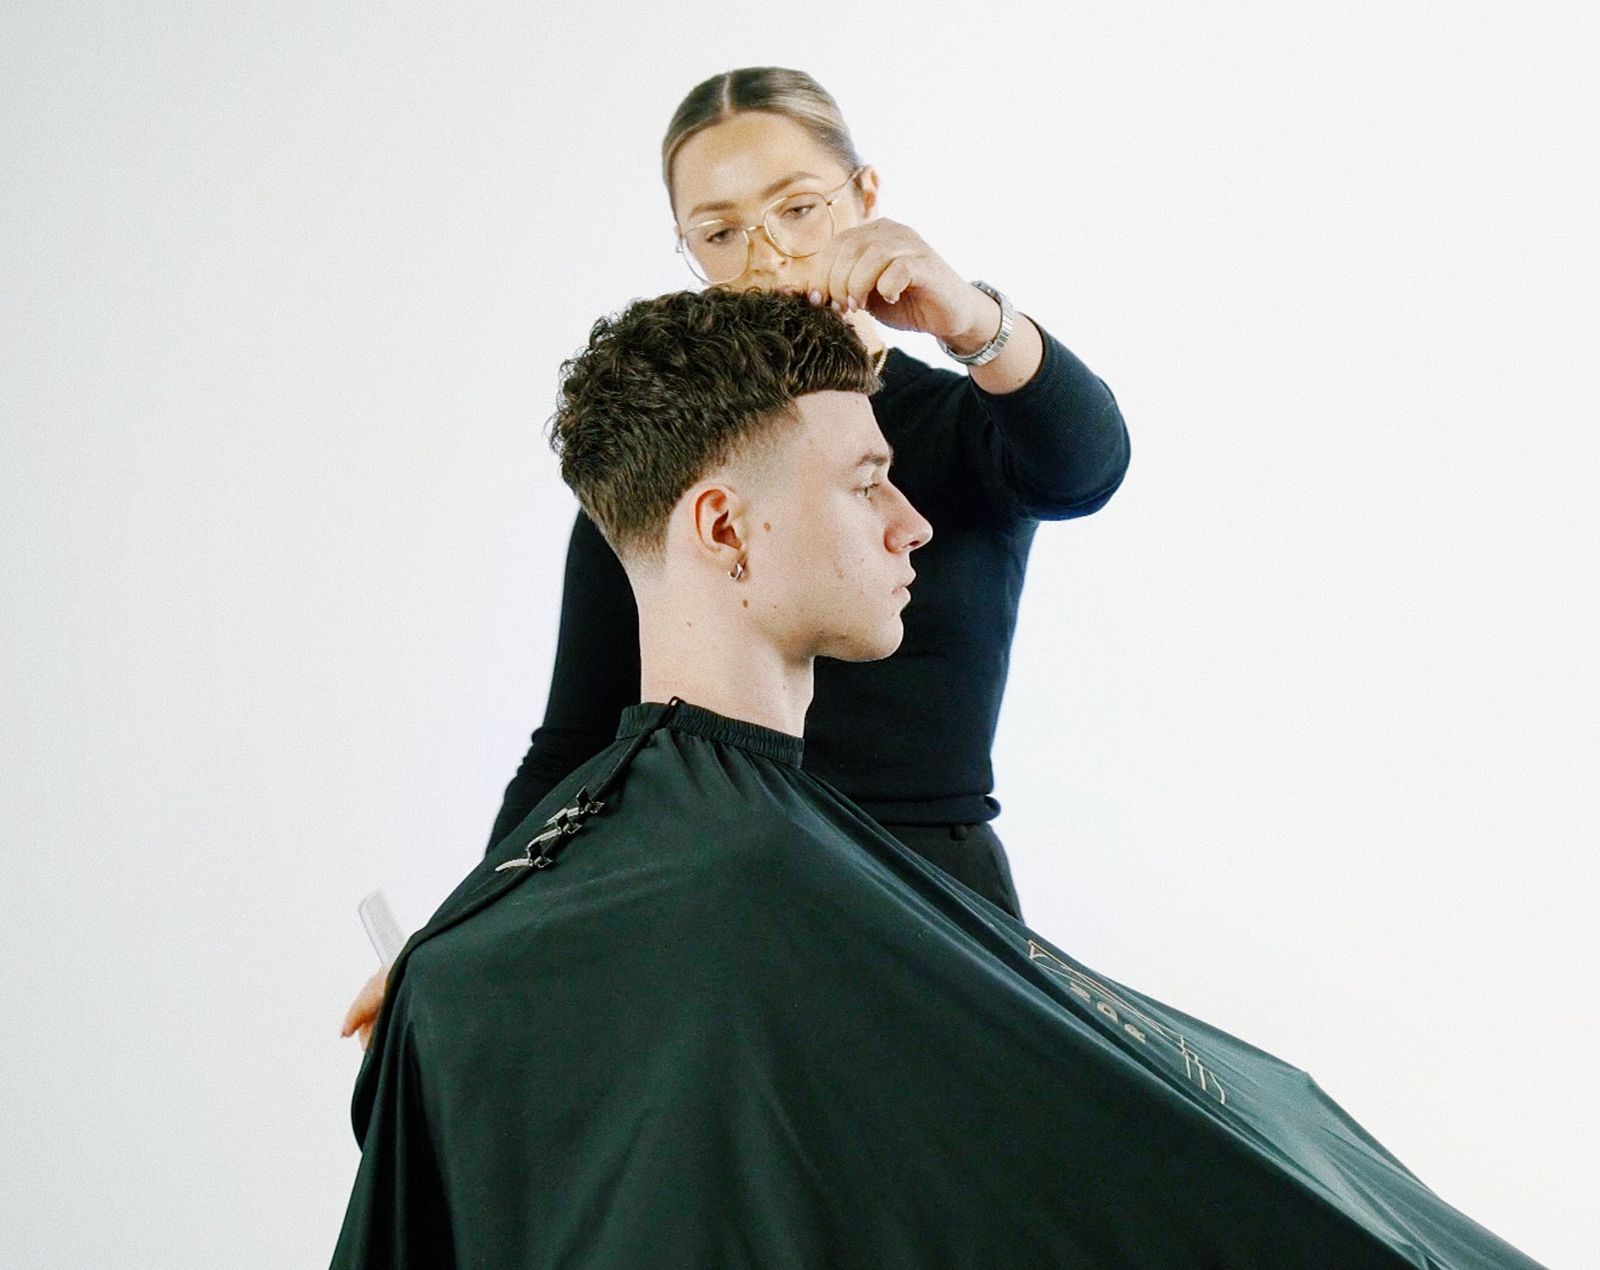
Curly Taper Crop is a modern men's haircut designed to turn tightly curled hair into an ally of shape, rather than a problem to control. The form combines three contrasting elements: a flat, square top, a straight, graphic fringe, and a condensed, high taper on the temples and nape. The course shows how to build an intentional structure that controls volume and adds character, instead of fighting the natural curl.
Anastasiia Verbitskaya guides you through the entire process, starting with a live consultation and translating the client's expectations into concrete technical decisions. The course reveals her unique workflow: working on wet, constantly re-moistened hair, building the square on top with horizontal sections, and a two-stage fringe cut - first while wet, then finalized dry after diffuser styling. Only after shaping the curl on top does Nastia move on to building the high taper with clippers, using the fringe length as the reference point for the weight line.
In this course you'll see
- A two-stage fringe cut: an initial wet cut leaving allowance for curl shrinkage, and a final dry trim with a trimmer for a straight, graphic line
- The full process of building a high taper starting from guard #3 downward, with the weight line set at fringe height
- Building the square on top with horizontal sections - why this is the faster and more precise method on short, curly hair
- Radial work on the nape in graduation, which preserves volume and prepares the base for the taper
- Why styling the top with a diffuser happens BEFORE clipper work, and how this makes controlling the final shape easier
- Why constant moisturizing of the hair with an atomizer is key to control and precision when working with strong curl
- How to condense the transition on dark, dense hair so the taper stays clean and clear-cut without patchiness
After this course you'll stop treating curl as a problem and start using it as a tool for building an intentional shape. You'll learn to predict how curly hair behaves once dry and to design the haircut so the final result is repeatable for the client, rather than a matter of chance and forced styling.
What you will learn
- 01How to cut a graphic fringe in two stages: wet and then dry with a trimmer.
- 02How to build a square on top by working with fast horizontal sections.
- 03How to create a high, condensed taper using the fringe as the reference point.
- 04Why it's best to shape the top first, and only then build the taper on the sides.
- 05How to work radially at the nape to control volume without flattening the shape.
- 06How to style curly hair with a diffuser to bring out and define the natural curl.
Before you start
This course assumes you already have:
What's inside
Full access with the course 1:47
1:4701Planning a high taper fade
On the sides, a fairly high taper fade would sit best here.
 7:17
7:1702Nape cutting technique
I don't grip the hair in a way that would flatten my nape.
 16:05
16:0503Tension direction for the square
We'll pull every section toward the crown upward, meaning more toward ourselves.
 26:01
26:0104Adjusting the fade to the styling
I always adjust the fade to the haircut I've dried and pre-styled.
 32:06
32:0605Connecting the weight line with the fringe
I think it's great when the weight line connects with the fringe.
 40:47
40:4706Shaver technique near the zero line
The closer I get to the zero line, the more I ease off the pressure on the skin.
 50:41
50:4107Setting the lines at the nape
Where the jawline runs, that's where zero forms, and at ear-mid height, that's where the weight line forms.
 1:01:34
08Building up product for styling
We'll use the same cream, just layer it up more.
FAQ
Who is this course for - beginners or advanced hairdressers?
What hair type does this technique work best on?
What tools are essential for this haircut?
Why does Anastasiia cut the fringe in two stages - wet and then dry?
Why is the top cut with horizontal sections instead of vertical ones?
Does the course show how to run a client consultation?
How long is the full video course?
Details
Educator
Anastasiia Verbitskaya
Educator · 3 courses
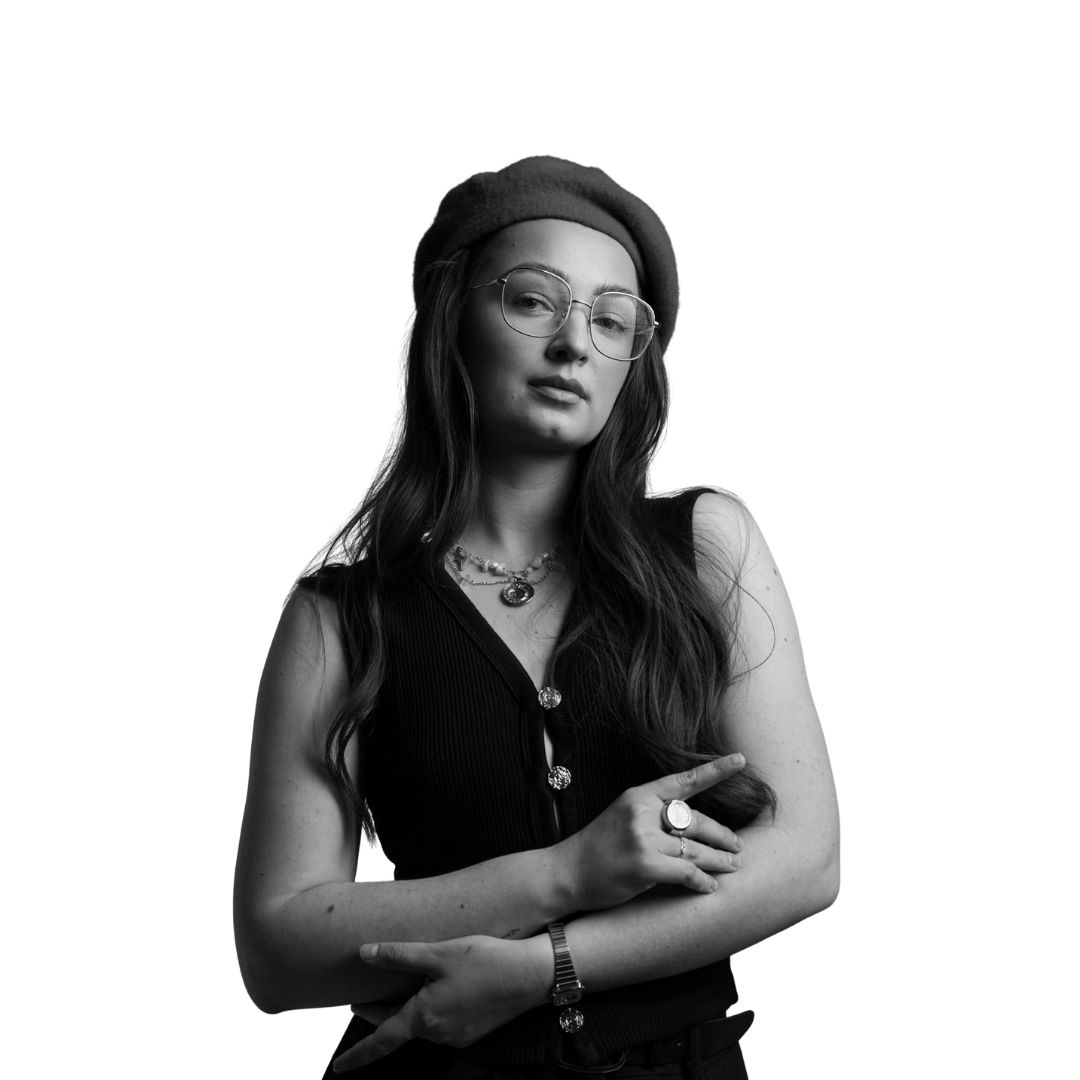
A barber and educator from Ukraine, based at Barberian Ink in Koszalin and the NordCut Academy. As lead trainer of the „From Zero to Barber” program, she helps beginners master fundamental techniques. In her teaching, she emphasizes working with intention and structured section work, believing that your own style is built through continuous growth and drawing inspiration from others.
Ready for the next level
Unlock full access to the Connected Hair course library.
Join the Academy