Radial shading with pivot technique
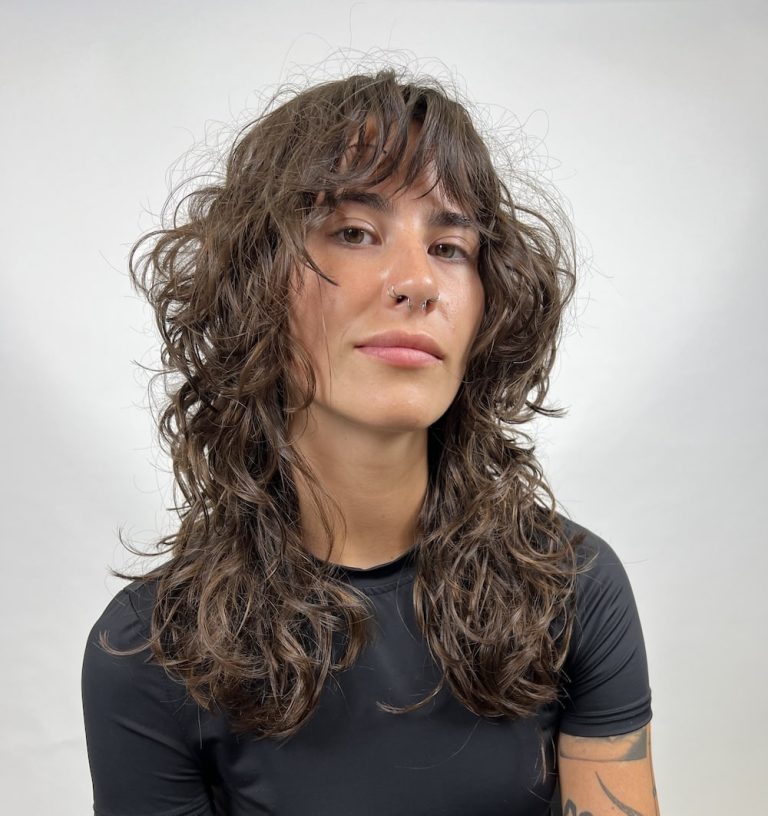
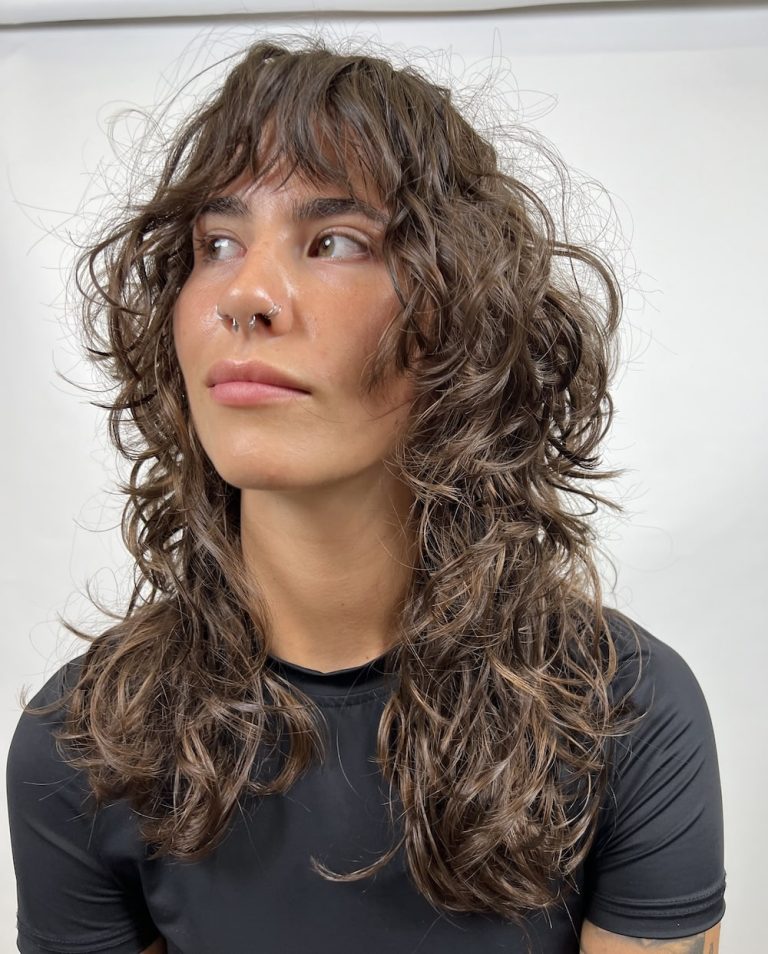
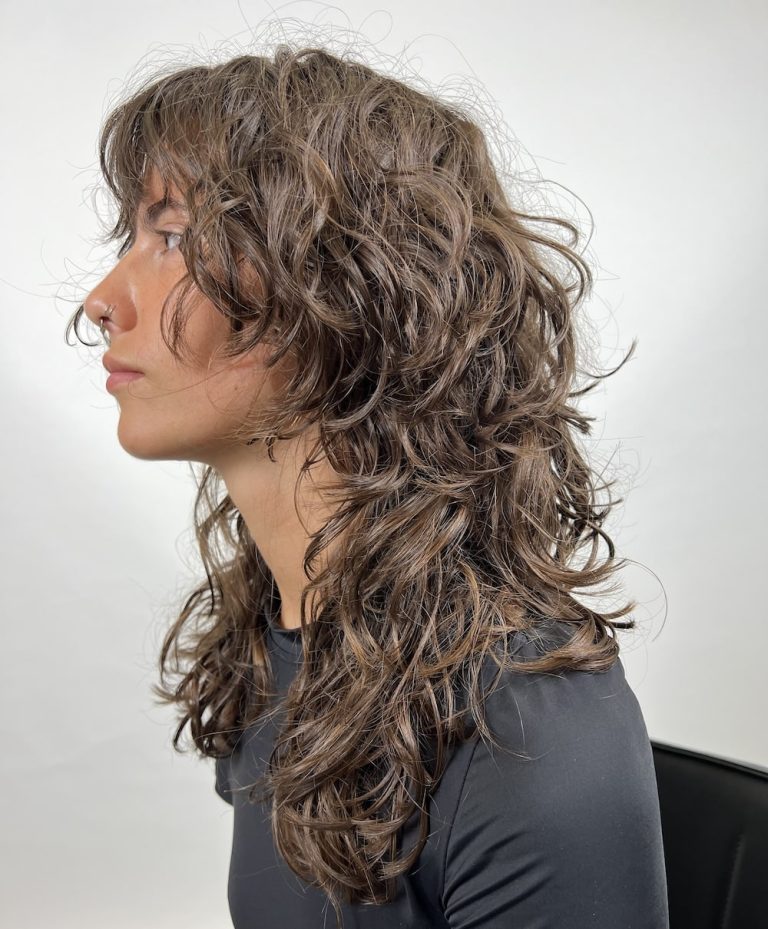
 The result and the process
 What you'll learn
 What you'll learn
How to work with pivoting triangular separations.
How to consciously adjust the angle from 180° to 140° to preserve the length.
How to identify 4 reference points to maintain the perfect balance of your hairstyle.
How to create uneven bangs using a thinning shears, cutting at a 45° angle.
Why body position is key to precision when cutting in the pivot.
When should you pull the sections to the side, and when should you extend the length at the back?
Radial pivot layering is a haircutting technique for thick, curly hair that reduces its weight while creating maximum volume, lightness, and movement. The course demonstrates how to transform heavy curls—which are difficult to style on a daily basis—into a hairstyle that highlights the cheekbones, gives the face a defined contour, and makes daily styling easier for the client.
Piotr Adaszkiewicz guides you step by step through the entire cutting process: from finding the highest point on the head and creating a cross-part, through working with pivoting sections, to deliberately using angles ranging from 180° to 140° to reduce bulk without sacrificing length. The course demonstrates how to reflect the anatomy of the head in a rounded haircut shape to achieve natural yet controlled volume.
In this course, you'll learn:
- Working with pivoting sections—how to create triangular sections from a single central point at the top of the head.
- Precise control of angles ranging from 180° to 140° – why stopping at 140° is crucial for maintaining length while reducing weight.
- The method for perfect balance – how to mark four reference points (front, back, sides) before starting the haircut to avoid symmetry errors.
- Creating uneven bangs with a Chinese razor – how to cut at a 45-degree angle on wet hair to achieve a soft, ragged finish.
- Body positioning while cutting—when to pull strands toward you and when to push them away to maintain precision on both sides of the head.
- A complete styling guide for curls using a diffuser—how to blow-dry your hair upside down for maximum volume and use dry hairspray as a protective barrier against humidity.
After this course, you’ll be able to consciously use geometry and the pivot technique to sculpt volume in thick and curly hair. Instead of struggling with excess volume, you’ll learn to control it, creating light, dynamic hairstyles that highlight your client’s facial features and are easy for her to style at home.
What's inside
Full access to the course
 What's inside

Measuring the distance from the top of the head
"By running the comb along the surface, we were looking for a sort of peak—that is, the highest point."

Warning: Avoid excessive redirection
"If we redirect the traffic too much, each subsequent band will become shorter."

Creating a new memory band from the side
"In this area, you'll need to create a new memory channel because you don't have a reference point at the front."

Choosing a position: pulling vs. pushing
"Either I switch combs—so now I'll be pushing the hair out—or I switch to the other side and pull it in."

Backward roll—the classic method
"I'd like to try the classic method, which involves shifting by equal lengths."

Proper body position during a pivot
"My arm reflects the shape of the parting; I'm not facing the part."

Techniques for using a Chinese knife
"The quality of the hair is much better when we use a wet Chinese razor cut."

Drying upside down for volume
"We use natural gravity to achieve even greater volume."
 Frequently Asked Questions