Textured curl cut
 The result and the process
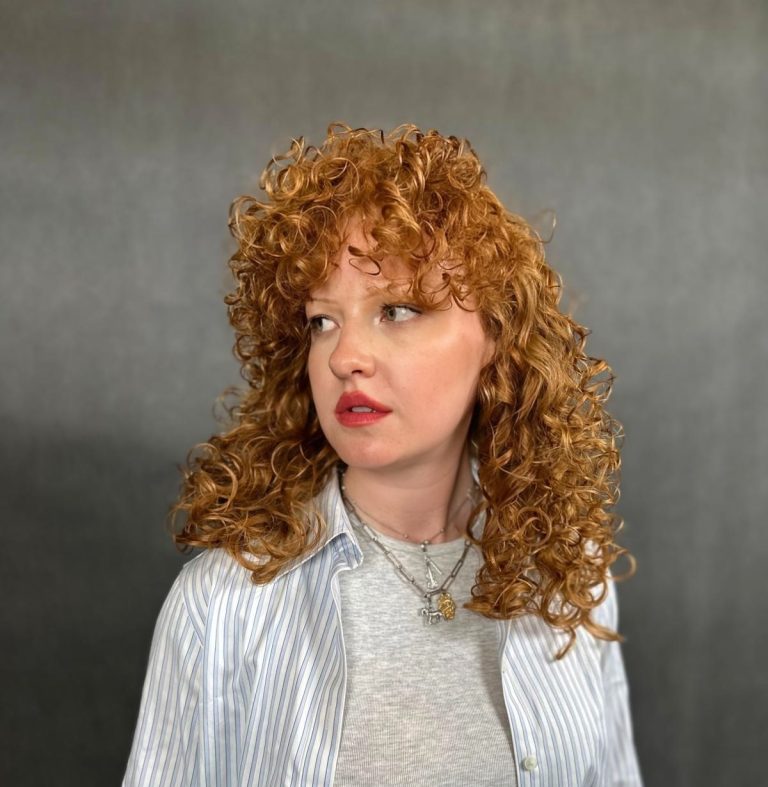
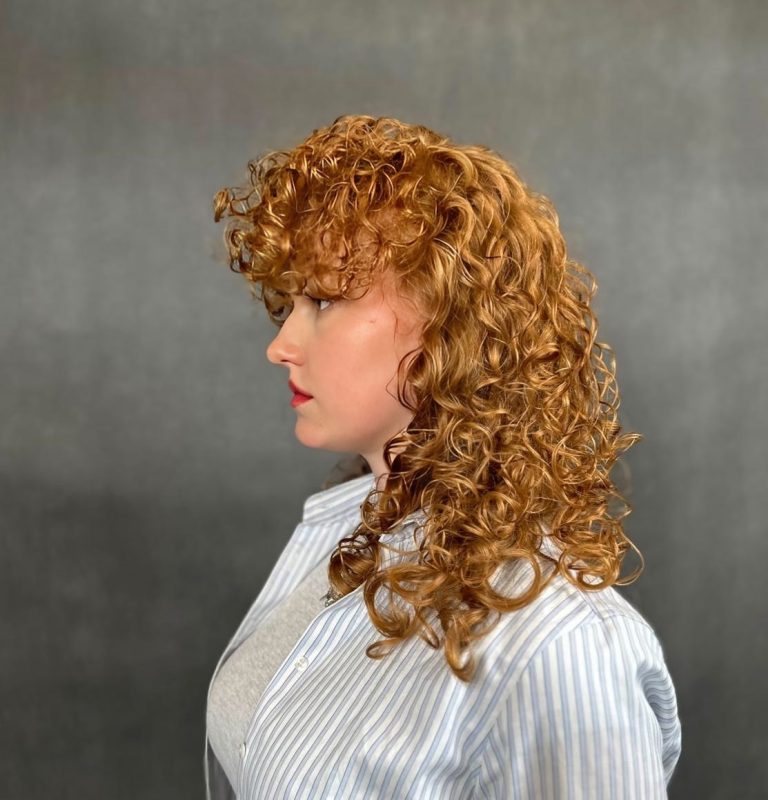
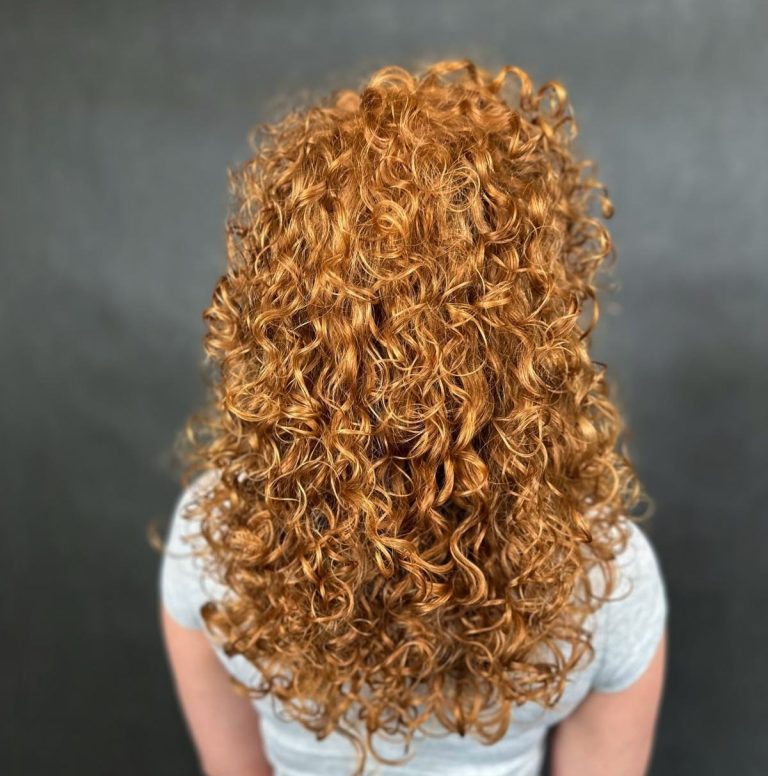
 What you'll learn
 What you'll learn
How to avoid the "cap" effect and create consistent layers in curls.
How to create a rounded contour at the back while working on the model's tilted head.
How to create layered highlights at the front, extending each section by a finger's width.
How to use the 70/30 rule to ensure that the memory bar is always visible.
How to layer the back in alternating sections, redirecting the strands to create more movement.
How to style your curls after a haircut to highlight their natural bounce.
Textured curling is a haircutting technique for curly hair that solves the problem of the “two-layer hairstyle” or “cap” once and for all. The course demonstrates how to create a harmonious, voluminous style with a rounded back and cascading layers in the front, where individual layers interlock to form a cohesive and dynamic whole that accentuates the hair’s natural curl.
Klaudia Piotrowicz guides you step by step through the entire wet haircut process: from dividing the head into sections, to creating a rounded contour at the back with the head tilted, all the way to precisely layering the front. The key here is to mark the first reference section at the level between the nose and the mouth, and then consciously extend each subsequent section by a finger’s width, which creates smooth transitions without a “stair-step” effect.
In this course, you'll learn:
- How to avoid the "hat" effect and create layers that blend seamlessly into a cohesive whole
- Trimming the back contour with the head tilted back – how a simple change in position allows you to achieve a rounded shape without moving around the chair
- The technique of cascading front shading, where each successive thin section is one finger's width longer than the previous one
- The 70/30 rule for selecting a comb width, which ensures that the guide remains clearly visible throughout the entire haircut
- Alternating back-shading—directing sections alternately toward the crown and toward the front to create movement without significant differences in length
- Why is it essential to re-wet your hair before styling, rather than drying it immediately after a haircut?
- The complete styling process with a diffuser: applying a curl activator and a setting product, and using the "pumping" technique to work the product into wet hair for maximum definition
After this course, you’ll stop dreading working with curls and start consciously creating cohesive, rounded styles that your clients will love. You’ll understand how to control layers so they create a smooth cascade rather than unwanted “steps,” allowing you to deliver consistent, professional results for even the most challenging curly hair.
What's inside
Full access to the course
 What's inside

Problem to solve - the hat effect
"She got a two-tiered hairstyle, the kind they call a 'cap.'"

Controlling the tension of the hair strand when curling
"Since this is curly hair, I won't pull the strand I'm cutting too tight."

Setting the memory range on the front panel
"If we cut too much, these bangs will stick up really high."

Moving the memory bank to the other side
"We're not allocating a new memory band; we're just moving it over from the other side."

Alternating highlights at the back of the hair
"We'll see more momentum, but there won't be a significant disparity in lengths."

Why should you wash your hair before styling it?
"I never style them right after cutting without washing my hair again."

The key principle of diffuser drying
"The most important thing when drying curly hair is simply not to rush."

Final styling and arranging the curls
"I'm still trying to separate them so they don't stick together so much."
 Frequently Asked Questions