Quiff
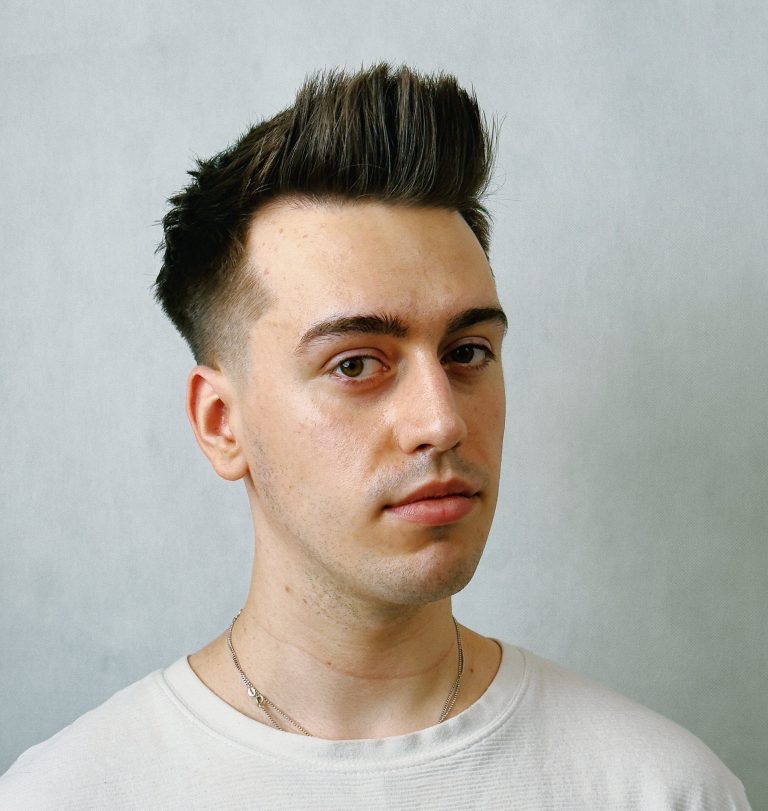
 The result and the process
 What you'll learn
 What you'll learn
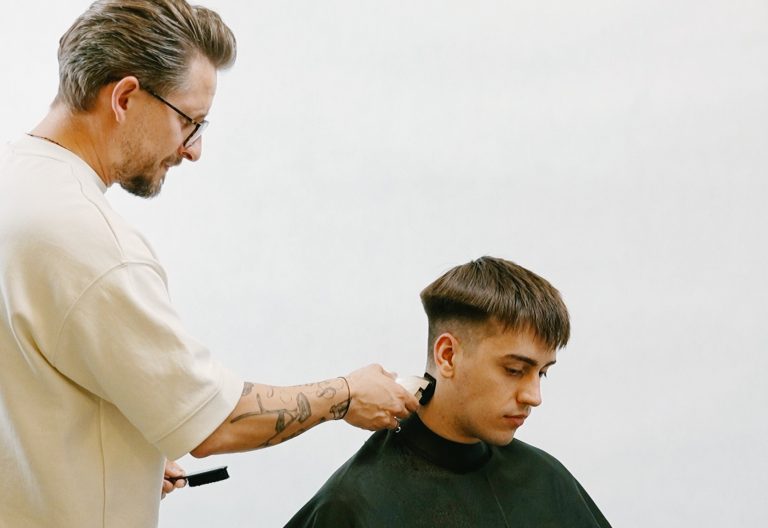
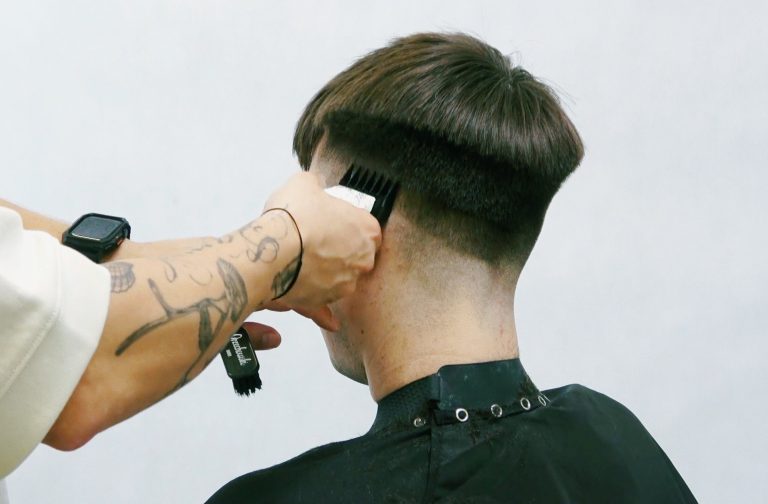
How to perform two fade techniques: the descending fade and the tip-to-tip fade.
When to use the descending technique, and when to use the tip-to-toe jump.
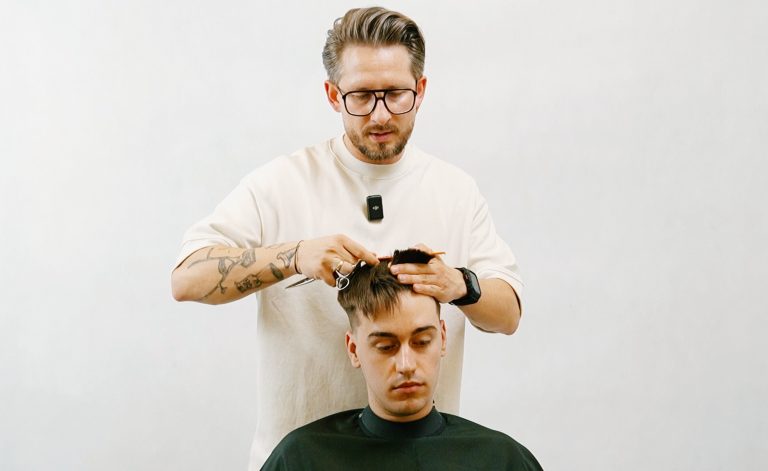
How to create a stable quiff shape based on a triangle and a square.
Why should you start cutting the top with the bangs, not the back?
How to use a comb to determine head shape and minimum hair length.
How to add volume and texture to your hair using the dry-pointing technique.
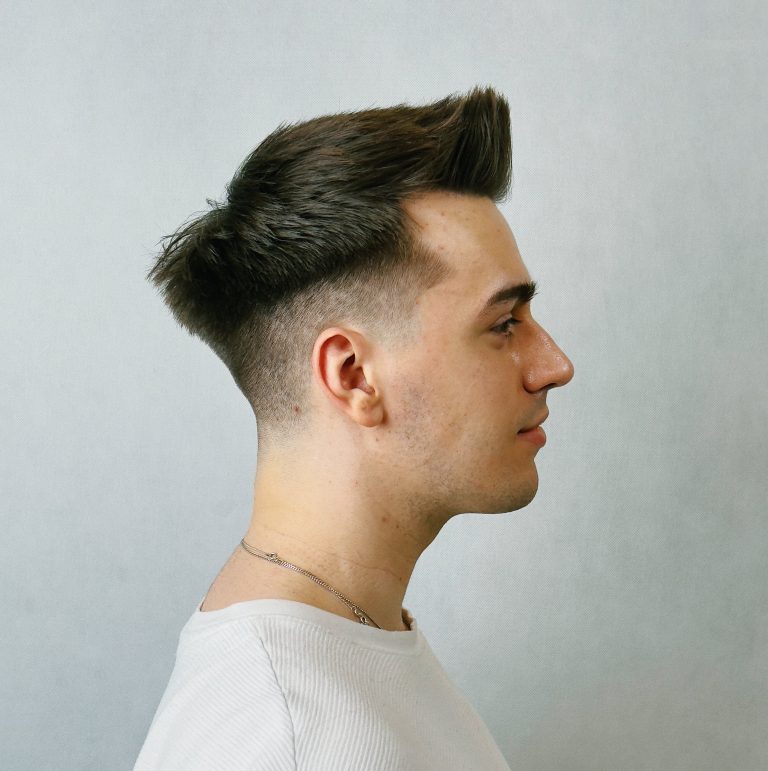
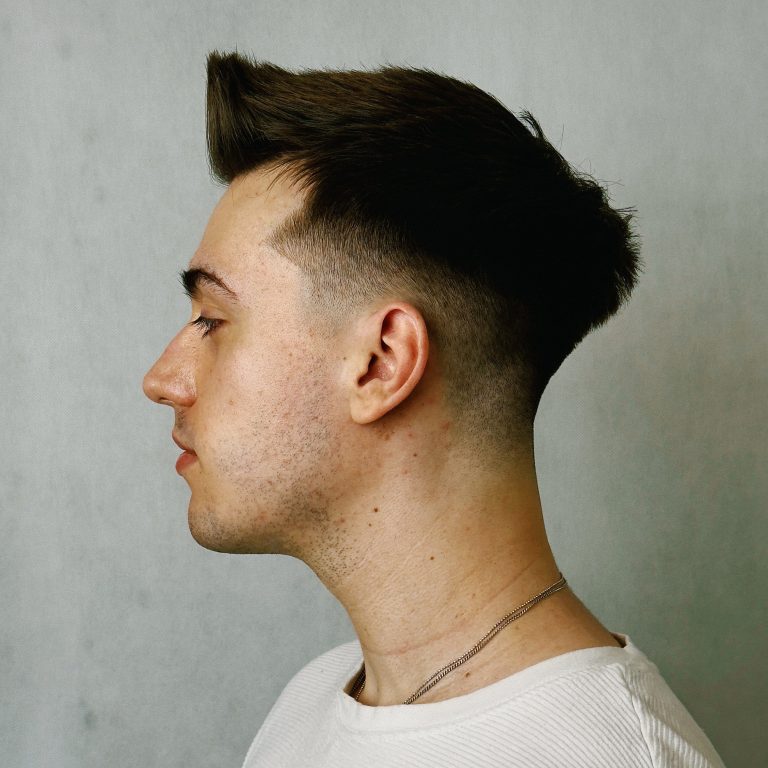
The quiff is a classic men’s haircut that solves the problem of stiff, unruly hair that clients struggle to manage on a daily basis. The course demonstrates how to create a stable, lightweight style based on two key shapes: a triangle in the vertical plane and a square in the horizontal plane, so that the hairstyle falls predictably and with character.
Miłosz Mikołajczak guides you through the entire process, starting with an active cut on wet hair, where he builds the shape of the crown from a reference strand at the top of the head. A key element of the course is a demonstration of two different techniques for creating a fade on a single model: the descending method on one side and guard skipping on the other. Miłosz explains when and why to choose each technique depending on the client’s hair type and color.
In this course, you'll learn:
- Two techniques for creating a fade on a single model: the descending fade for light, fine hair, and guard skipping for dark, thick hair
- Constructing a square in a horizontal plane – why a ridge parallel to the ceiling is key to the correct shape
- Create a triangle in the vertical plane, starting from the bangs, to avoid the effect where the back is higher than the front
- Using a comb to assess head shape and determine the minimum hair length needed to maintain the style
- Use wet point cutting and dry pointing to give the hairstyle lightness and texture right from the start
- A complete styling routine with a pre-styler – how to blow-dry your hair in the opposite direction to create maximum volume at the roots
After this course, you’ll start consciously building a quiff as a system based on geometry, not chance. You’ll learn how to choose the right fade technique for your client’s hair texture and color, which will speed up your work and improve its quality. Instead of struggling with stiff, unruly hair, you’ll turn it into an asset by creating a stable hairstyle that’s easy to style every day.
What's inside
Full access to the course
 What's inside

Choosing a quiff hairstyle for a model
"I think a quiff would be the right style for our model."

Constructing a square in a horizontal plane
"The horizon—we're going to draw a square. This is very important."

The key role of the comb during cutting
"My comb has to be parallel to the ceiling. It determines my cut."

Checking the minimum length with a comb
"These are the lengths that reach the crown. In this case, that's my minimum."

Work philosophy - no turning back
"Once I'm done working on this project, I'll do everything I can to make sure I don't have to go back to it."

Softening lines using the freehand technique
"You can do this freehand—just take a razor and gently soften the line."

The guard-skipping technique - creating lines
"Between this top line and this bottom line, I'd like to add a third line."

A tip for volume: drying a quiff
"I'm drying it in the opposite direction from the way I'd like it to fall."
 Frequently Asked Questions