
Burst Fade Fringe
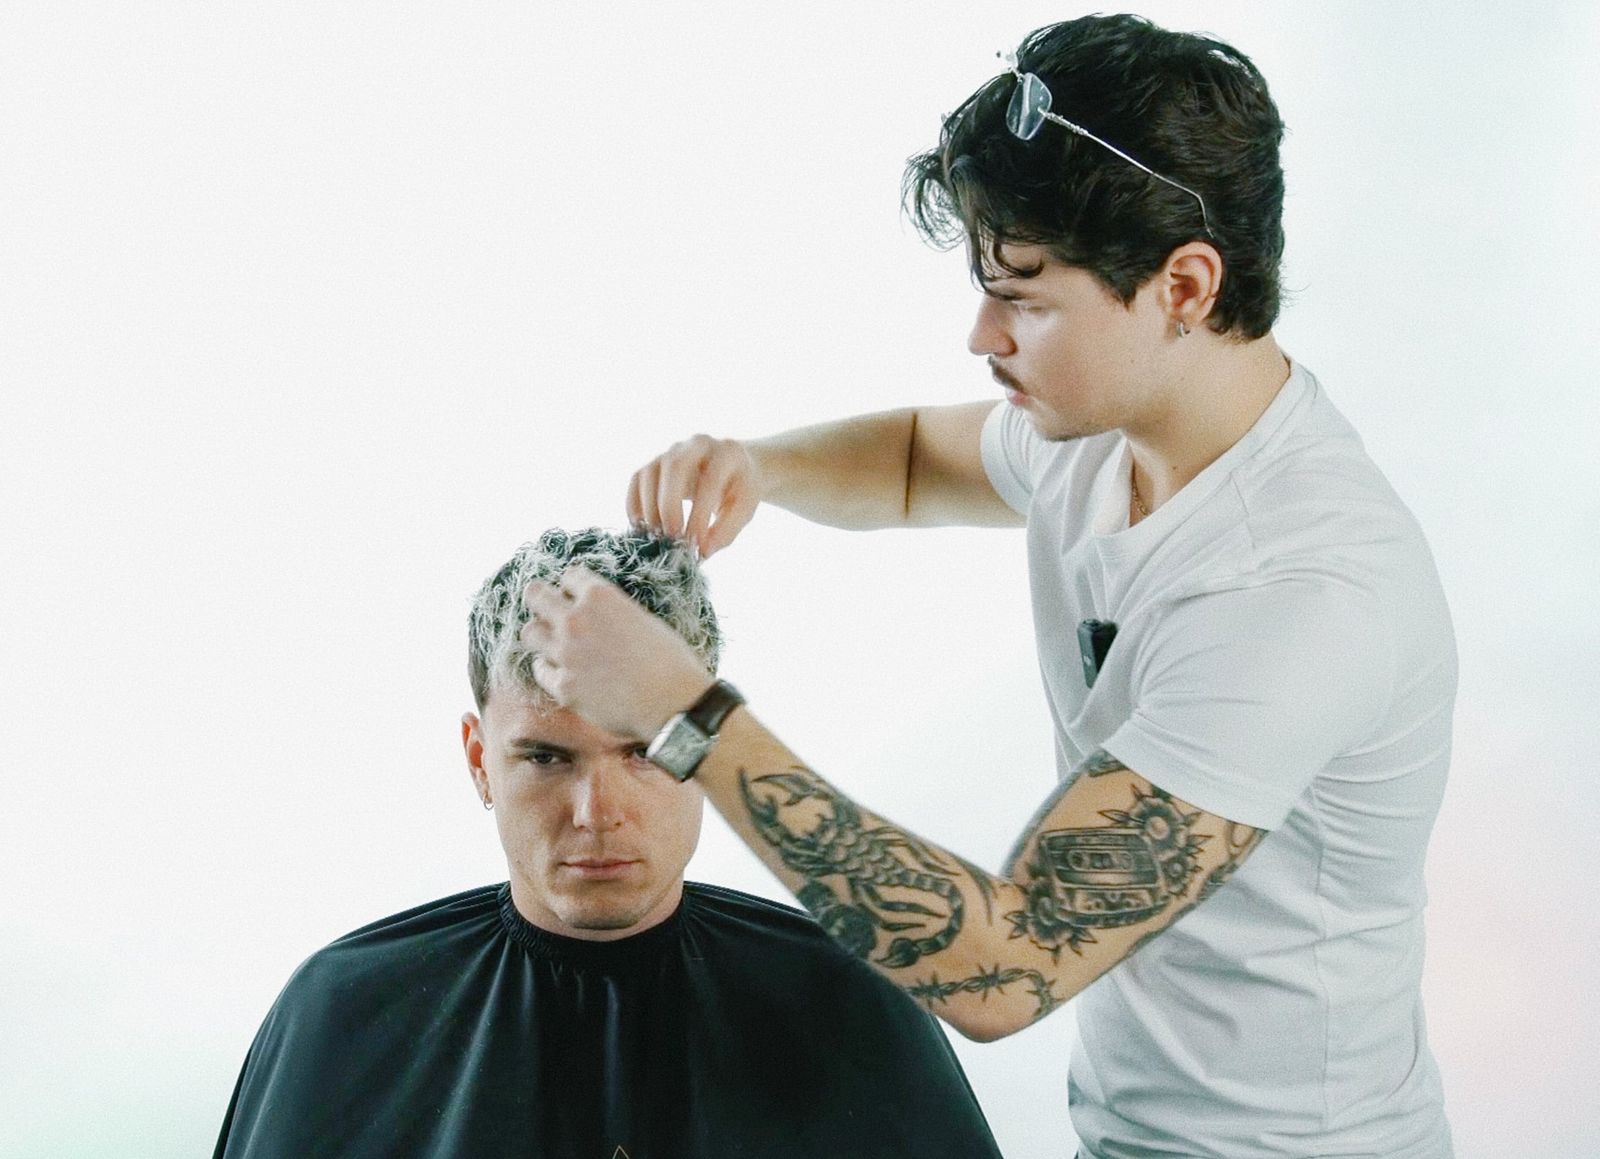
The Burst Fade Fringe course teaches how to create a salon-ready version of one of the most popular men's haircuts. Hubert Mika shows how to control proportions and build the form with scissors as the foundation for a clean fade.
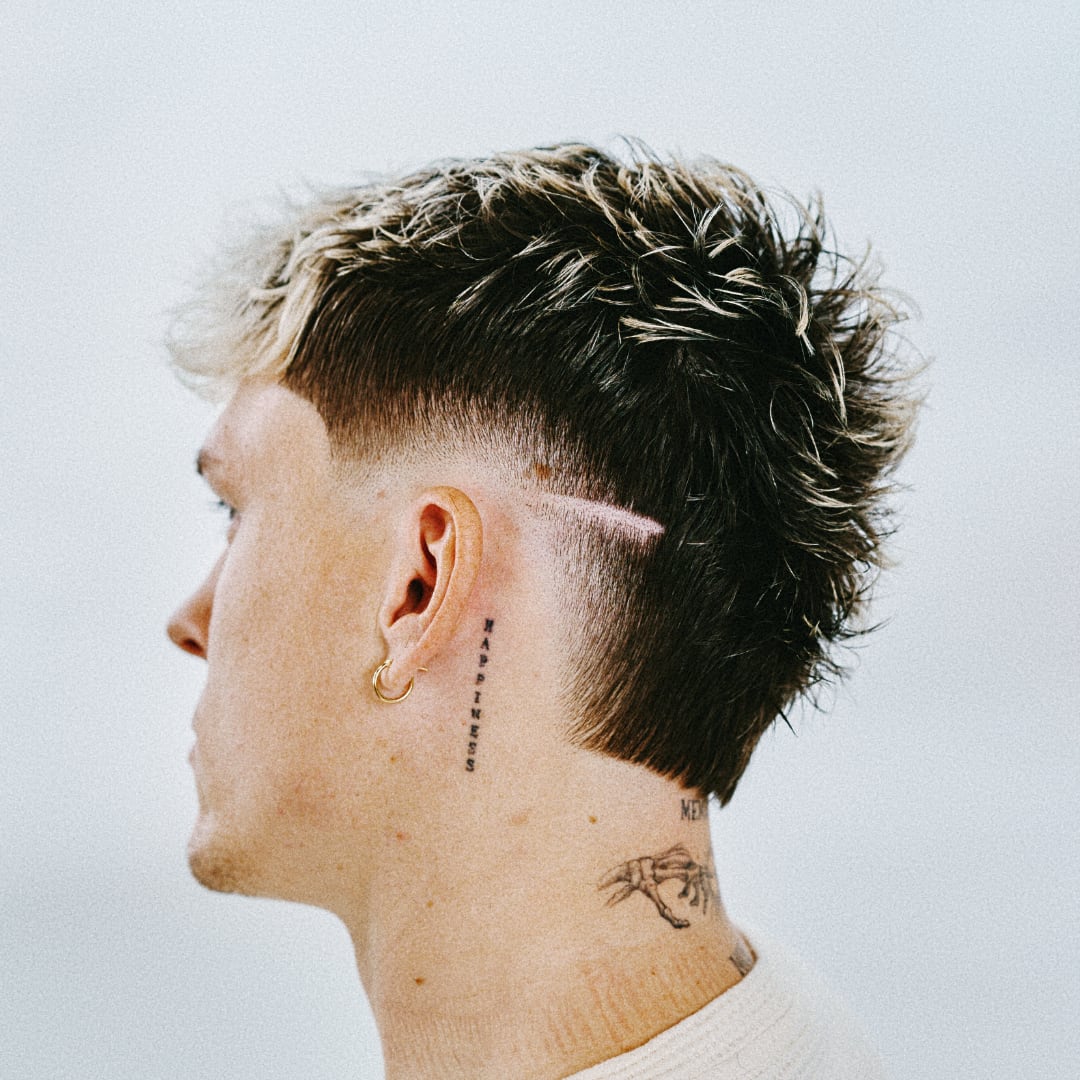
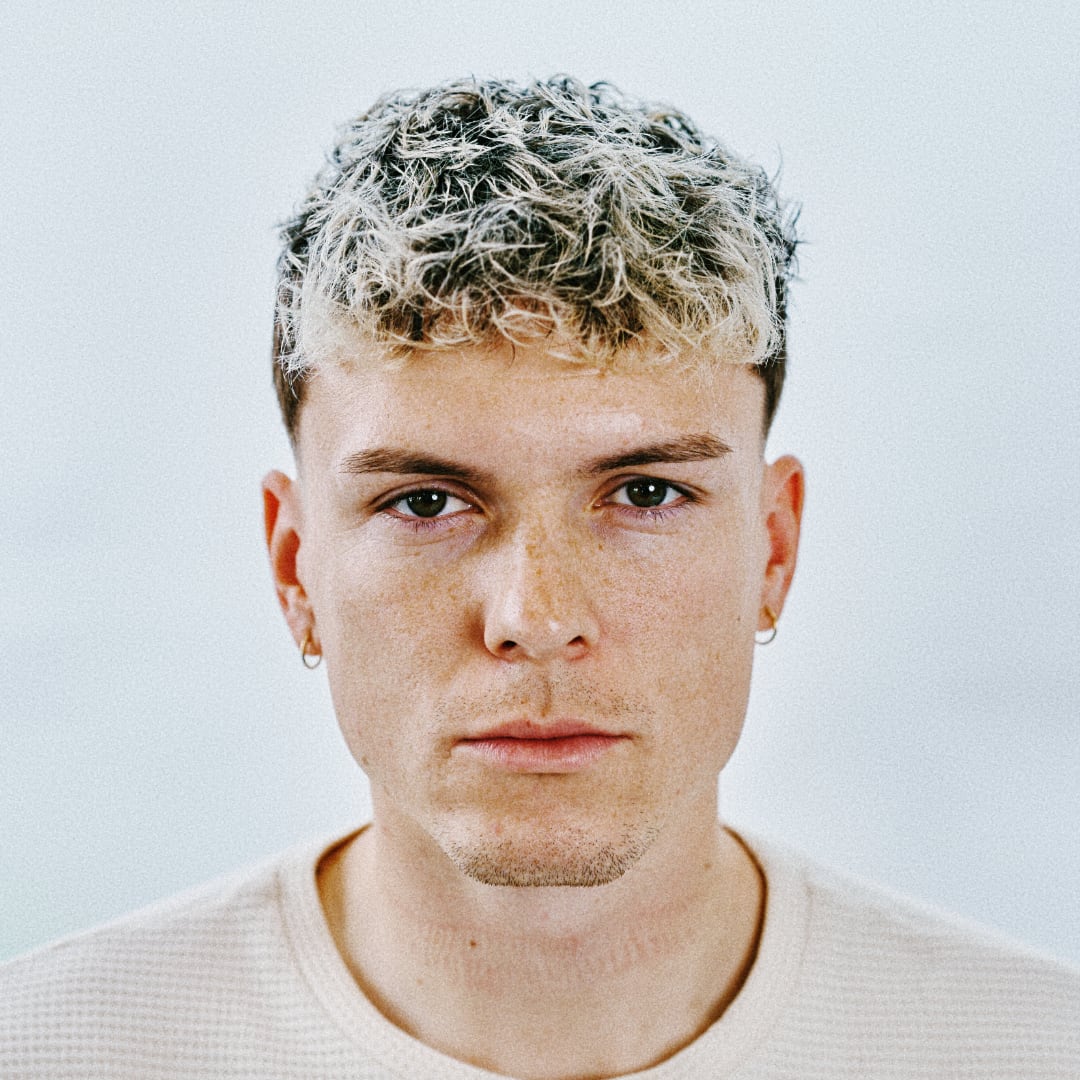
Result and process

About the course
Burst Fade Fringe is a classic, controlled take on one of the most popular men's haircuts, built on intentional planning and clean scissor and clipper technique. The course shows how to turn the aggressive fading seen on social media into a cohesive, salon-ready form, where the burst fade is a structural element rather than a dominant effect made 'for the photo.' This is a haircut for barbers who want to understand and control proportions, not just replicate patterns.
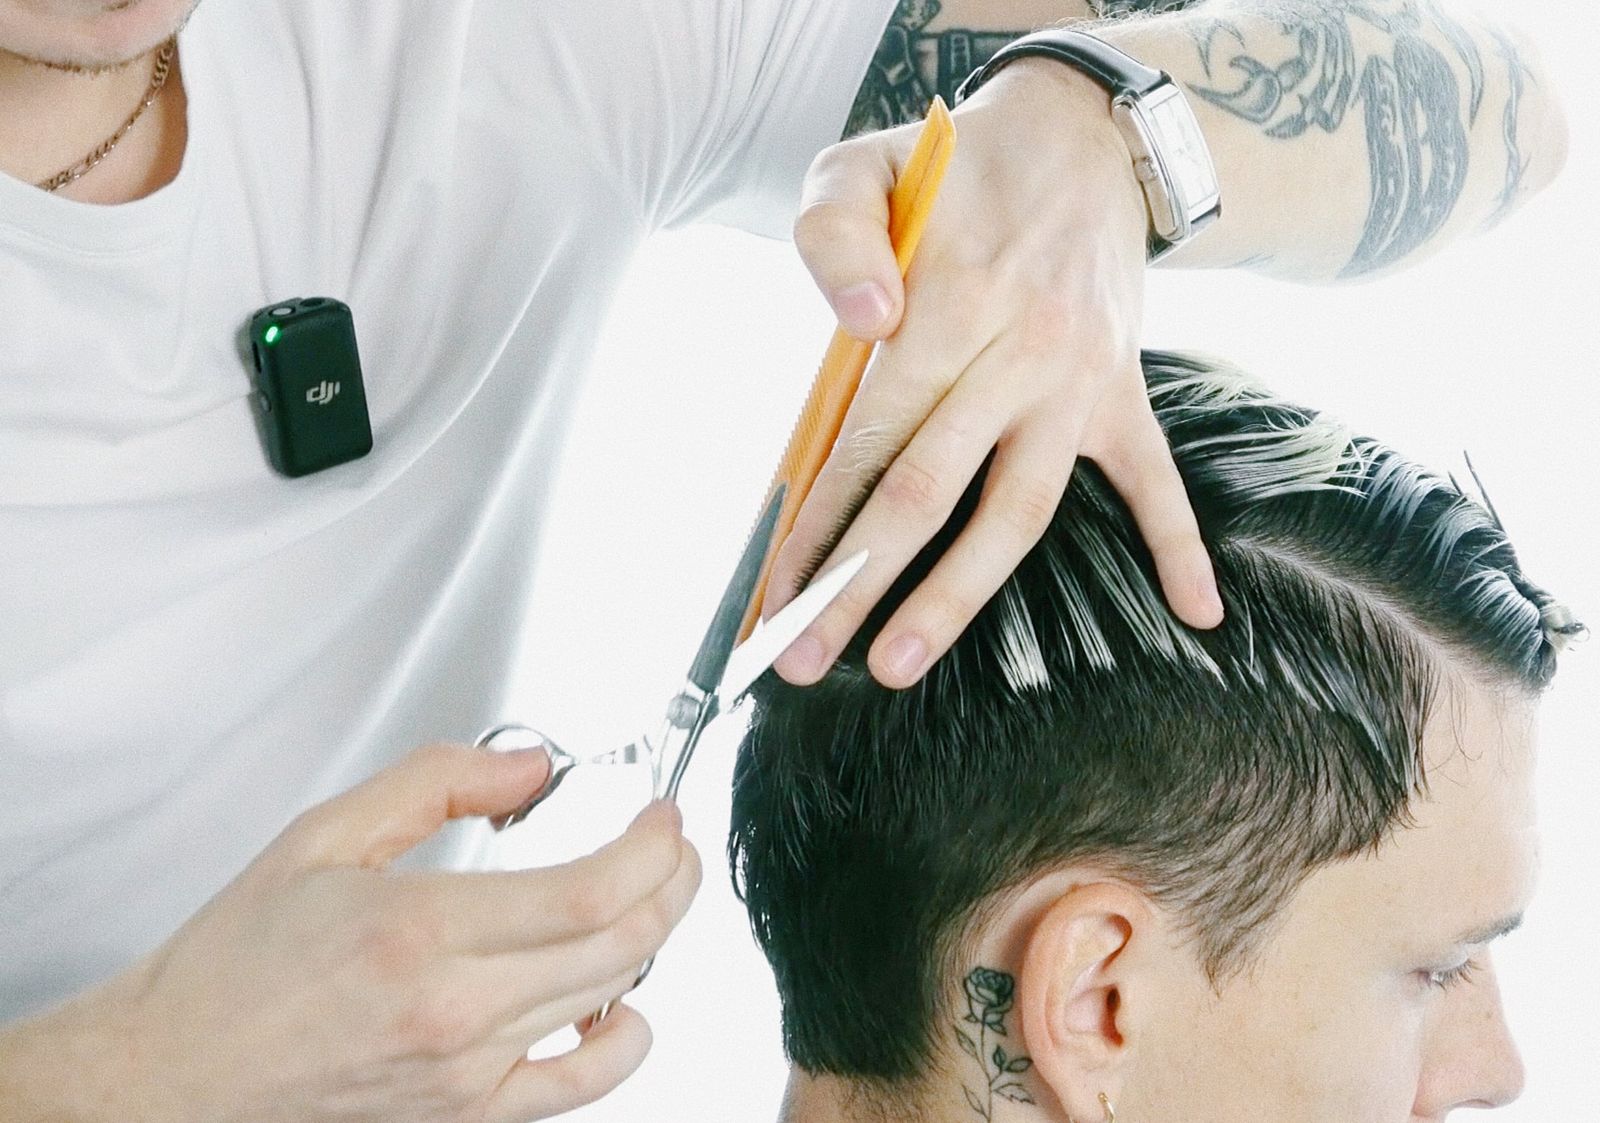
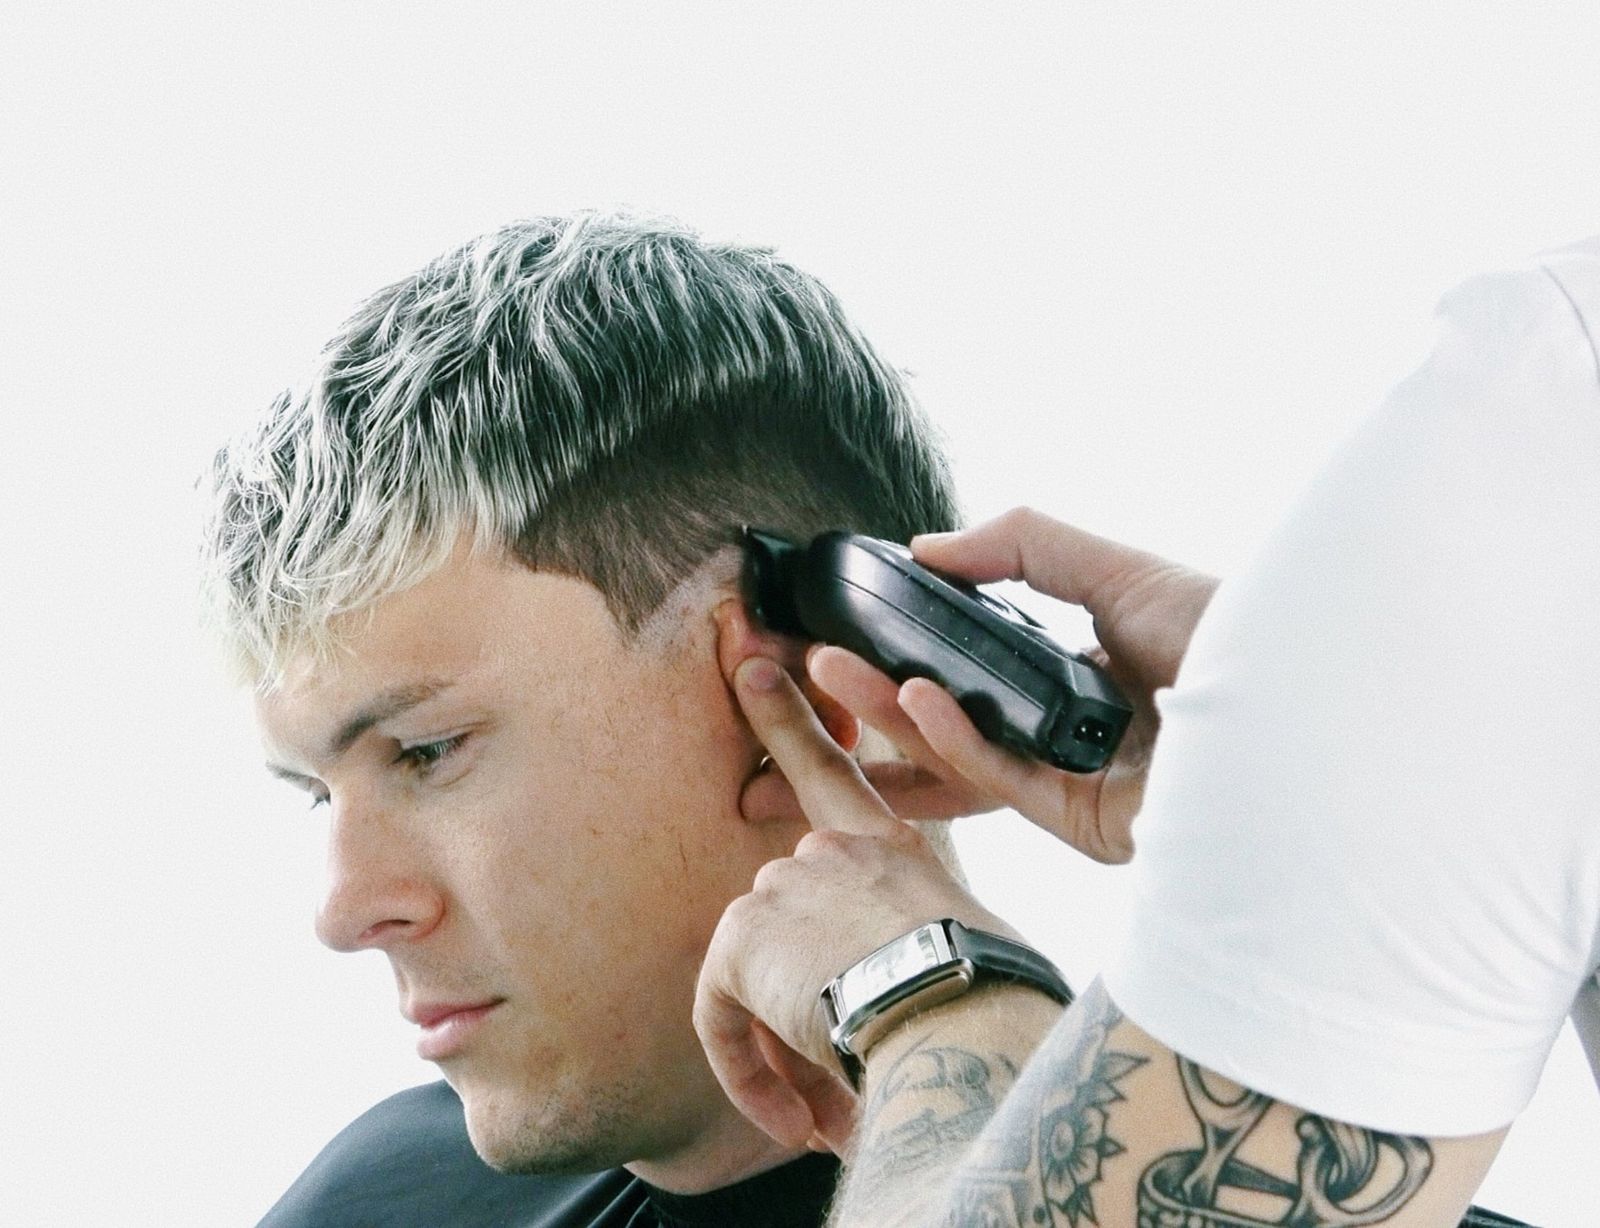
Hubert Mika guides you through the full process step by step: from analyzing the head shape and natural growth direction, through parting based on the natural crown whorl, to building the form with scissors as the foundation for clipper work. The course focuses on working in radial sections on the side - a technique that lets you perfectly connect the back with the side while preserving weight - and on intentionally planning the fade height so it doesn't disrupt the proportions of the whole silhouette.
In this course, you'll see
- Descending graduation (13 mm → 10 mm → 6 mm) as a map for the incoming fade - how to prepare the foundation for a clean fade.
- Work in radial sections on the side - how to fan out from a single point to connect the back with the side while keeping control over weight and direction.
- How finger work close to the scalp (scissor technique) directly determines the choice of the first clipper guard (13 mm) and guarantees a seamless connection.
- Intentionally preserving dark contours at the temple and nape as a frame for the fade and a contrast-building element.
- Sectioning off the crown into a triangle and working in a circular motion to remove excess weight from the occipital area and improve the haircut's profile.
- Working on the fringe at near-zero elevation using point cutting to create texture without thinning out the form.
- A full practical analysis of the haircut - how to check whether the form holds up without perfect styling and whether the client can manage it day to day.
After this course, you'll start treating the burst fade as an integral part of the whole construction, not just an isolated effect. You'll learn to plan its height and shape in relation to the client's head anatomy, intentionally combine scissor and clipper work, and create clean, repeatable haircuts that look great not just in photos, but above all in everyday wear.
What you will learn
- 01How to plan the haircut based on the natural crown whorl and head shape.
- 02How to build the form with scissors to seamlessly connect it with clipper work.
- 03How to use radial sections to connect the back with the sides without losing weight.
- 04How to prepare a map for the fade using the descending graduation technique.
- 05How to work with excess hair on the crown using circular cutting.
- 06How to intentionally control the height of the fade to avoid disrupting proportions.
Before you start
This course assumes you already have:
What's inside
Full access with the course 1:55
1:5501Planning the shape on the sides
On the side, I'd go for a triangular shape, more diamond-like, widening your head.
 16:02
16:0202Planning the length for the clippers
I know this will be a length of around 13 mm, so that's guard number 4.
 31:55
31:5503Working in a circular motion on the crown
For this, I'd like to work in a circular motion on our crown.
 49:23
49:2304Ergonomics of working on the fringe
It's a simple thing - just turn our model's head toward us.
 54:24
54:2405Plan for cutting the top
We'll be working in a vertically triangular shape, and horizontally I'll work on a square.
 1:18:13
06Graduating by ear
I listen to my clippers cutting through a given amount of hair.
 1:26:30
07Setting the zero line
We'll place two fingers against our skull so we don't take away that dark space.
 1:59:04
08Product application principle
The largest amount of product on our hands tells us to start with the largest amount of hair on the head.
FAQ
Who is this course for - beginners or advanced barbers?
Does this course show the typical, aggressive burst fade seen on social media?
What tools and guards are needed for this technique?
Does Hubert explain how to seamlessly connect scissor work with clipper work?
What's the main technique for connecting the back with the sides in this haircut?
How long is the course, and does it cover the entire haircut from A to Z?
Details
Educator
Hubert Mika
Educator · 2 courses
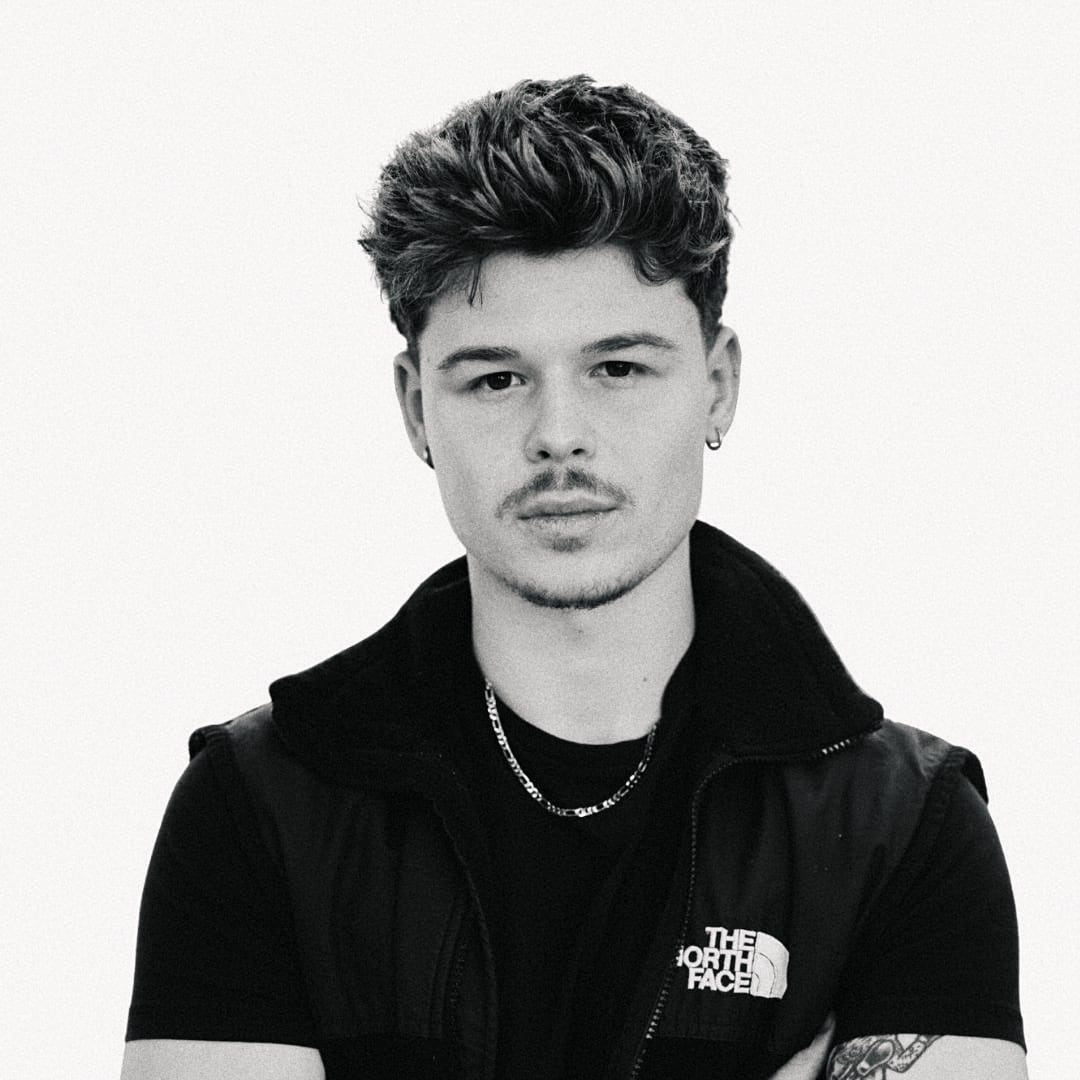
Barber and educator from Barberhood in Rzeszów, who began his journey with the platform as a student. Hubert shares a fresh, analytical approach to men's barbering, grounded in logic and technique. His methodology covers the full process of building a hairstyle - from detailed consultation and head shape analysis, through working with intention on sections, to personalizing and styling.
Ready for the next level
Unlock full access to the Connected Hair course library.
Join the Academy