
Fade
This course teaches a signature zone-based graduation method that turns the fade into a repeatable process. See how to build a seamless gradient from zero on challenging, curly, and dense hair.
Result and process
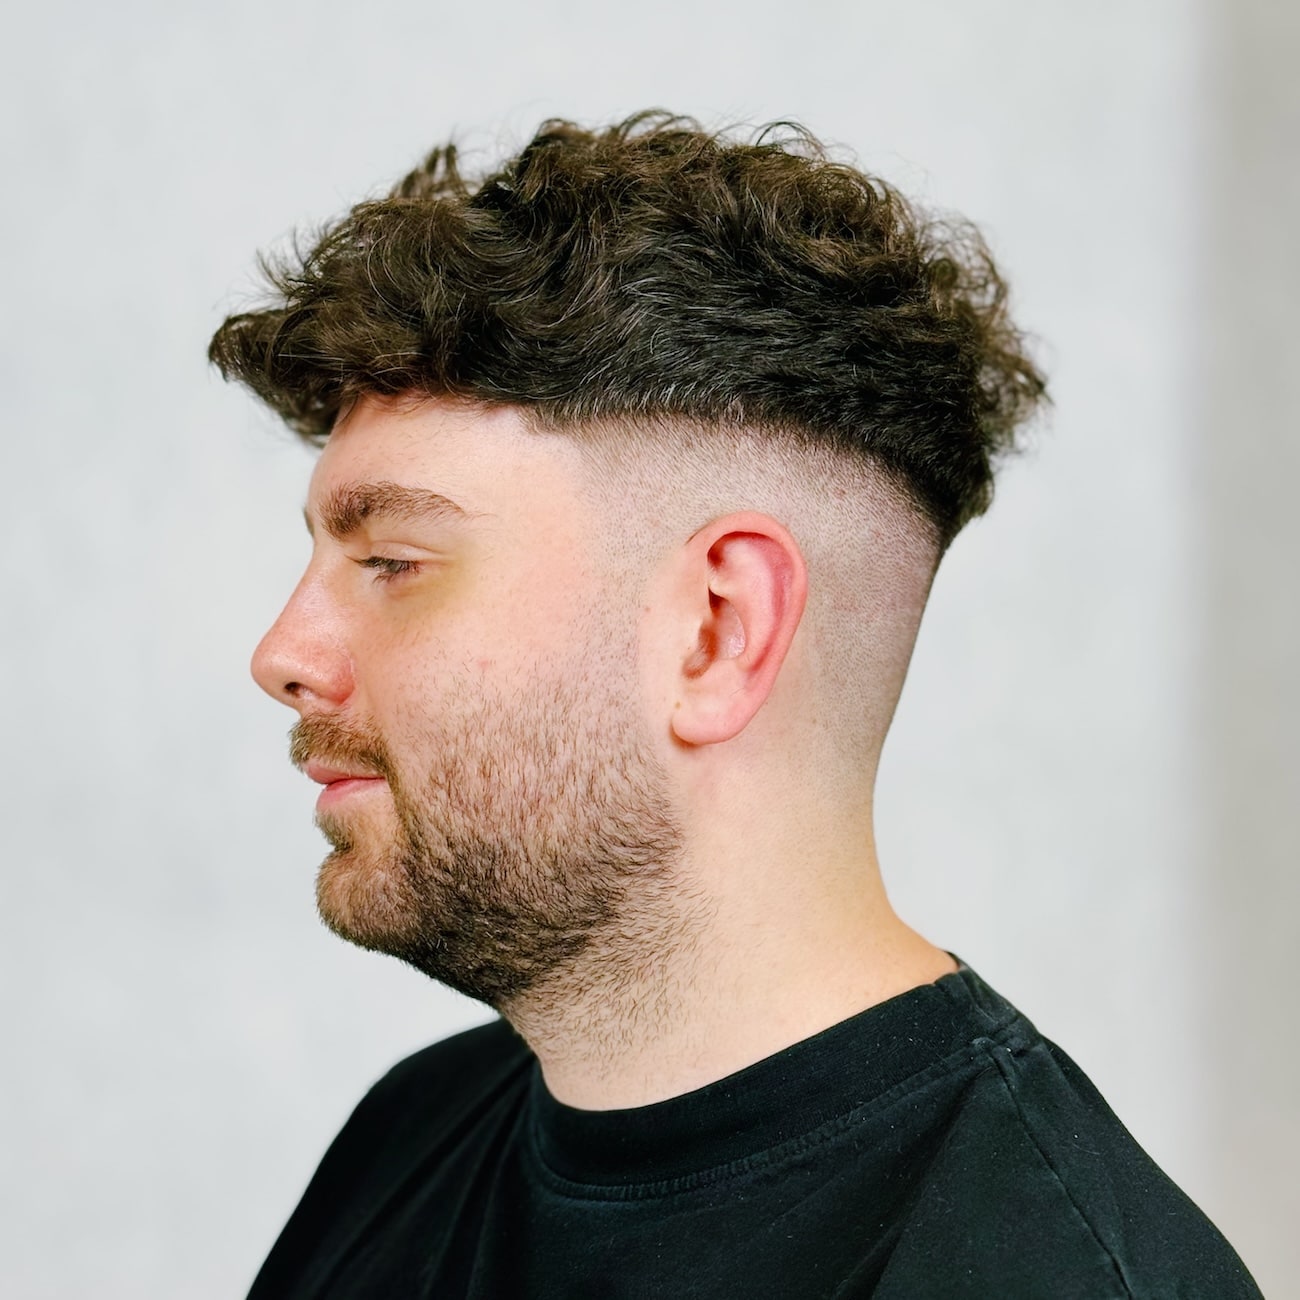

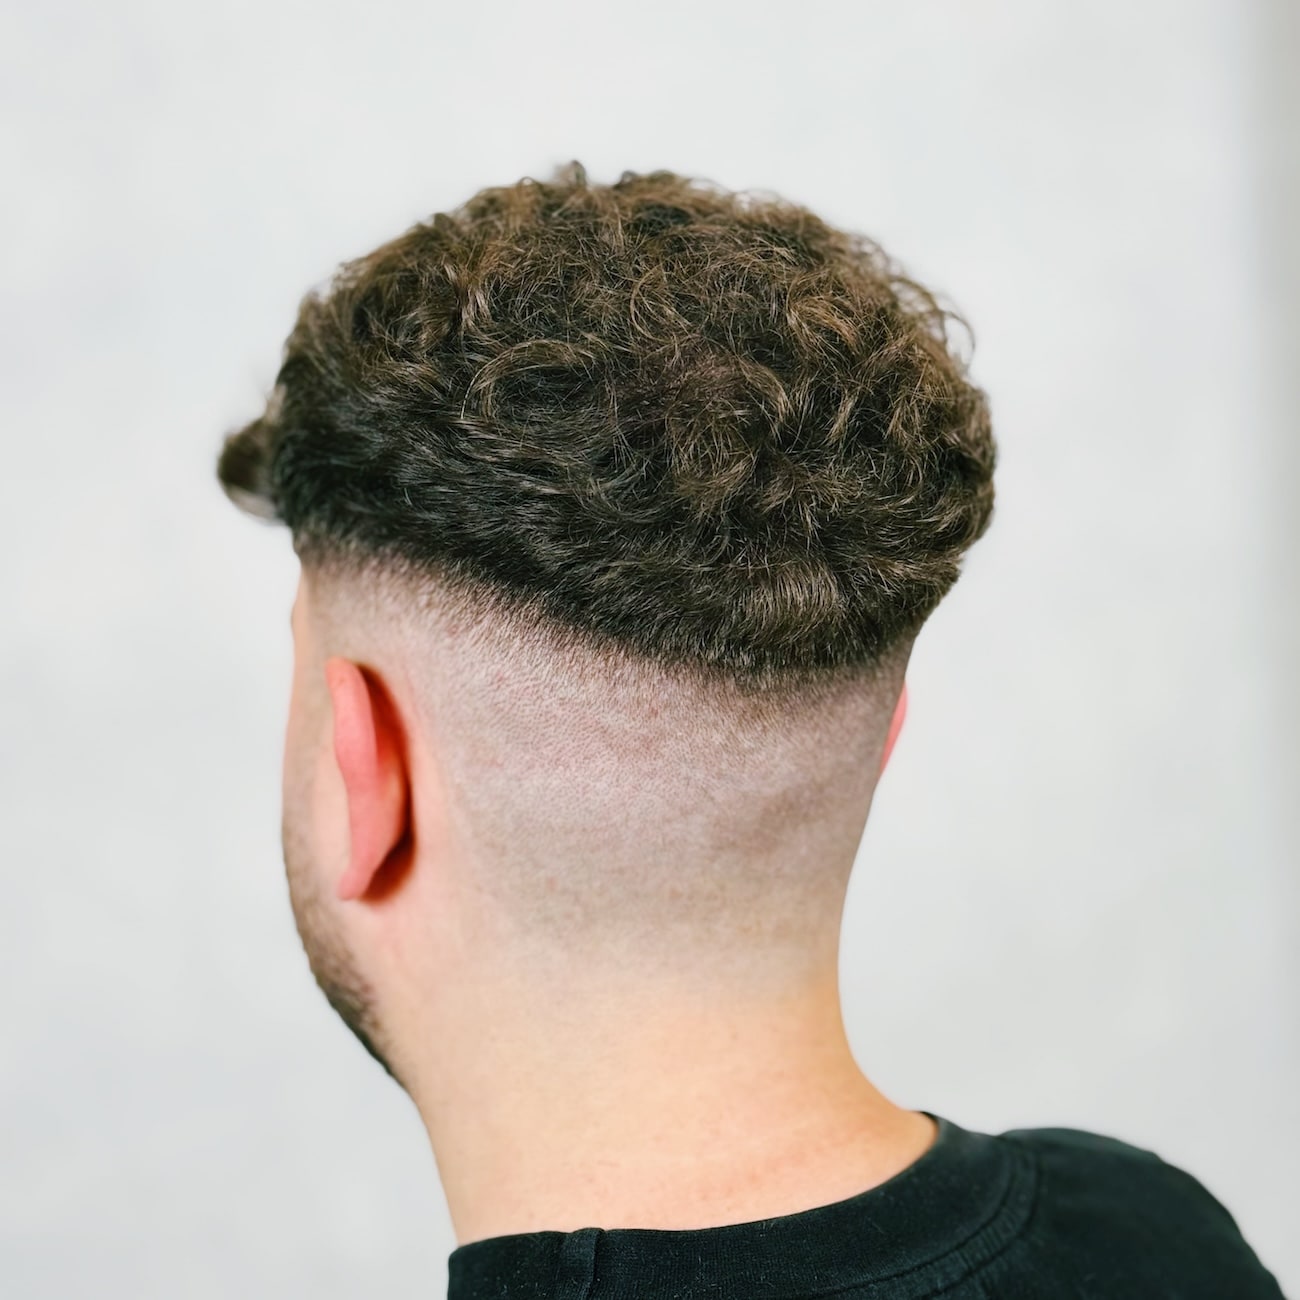
About the course
Fade is a signature zone-based graduation method that turns one of the most popular men's techniques into a repeatable, controlled process. The course shows how to build a seamless gradient from zero on any hair type - including challenging, dense, and dark hair, where every mistake is instantly visible. The key is dividing the graduation into three logical zones (light, shadow, midtone) and working the clippers flat against the scalp, without nervously lifting the hand.
Kacper Trzaskowski walks you through his complete workflow, which starts long before the clippers even turn on. The process begins with a precise head analysis - locating the hollows and the occipital bone, which we never fade. Kacper then shows how to prep the shape with scissors, building low graduation in the curls to stack weight and make it easier to blend with the fade later. Only then does he move on to methodically cutting the zones with hard lines, which he later blends into a perfectly smooth gradient.
In the course you'll see
- The full zone-graduation blueprint: dividing into light, shadow, and midtone zones, and matching zone width to hair density
- Working the clippers flat - why this is key to control, and how to avoid the "flick" technique when building zones
- Prepping the shape with scissors for a fade on curly hair - low graduation as a way to straighten curls in the blend zone
- The rule of avoiding the occipital bone and working with intention in head hollows to avoid patchiness in the gradient
- The complete clipper guard workflow: from building the baseline with guard #4, through marking zones with guards #2 and #1, to the final graduation
- Why dense, dark hair needs more "light" (wider lower zones) and how to plan for it
- Final refinement of the transitions with thinning shears and scissors over the comb for perfect smoothness
After this course, you'll stop fighting "difficult heads" and start designing fades with intention, tailored to the client's anatomy and hair structure. The zone-graduation technique gives you repeatability and confidence that the gradient will be seamless and clean every time - no patchiness, no flaws - even without perfect lighting in the salon.
What you will learn
- 01How to divide the fade into zones and match them to hair density.
- 02Why working the clippers flat gives you more control than the "flick" technique.
- 03How to prep curly hair with scissors, creating low graduation for the fade.
- 04How to analyze head shape to avoid the occipital bone and hollows.
- 05How to create hard guidelines to methodically build a seamless gradient.
- 06How to plan a 50-minute service for precise graduation from zero.
Before you start
This course assumes you already have:
What's inside
Full access with the course 1:39
1:3901Analyzing the Hollows on the Head
First, I always check where the hollows on the head are located.
 9:19
9:1902Graduation Technique on the Inside of the Hand
Why do I cut the graduation on the inside of my hand? Mainly because I need to create a triangular shape.
 20:49
20:4903The Need for a Cross-Check on the Square Shape
Once I finish the top, I'll come back to do a cross-check, especially on the square shape.
 30:18
30:1804Proper Use of the Dryer and Brush
Remember, your dryer nozzle has to be an extension of your brush. We don't dry it like this, but like this.
 42:09
42:0905The Rule of Working the Clippers Flat
It's very important that every zone we cut is cut one hundred percent flat.
 52:56
52:5606The Purpose of Creating Hard Lines
It's thanks to these that we're able to determine what degree of gradient we'll achieve at what height.
 1:10:39
07Working in the Head's Hollows
If I see a hollow, I keep going into it flat the whole time - I don't hold back at all.
 1:27:34
08Careful Blending with the Weight Line
You definitely need to be most careful in this zone, so you don't cut too deep into the shape.
FAQ
Will this method work on challenging, curly hair?
How does the zone technique differ from classic "freehand" graduation?
How long does it take to do a fade with this method in the salon?
Does the course show how to deal with head irregularities, like hollows?
Is this technique suitable for beginner barbers?
What tools do you need to do this fade?
How long is the full video?
Details
Educator

Kacper Trzaskowski
Educator · 4 courses
Co-founder of the CUT HOUSE salon in Toruń and speaker at Barbernight and BarberFest. In his teaching, he rejects learning specific hairstyles in favor of universal work frameworks built on analysis. He teaches how to work with intention when choosing fundamental techniques and shapes to match the client's head anatomy and hair structure. Over the past year, through courses and live demos, he has trained close to 100 people.
Ready for the next level
Unlock full access to the Connected Hair course library.
Join the Academy