The low fade is one of the most popular hair shading techniques in men's hairstyles. This stylish and versatile cutting method allows you to create an elegant transition from shorter hair at the temples and nape to longer hair on top of the head. In this comprehensive guide, we will discuss how to achieve the perfect low fade step by step, what tools to use, and how to adapt this technique to different hair types and customer preferences.
What is a low fade?
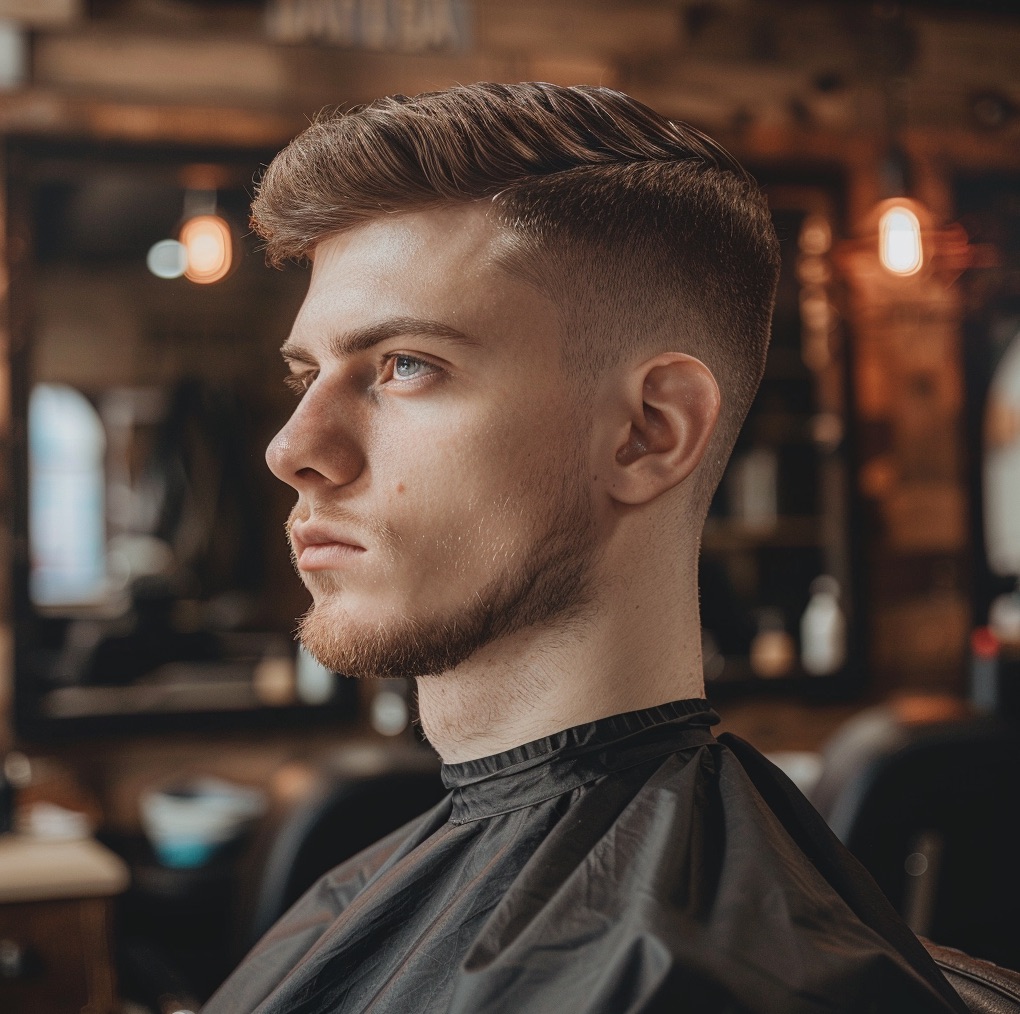
A low fade is a haircut technique in which the hair is gradually shortened from the bottom to the top, creating a smooth transition from very short hair (or even bare skin) at the hairline to longer hair at the top of the head. Unlike a high fade or mid fade, in a low fade the transition point is lower, usually just above the ears.
This technique is extremely popular due to its versatility—it suits many styles of hairstyles on top of the head, from short and textured to longer and slicked back. The low fade can be done on different hair types and goes perfectly with a beard, creating a cohesive, masculine look.
Essential tools
To achieve the perfect low fade, you need the right tools. Here is a list of the necessary equipment:
- Hair clipper with adjustable length
- Contour trimmer
- Hairdressing scissors
- Hairdressing comb (preferably with a thin tip for precise hair separation)
- Cleaning brush
- Spray for disinfecting tools
- Towels and hairdressing cape
- Water spray bottle
Remember that keeping your hairdressing scissors sharp is crucial for achieving a precise cut. Sharpen and maintain your tools regularly to ensure the best results.
Preparing for a haircut
Before starting to cut hair, it is important to prepare properly:
- Wash and dry the client's hair – clean hair is easier to cut and gives a better end result.
- Discuss the client's expectations with them – make sure you understand what effect they are hoping to achieve.
- Assess the structure and density of the client's hair—this will help you adjust your cutting technique.
- Prepare all tools and ensure they are clean and disinfected.
- Put a hairdressing cape on the client to protect their clothing.
Step by step: How to do a low fade
Now let's move on to a detailed description of the low fade process:
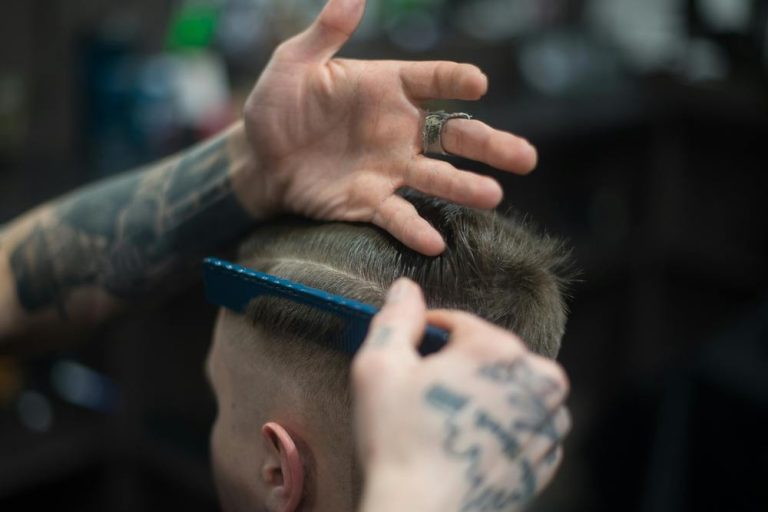
Step 1: Determine the fade line
- Start by determining where you want the fade to begin. For a low fade, this line should be just above the ears.
- Use a comb to mark this line around your head.
Step 2: Cutting the top
- Start by cutting the top of the hair to the desired length. You can use scissors or clippers with the appropriate attachment.
- Remember that the top should be longer than the sides and back to create contrast with the fade.
Step 3: Creating the basic fade shape
- Use a clipper with a #2 or #3 attachment (6mm or 10mm) to trim the hair below the fade line.
- Cut upward, stopping at or slightly above the fade line.
Step 4: First pass of shading
- Change the attachment to #1 (3mm) and start cutting from the bottom up, stopping about a centimeter below the previous cut line.
- Use rounded movements to create a natural transition.
Step 5: Second pass of shading
- Remove the cap and set the clipper to the shortest setting (usually 0.5mm or 1mm).
- Cut from the bottom up, stopping about a centimeter below the previous cut line.
- Again, use rounded movements for a smooth transition.
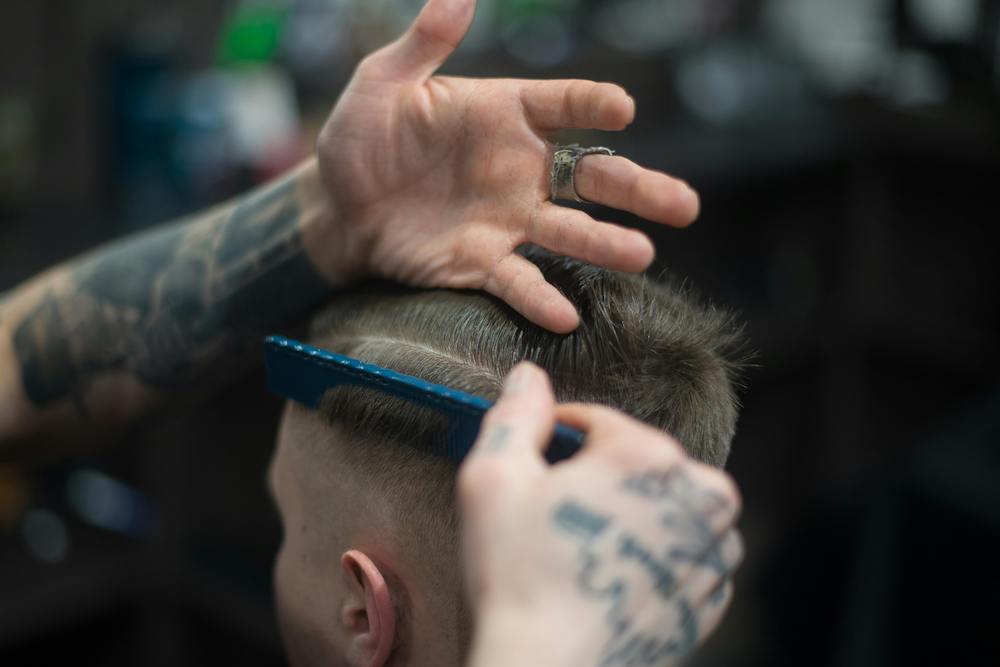
Step 6: Blending
- Use the "flicking" technique (quick, light movements with the clippers) to soften the transition lines between different lengths.
- You can use different clipper settings (e.g., 1.5 mm, 2 mm) for precise blending.
Step 7: Finishing the contours
- Use the contour trimmer to clean up the lines around your ears and on the back of your neck.
- Create a clean, sharp outline according to the customer's preferences.
Step 8: Review and corrections
- Carefully check the entire hairstyle, looking for unevenness or areas that need correction.
- Use scissors to trim individual stray hairs.
Step 9: Styling
- Wash your hair to remove any cut strands.
- Dry and style the hair according to the customer's wishes.
Adapting low fades to different hair types
The low fade can be adapted to different hair types for the best effect:
- Straight hair: The standard low fade technique usually works well on straight hair.
- Curly hair: With curly hair, you may need to use more texturizing on top to make the hairstyle look proportional. You can find more about techniques for cutting curly men's hair in our guide to cutting curly hair.
- Thin hair: With thin hair, it's a good idea to leave a little more length on top to add volume. Check out our tips for hairstyles for thin hair.
- Thick hair: Thick hair may require more aggressive layering to avoid a "bulging" effect on the sides.
The most common mistakes when performing a low fade
Avoid these common mistakes to achieve the perfect low fade:
- Starting the fade too high – remember that in a low fade, the transition should start low, just above the ears.
- Uneven shading – ensure that the fade is symmetrical on both sides of the head.
- Transitions that are too sharp – the goal is a smooth, almost invisible transition between lengths.
- Ignoring the natural direction of hair growth – always cut in accordance with the natural direction of the hair for the best effect.
- Omitting the blending stage is a crucial step in achieving a smooth, natural transition.
Care and maintenance of a low fade hairstyle
To keep a low fade hairstyle looking fresh for longer, it is worth instructing the client on proper care:
- Regular touch-ups – a low fade looks best when touched up every 2-3 weeks.
- Daily styling – using the right styling products will help maintain the shape of your hairstyle.
- Washing and care – regular washing and use of conditioner will help maintain healthy-looking hair.
- Sun protection – especially with a very short fade, it is important to protect the scalp from the sun.
Comparison of low fade with other shading techniques
To better understand the specifics of low fade, it is worth comparing it with other popular shading techniques:
| Technique | Fade start point | Contrast intensity | Length retained on the sides |
|---|---|---|---|
| Low Fade | Right above the ears | Moderate | Larger |
| Mid Fade | At ear level | Average | Average |
| High Fade | Above the ears | High | Smaller |
| Taper Fade | Very low, near the neck | Low | The largest |
The low fade offers a more subtle transition than the high fade, while retaining more hair on the sides than the classic taper fade. This makes it a versatile option that suits many styles and face types.
Low fade inspirations and variations
A low fade can be combined with various hairstyles on top of the head to create a variety of effects:
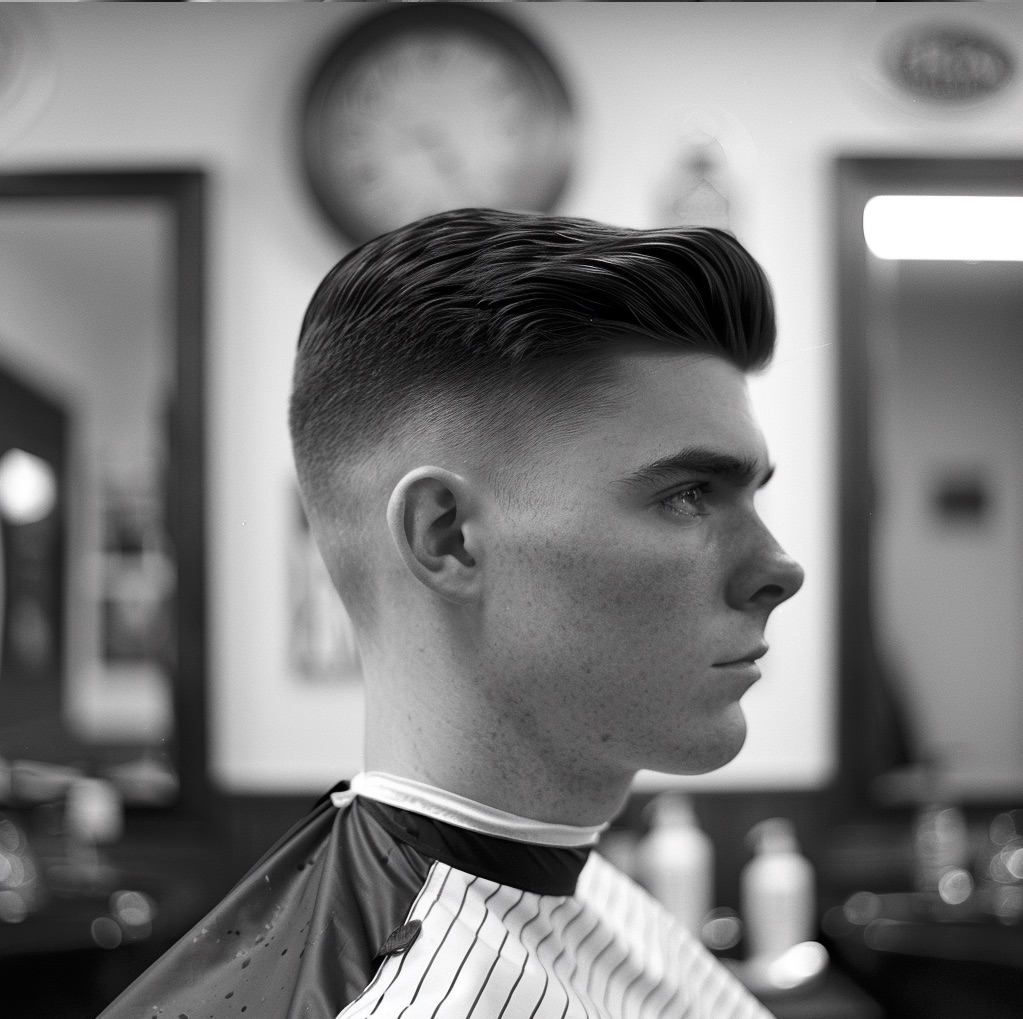
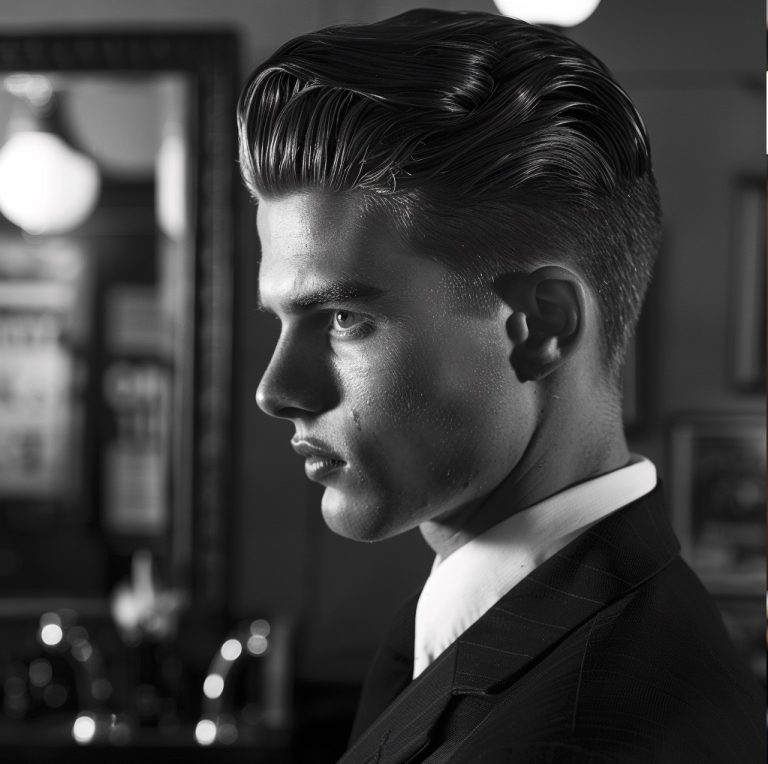
- Low Fade with Pompadour – a classic combination that gives a modern twist to a traditional hairstyle. See our article on the pompadour hairstyle to learn more.
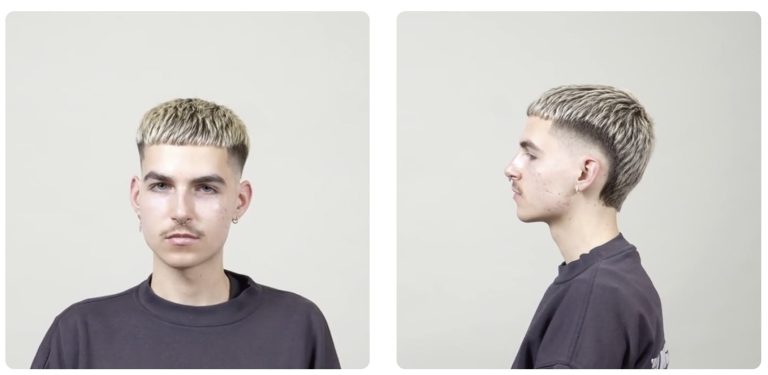
- Low Fade with Textured Crop – shorter hair on top with texture creates a trendy, easy-to-maintain look.
- Low Fade with Quiff – an elegant option that adds height and volume to your hairstyle.
- Low Fade with Long Hair on Top – dramatic contrast between short sides and long top.
- Low Fade with Waves or Curls – a great option for naturally curly hair that emphasizes texture.
Inspired by these variations, you can create unique hairstyles tailored to your clients' individual preferences.
Summary
Creating the perfect low fade requires precision, patience, and practice. It is essential to understand the principles of shading, use tools skillfully, and adapt the technique to the hair type and preferences of the client. Remember that every head is different, so always approach each haircut individually.
Regular practice of this technique will allow you to hone your skills and create increasingly sophisticated hairstyles. Don't be afraid to experiment with different low fade variations, combining them with different styles on top of the head.
If you want to expand your knowledge and skills in men's hairstyles, we encourage you to check out our online hairdressing training courses. We offer a wide selection of courses that will help you develop your skills and stay up to date with the latest trends in men's hairdressing.
Remember that the key to success in hairdressing is to constantly improve and remain open to new techniques and trends. With the right knowledge, practice, and passion, you can become a master at creating the perfect low fade and other popular men's hairstyles.