Burst Fade
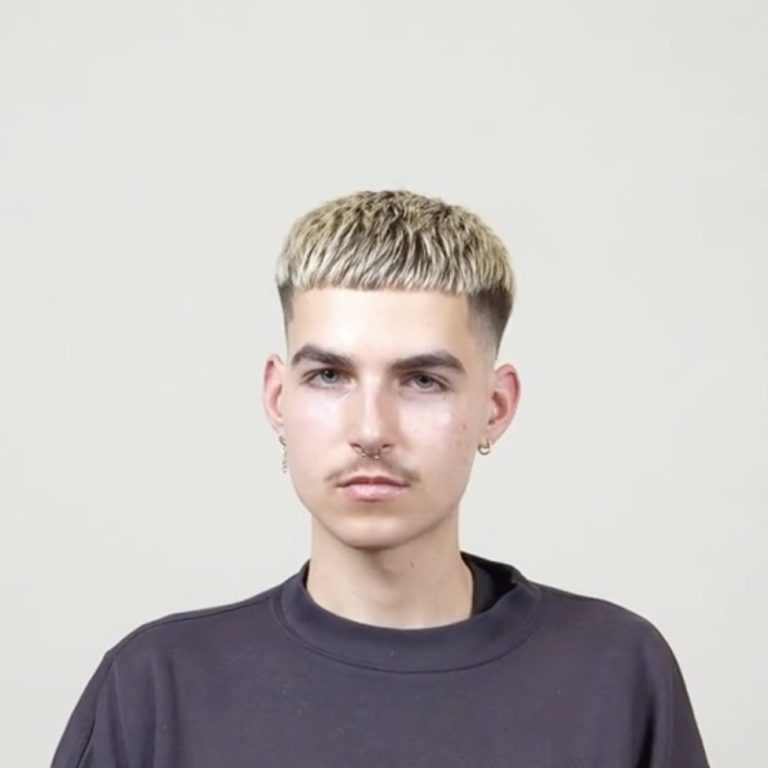
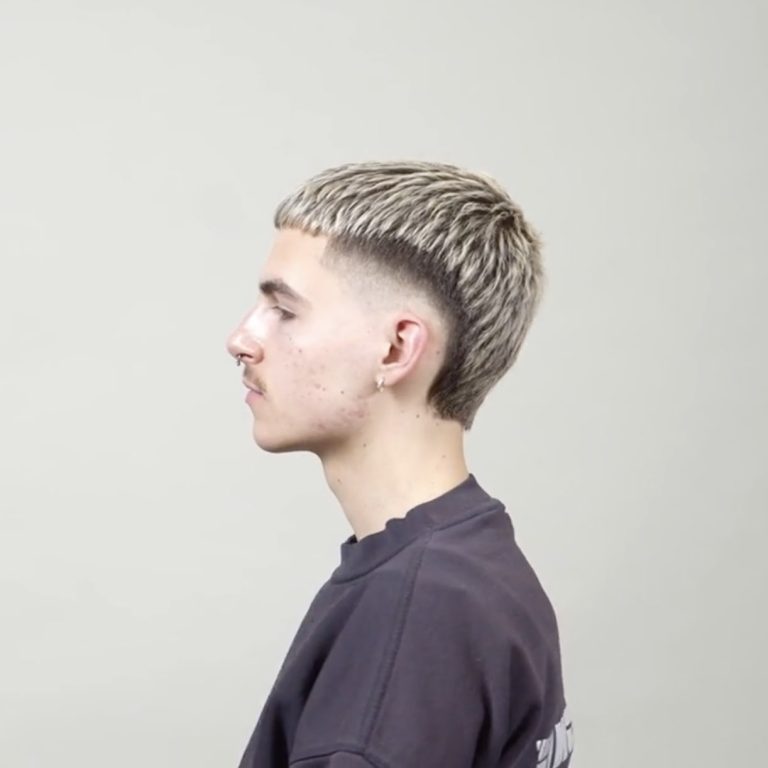
 The result and the process
 What you'll learn
 What you'll learn
How to create a square shape at the top without dividing it into sections.
How to cut bleached hair to preserve the color and avoid streaks.
How to mark symmetrical fade lines based on anatomical landmarks.
How to use the descending shading method to compress the transition.
Why the line of force in a burst fade must remain intact.
How to customize your hairstyle without altering the key weight distribution.
The Burst Fade is a classic men’s haircut that’s making a comeback in a modern, more tapered style. This course demonstrates how to create this distinctive, rounded fade on pre-lightened hair—without damaging the color or creating dark patches. It focuses on working with the weight line, which must remain intact, and precise layering that accentuates the shape of the head and the existing color.
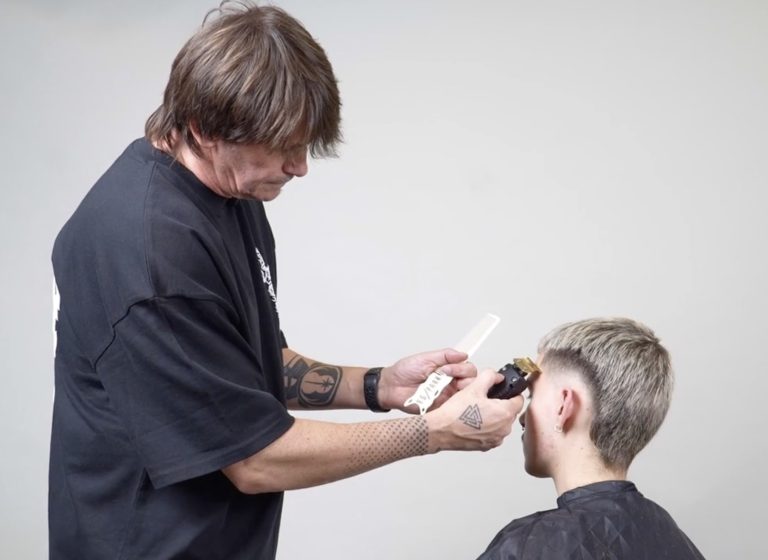
Kamil Cesarski guides you through the entire process, starting at the top and building a horizontal square without dividing it into sections, crossing the strands over one another. He then moves on to the key stage—defining the shape of the fade using anatomical landmarks, such as the mastoid process and the brow ridge, working symmetrically on both sides of the head. Shading is done using a downward technique, starting with a 3 mm clipper attachment and working down to the razor, with precise blending of the transition.
In this course, you'll learn:
- Construction of a horizontal square at the top without dividing it into sections—with band re-routing for maximum flattening.
- Why must the weight line in a burst fade remain intact, and how can you avoid customizing this area so as not to distort the shape?
- Determining symmetrical fade lines based on anatomical landmarks on the head—the mastoid process and the brow ridge.
- The top-down fade technique: starting with a 3 mm guard, then moving to 2 mm, 1.5 mm, down to zero, and finishing with a razor.
- The technique of using only your wrist with a locked arm—the key to a clean, rounded motion with the machine.
- Finish by trimming with scissors on the comb and adding subtle texture to the top, taking care not to damage the lightened color.
After watching this course, you’ll feel confident cutting a burst fade on bleached hair, treating the existing color as an asset rather than an obstacle. You’ll learn how to create a symmetrical, clean fade shape tailored to the client’s anatomy and consciously protect the weight line to achieve a distinctive, modern look that holds its shape long after the salon visit.
What's inside
Full access to the course
 What's inside

Haircut Strategy - Maintaining Color
"I'm going to trim my hair very carefully so I can keep this color and avoid any uneven patches."

Checking blood pressure on the back of the hand
"I always work on the outer part of my hand. This gives me a firm grip."

Setting out lines - reference points
"We'll keep the height of the fringe in mind. And here's the mastoid process again. That's the landmark."

Deepening the fade with a clipper
"Also, try to use the clipper in a way that deepens the fade. Today, I'm using this flip technique."

Removing dark spots with a razor
"Sometimes I just use the length setting on the clippers to break up those dark spots."

Working with scissors - protecting the weight line
"Let's trim it gently with scissors, but really gently. We're not cutting away that line, right?"

How comb scissors work
"The slower the scissors move, the slower we move the comb. We always make sure to lift the hair each time."

Customization of the header with attention to color
"A layered cut, but we really make sure to alter the color as little as possible."
 Frequently Asked Questions