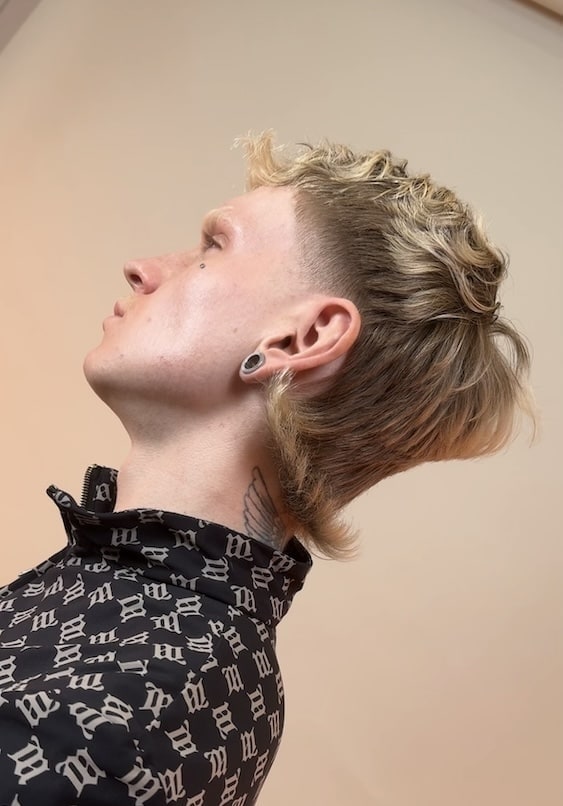
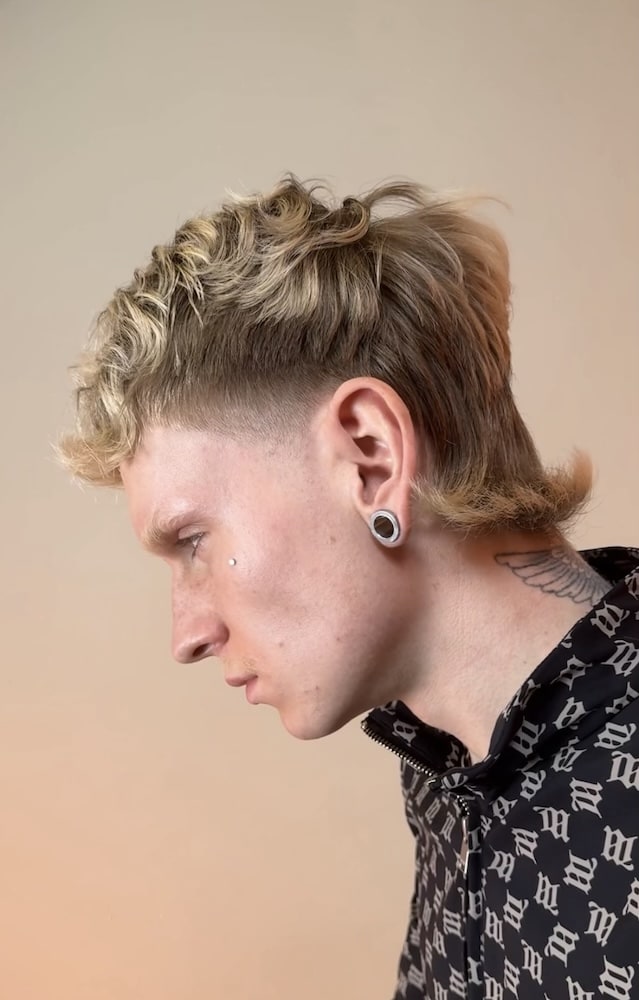
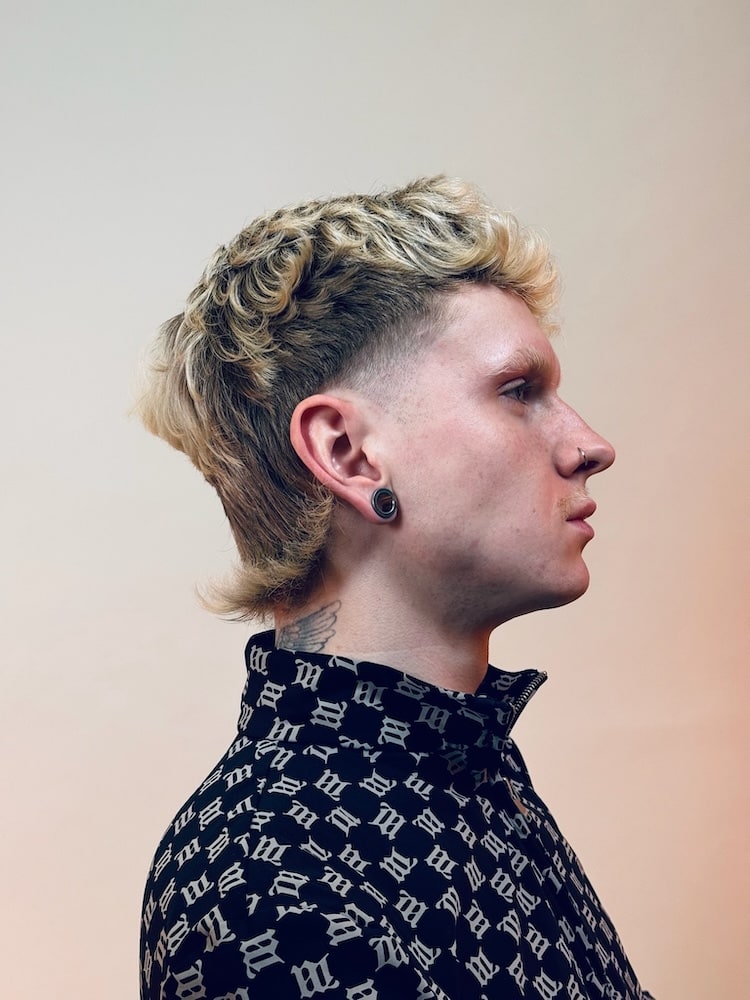
Mullet
 The result and the process
 What you'll learn
 What you'll learn
How to plan a hairstyle based on horizontal and vertical geometric shapes.
How to accurately measure the section of the horseshoe from the tip to the curve.
How to use reference points on the head to shape a hairstyle.
How to create a taper fade by blending from a No. 4 blade to a zero.
How to choose and apply different styling products to specific sections of a mullet.
How to add texture and volume to a hairstyle using a comb and scissors.
The mullet is a modern take on a classic style, built on the deliberate design of horizontal and vertical lines. The course demonstrates how to plan the entire structure of the hairstyle—from a flat square at the back to a progressive triangle on the sides—even before the first cut. It’s a technique that transforms a seemingly chaotic hairstyle into a thoughtful, geometric composition, ideal for working with a client’s naturally curly hair.
Paweł Pollheimer guides you through the entire process, starting with the fundamental horseshoe cut and precise planning of the geometry. You’ll see how to first build the outer shape of the hairstyle by working horizontally, and only then refine it vertically, strand by strand. The course discusses in detail how to work on the lift using reference points on the body—for example, directing the hair toward the chest to create a perfect square on the sides.
In this course, you'll learn:
- Planning vertical and horizontal shapes as the foundation of the entire hairstyle—a square at the back, a triangle on the sides
- Creating a precise horseshoe shape, from the windward side to the curves and the division separating the rear from the sides
- The complete taper fade process: from preparing the base with a #4 clipper attachment to blending down to the zero line
- Selecting and applying two different styling products—a matte paste on the back for hold and a curl cream on top for texture
- Apply the tempera at a 45-degree angle to the ends of the hair to give it a light, airy look and maximum texture
- Using body landmarks (e.g., the chest) to control lift and create a square shape
- Final styling of the dry haircut, including the technique of sliding the scissors along the bangs to achieve a "messy" look
After this course, you’ll start consciously designing hairstyles based on geometry, rather than just replicating their shape. You’ll understand how a flat back and tapered sides work together to create a balanced mullet silhouette. You’ll learn to build a taper fade as an integral part of the composition and customize the look on curly hair, giving the client a hairstyle with character that also looks intentionally styled.
What's inside
Full access to the course
 What's inside

Shape concept: triangle and square
"I want to create two triangles to build shape and add volume around the crown."

Creating a baseline on the back of the neck
"I'd like to shorten that center section by at least a centimeter so that it's shorter than the outer sections."

Connecting the side panel to the back panel
"Starting from the center of the ear, I'll try to blend this side hair with the hair at the back."

The Effect of Body Position on the Shape of the Cut
"If I wanted to create a square shape, we'd pull it more toward the chest."

Vertical styling of the back of the hair
"We'll change the shape of this piece and make it an inverted triangle."

Texturizing the ends with tempera
"I'll keep the temperature at 45 degrees and work very gently on the ends of the hair."

Preparing the surface for a taper fade
"I'll use a size-4 brush for this. I prefer a slightly safer brush and then blend it down."

Final trimming with a handheld trimmer
"I'll try to soften them a little more by working with the clippers as if I were freehand."
 Frequently Asked Questions