Taper Fade
 The result and the process
 What you'll learn
 What you'll learn
How do you shape the hair with scissors to avoid the "mushroom" effect?
How do you combine the ascending technique (0–4.5 mm) and the descending technique (16–4.5 mm)?
How do you use the 4.5 mm brush tip to create the perfect "gray" in shading?
How can you accurately determine the hairline by analyzing hair texture and density?
How do you create strong, clean lines and finish them with a razor?
How to care for curly hair, from blow-drying to styling with a diffuser?
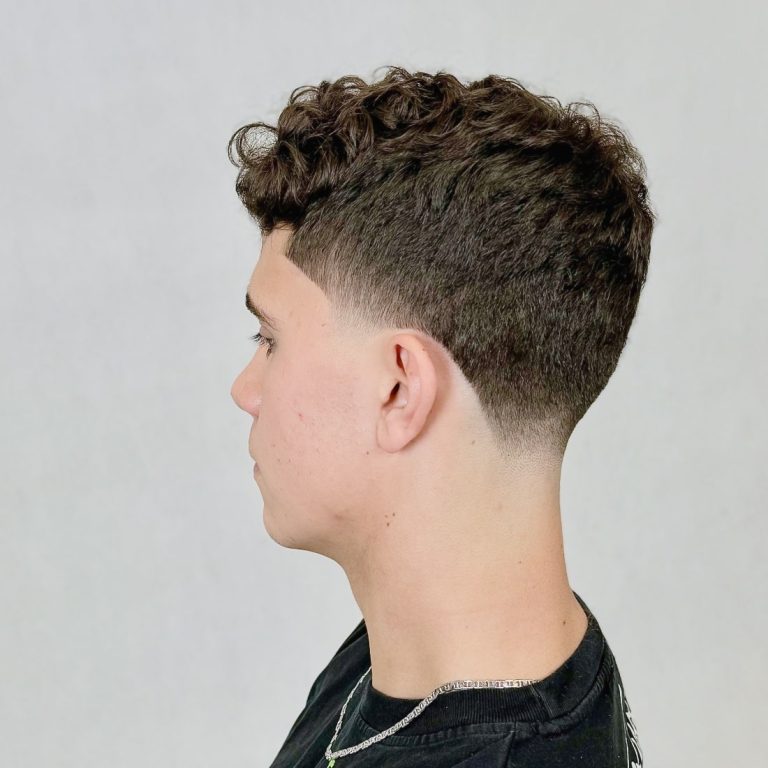
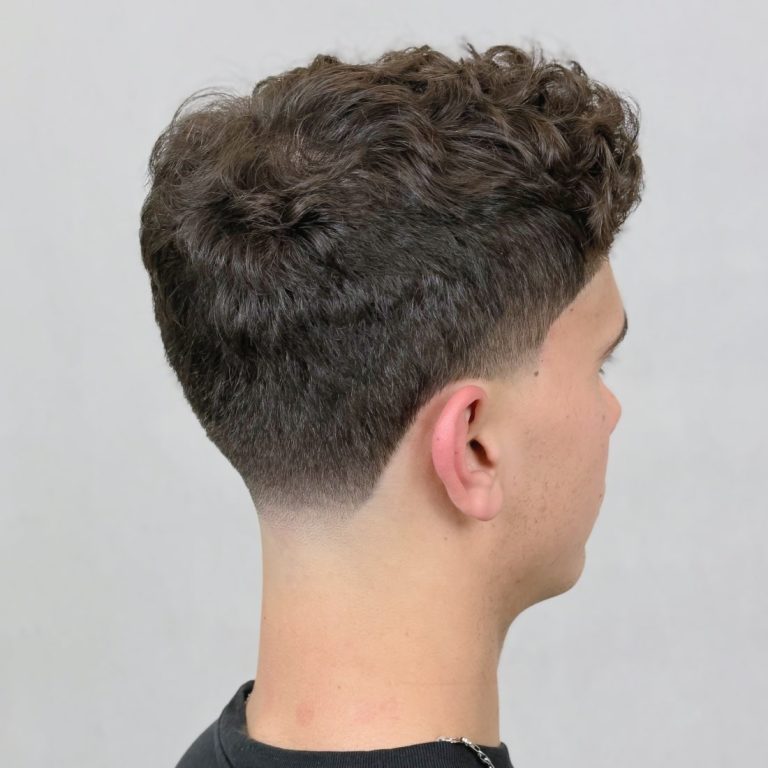
The taper fade on curly hair is a technique that puts an end to the hairdresser’s age-old problem: highlights that turn out either too light or too dark. The course demonstrates a proprietary method that combines the upward (starting from the roots) and downward (starting from the base length) techniques into a single cohesive system. The result is a clean, smooth transition and full control over contrast, even on thick and unruly hair.
Karol Roliński walks you through the entire process step by step, from shaping the hair with scissors to avoid a “mushroom” effect, all the way to the final contouring with a razor. You’ll see how to use the 4.5 mm attachment as a base—the “gray”—around which you build the shading: first from zero to 4.5 mm, and then working down from 16 mm to create a perfect gradient. This method turns guesswork into a deliberate process of shaping.
In this course, you'll learn:
- A proprietary system that combines ascending (0 → 4.5 mm) and descending (16 → 4.5 mm) techniques for full control over the taper's brightness
- Shaping the hair with scissors at the crown and along the hairline—the key to avoiding the "mushroom" effect on curly hair
- Careful determination of the hairline based on an analysis of hair growth patterns and density, rather than by guesswork
- Working with the full range of bits (16 mm, 13 mm, 10 mm, 6 mm, 4.5 mm, 3 mm) and knowing when to use a sweeping motion and when to use a straight line
- Create sharp, clean lines with a trimmer and finish them with a razor for maximum definition
- Use of filleting to soften the transition between the sides and the top without losing the shape
- The final look, achieved using a diffuser and powder to enhance the natural curl and add texture to the hairstyle
After watching this course, you’ll stop seeing the taper fade on curly hair as a challenge and start seeing it as an opportunity to showcase your craft. You’ll gain a system that allows you to consciously control every millimeter of the transition, create clean contours, and deliver consistent, polished cuts to clients that highlight the potential of their natural curl.
What's inside
Full access to the course
 What's inside

Haircut plan and type of taper
"Overall, the sides will be trimmed with clippers to about 16 millimeters."

A deliberate layering effect at the bangs
"We're starting to add a little weight and volume to this hair so we don't cut the bangs."

A hybrid tapering technique
"I decided to combine the two techniques a bit: I build up the highlights and then work my way down."

Working with clear lines
"When we can't see a line, it's often hard to blur it. I like to work with clear lines."

The descending technique - creating shadows
"Now we'll start moving down to create that darker area."

Taper at the temple - swipe technique
"We have a much smaller area to shade, so we can just swipe this tool across it."

An important note when working behind the ear
"You have to be careful when working on the taper so as not to interfere too much with what's behind the ear."

Softening transitions with taping
"I'm working on just the very ends to soften that transition a little—just a tiny bit."
 Frequently Asked Questions