
Middle Part
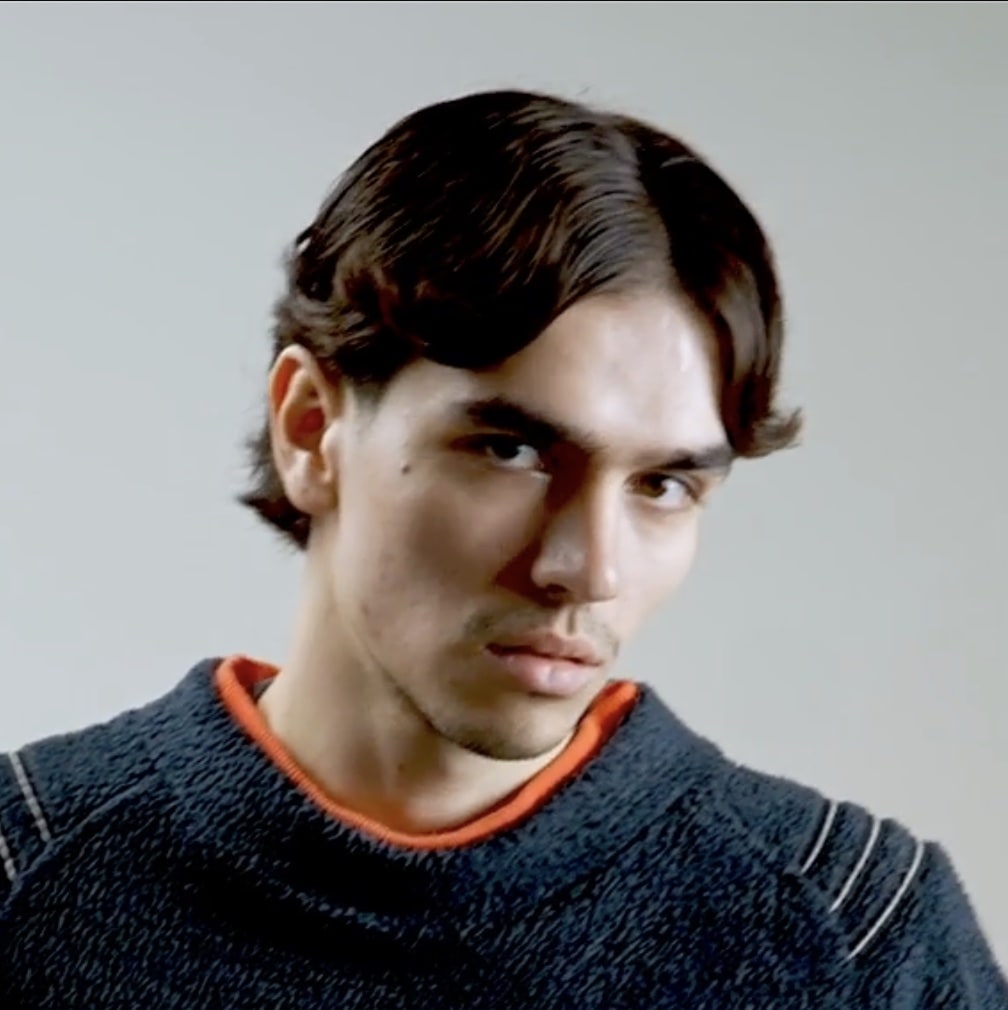
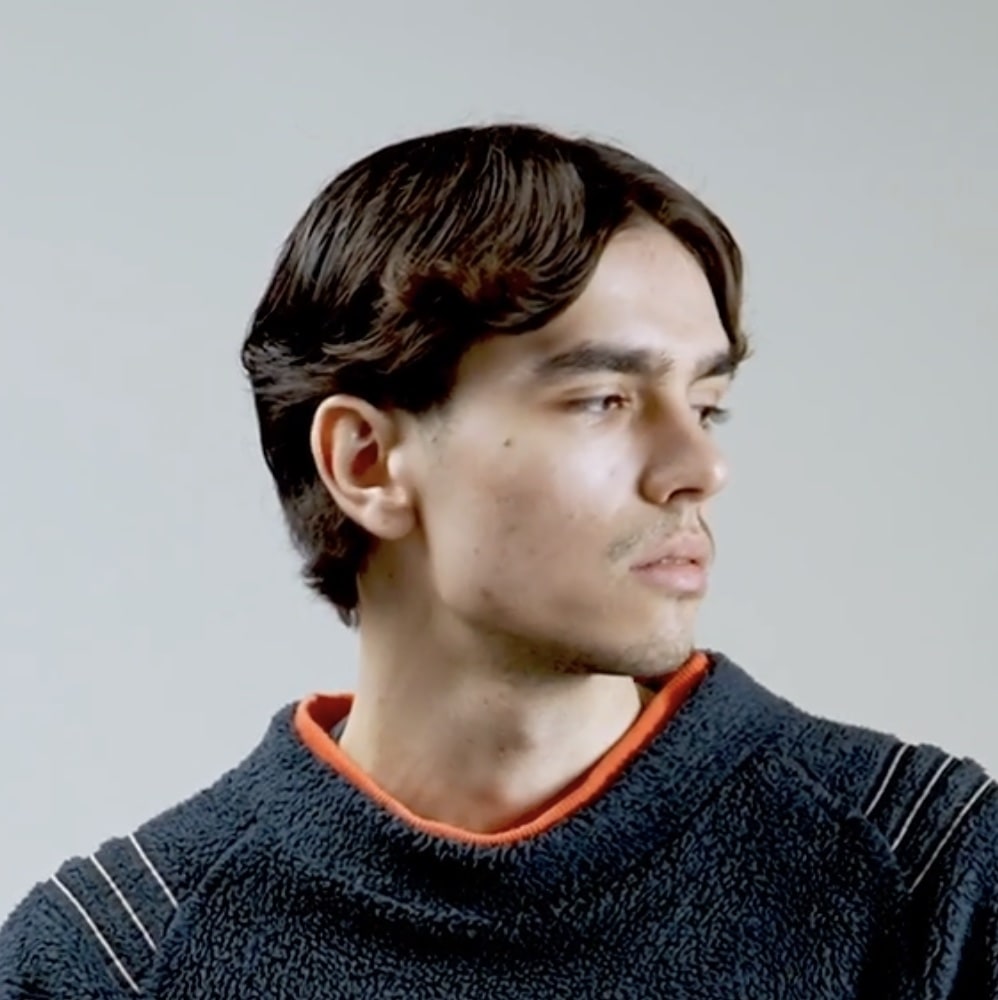
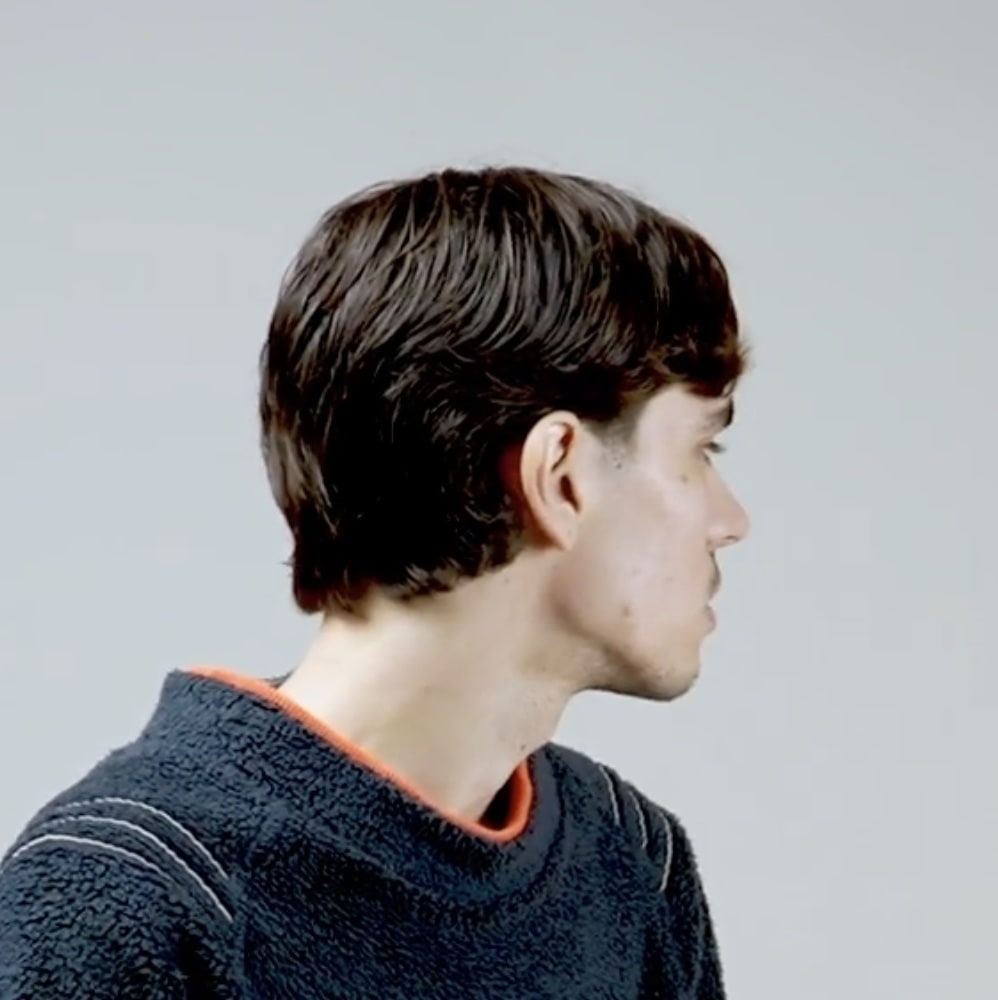
Middle Part cutting course for hairdressers. Learn to create square layers and choppy texture using the Razor to achieve a modern center-part cut.
Result and process
About the course
Middle Part is a classic men's haircut in a modern rendition, combining the symmetry of a center part with dynamic, choppy texture. This course shows how to use the Razor to build a haircut with square layers that breaks to the sides while maintaining a strong, masculine form. This technique is perfect for clients with longer hair looking for a versatile cut that can be styled in many ways - from polished to controlled disarray.
Vlad Pozhoga guides you through the entire process, starting with precise sectioning of the head. Step by step, he shows how to build square layers on the nape and back of the head using the Razor, guiding each strand to the previous one. He then moves to the sides, where horizontal separations are used to add volume while allowing the hair to fall downward. A key element is the seamless connection between the top and sides, creating a cohesive whole with a light projection onto the fringe.
In this course, you'll see
- Working with the Razor to create square layers and choppy texture on the back of the head
- Cutting the sides using horizontal separations - how to add volume while letting the hair fall downward
- The technique of connecting the top with the sides by guiding strands to a single reference point at the ear
- Executing a low taper fade as a subtle finish to the hairline above the ear and on the nape
- A method for a clean contour on the nape - how to lift baby hairs with a comb and remove them with a trimmer without disturbing the line
- Removing weight and creating lightness using the pointing technique on the sides and top
- The full wet styling process using a diffuser, matte pomade, and clips to set the desired shape
After watching this course, you'll master the Middle Part cutting technique, which is both classic and incredibly popular. You'll start confidently using the Razor not just for texturizing, but to build the entire form at the back of the head. You'll learn how to control volume and the direction of hair fall on the sides, allowing you to offer clients with longer hair a polished, versatile cut that looks great every day.
What you will learn
- 01How to create square layers and choppy texture using the Razor.
- 02How to cut the sides with horizontal separations to add volume.
- 03How to seamlessly connect the top with the sides by guiding strands to a single point.
- 04How to execute a subtle, low taper fade as a haircut finish.
- 05How to clean up the contour on the nape using a trimmer and scissors.
- 06How to apply pointing and slicing techniques to reduce hair weight.
Before you start
This course assumes you already have:
What's inside
Full access with the course 1:45
1:4501Dividing the head into key sections
Where the head rounds off, I create the part to the highest point of the ear.
 11:06
11:0602Warning when cutting with the Razor
Sometimes cutting with the Razor isn't pleasant for the model, but you have to warn them about it.
 19:21
19:2103Horizontal separations on the sides
I'll cut horizontally, because I want the hair to fall downward and to add volume.
 25:33
25:3304Judging the cutting length by eye
Thanks to experience, I can already see by eye how much I need to cut.
 36:16
36:1605The goal of the low taper fade
I added a bit of volume on the side to frame the face.
 39:00
39:0006Reducing weight on the nape with the knife
I can take the Razor and point-cut the hair to reduce some of the weight.
 44:05
44:0507Technique for cleaning up the nape line
We take the comb, comb out the hair, lift it, and cut off what wasn't caught.
 1:05:17
08Temperature control with the diffuser
I always try to have the air hit my hand, so I can feel it and not overdo the heat setting.
FAQ
What is the main tool used in this cutting technique?
What type of hair is best suited for this cut?
How does Vlad connect the top with the sides in this haircut?
Does the course show how to style the finished haircut?
What type of fade is featured in this material?
How long is the video material in this course?
Details
Educator

Vlad Pozhoga
Educator · 2 courses
Vlad Pozhoga is a men's hairdresser and educator with international experience, working in Warsaw for over six years. In his haircuts, he combines modern forms with naturalness and dynamics, focusing on matching the hairstyle to the client's image. In his teaching, he prioritizes quality and precision, explaining techniques step by step such as working with square layers or razor cutting.
Ready for the next level
Unlock full access to the Connected Hair course library.
Join the Academy