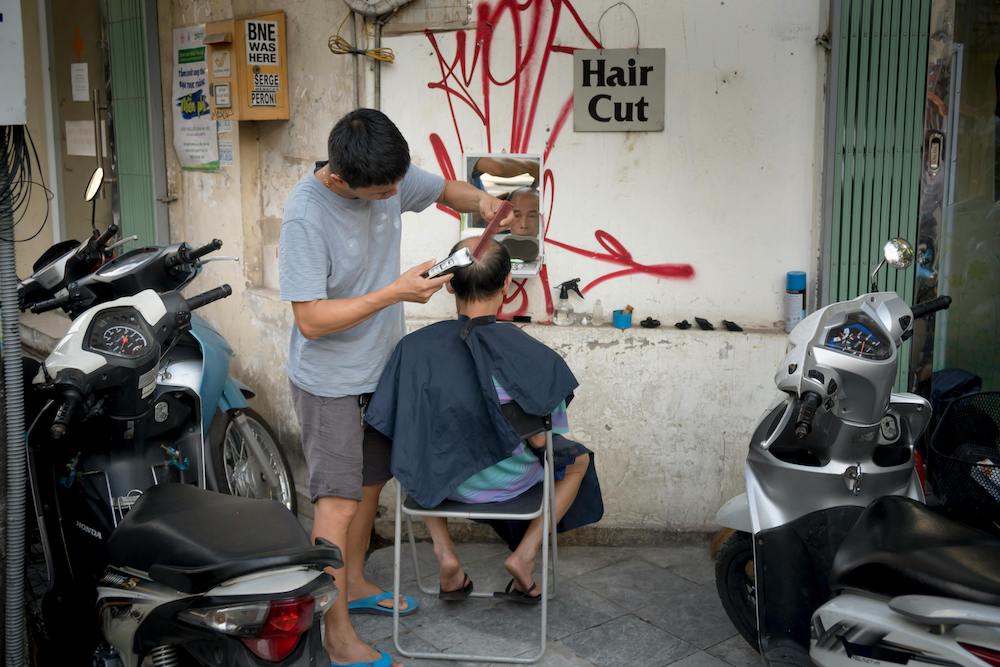
Thin hair doesn't forgive mistakes. Every cut that's too blunt, every thinning in the wrong spot, and every pomade that's too heavy instantly reveal the scalp instead of a hairstyle. Working with this hair type is a game of apparent volume: you build it through the angle you guide the clippers at, the density of the cut, and the finish — not through hair that simply isn't there. Below you'll find a concrete technical workshop for cutting thin men's hair, from consultation to finish.
How Thin Hair Behaves and What That Means for Cutting
Thin hair has a smaller strand diameter than normal or thick hair. A smaller diameter means less rigidity, so the hair doesn't hold elevation at the root and falls under its own weight. On top of that, thin hair gets oily faster, and sebum weighs it down further and clumps it into strands, which makes the hairstyle “fall flat” after just a few hours.
From a barber's perspective, this translates into a few hard-and-fast rules of the craft:
- Thin hair lets light through, so every gap in the layering and every hard line is visible. Work with clean, sharp tools, because a dull blade crushes and pulls the strand instead of cutting it.
- Leave more weight on top than you'd instinctively want to. Thinning out thin hair is the most common mistake, because it removes the only building material for volume.
- Build the hairstyle “from the bottom up”: short, clean sides contrasting with longer, denser texture on top create the illusion of thickness that isn't there in the hair itself.
- Assess the growth direction and any cowlicks on dry hair, because they'll determine whether the top can be lifted at all.
Consultation: Before You Pick Up the Clippers
With thin hair, the consultation isn't a formality — it's a diagnosis. Do it on dry, unstyled hair, because only then can you see the actual density, hairline, and thinning zones.
- Part the hair with your fingers in several spots and assess where the scalp shows through the most (usually the crown and temple area). You'll mask these zones with more length, not expose them.
- Check the growth direction at the hairline and the back of the head, plus any cowlicks. Thin hair growing “forward” is easy to style into a textured fringe; hair growing flat toward the back is harder to lift.
- Ask about daily styling habits and how much time they have in the morning. Thin hair can only carry a hairstyle the client will actually maintain, because without styling, all volume disappears.
- Set expectations about density honestly: you can't add hair that isn't there, but you can create the impression of a much fuller hairstyle through the cut and the finish.
Basic Techniques for Cutting Thin Hair
Dry Cutting
Wet thin hair stretches and clumps into strands, so you lose control over the actual length and texture. Dry cutting shows the hair exactly as it will look on the client's head, which is why it works well for textured hairstyles like the textured crop, where control over every strand matters.
- Work on small, dry sections and check the length on the strand as it falls naturally, without elevation, because that's how the hair will actually sit.
- Cut with the tips of the scissors, not the full blade, to leave soft, textured ends instead of a hard line.
- Every few strands, shake off the cut hair and assess the overall look, because it's easy to unknowingly take off too much when cutting dry.
Point Cutting
Point cutting is cutting the ends at an angle, with the scissor tips pointed into the strand, rather than straight across. Instead of one hard edge, this creates a fragmented, soft ending that breaks up the light and visually adds density.
- Hold the scissors nearly vertical to the strand and cut shallowly into the ends, controlling the depth, because the deeper you go, the more you thin the hair.
- On thin hair, work only on the very ends, never at mid-length, so you don't remove the weight needed for volume.
- Use it along the fringe line and on the outer layers on top to soften the edges without losing density.
Layering and Transitions
Good layering builds contrast between short sides and a fuller top, and it's this contrast — not the length itself — that creates the impression of volume. With thin hair, the transitions must be exceptionally clean, because every unevenness shows through as scalp.
- Guide the clippers at a consistent angle to the head, opening the guard progressively (e.g., from 0.5 through 1 to 1.5), and leave a clear overlap zone between lengths so you don't end up with a hard “step”.
- Set the transition line a bit higher than you would with thick hair: sides taken lower against a thin top sharpen the contrast and leave more weight to lift at the crown.
- Blend the transition with comb and clippers (the clipper-over-comb technique) in the zone where the guard leaves a mark, to merge the lengths into a smooth gradient.
- After layering, check symmetry from the front and both profiles, because gaps are most visible in side lighting.
Undercut
The undercut works well with thin hair mainly when the client has more density on top than on the sides. Short, uniform sides maximize the contrast with a longer top left fully intact, which you'll comb back or to the side. It's a good starting point for bolder styles, such as the pompadour.
- Leave the full length on top untouched by thinning, because it's what builds the hairstyle's silhouette and volume.
- Cut the sides with a single guard length, without a fade, if you want a sharp contrast, or with a soft transition if the overall look should be more natural.
- Keep in mind that the undercut exposes the sides, so with heavily thinning temples, a classic fade works better than a sharp line.
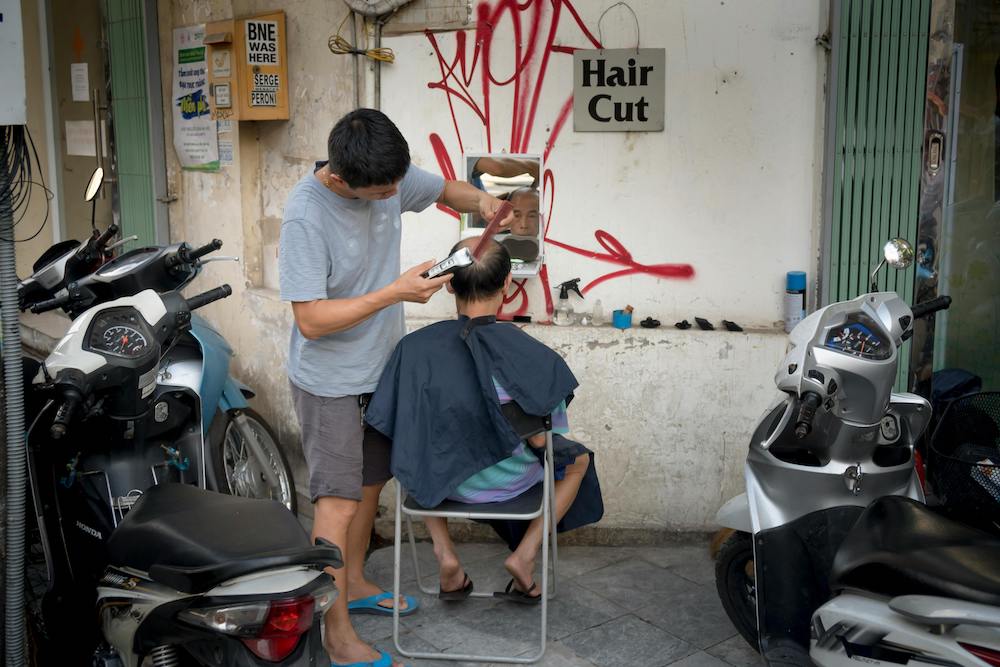
Advanced Techniques for Adding Volume
The “Choppy” Technique
The “choppy” technique is about deliberately creating uneven, shorter and longer strands side by side, so the ends fall in multiple directions. On thin hair, this is one of the most effective ways to add volume: varied lengths don't lie flat on top of one another — instead they support each other and lift.
- Select thin sections, hold them perpendicular to the head, and cut into them with the scissor tips at varying heights, creating an uneven outline within the hairstyle.
- Vary the lengths subtly, within a few millimeters, because overly aggressive “choppy” cutting on thin hair turns texture into visible gaps.
- Stick to this technique mainly in the crown area and the front of the top, where you need the most lift.
Working with the Hair Part
With thin hair, a part can be treacherous, because if it's too sharply defined, it exposes a strip of scalp. A well-placed part does the opposite: it distributes the hair's weight so one side “supports” the other and masks any gaps at the crown.
- Follow the natural parting of the hair rather than forcing a straight line, because thin hair won't hide a forced part.
- Leave slightly more length on the side you're combing toward, to cover the scalp line right along the part.
- Instead of a sharp, “drawn-on” part, opt for a soft, blurred division that doesn't emphasize the lack of density.
Texturizing with Thinning Shears (Carefully)
Thinning shears on thin hair are a high-risk tool. Used too close to the root, or on strands that are too thick, they remove weight and expose the scalp — and hair once removed can't be given back. Used well, they only soften the ends and break up hard edges.
- Work only on the bottom third of the strand's length, never near the root, where any loss immediately shows as a gap.
- Make single, shallow closures on a thin strand and check the result before repeating, because it's easy to thin too much.
- With very sparse hair, it's often better to set thinning shears aside entirely and texturize using point cutting alone, which gives you control without removing weight.
Styling and Finishing
Even the best cut will only hold volume with the right finish. Thin hair gets weighed down by literally everything, so the key is root-lift drying and a light, matte product that adds texture instead of clumping the hair together.
- Dry the hair at the root, lifting the strands with your fingers or a brush against the direction of the final style, because volume is created at the scalp, not at the ends.
- Apply product to nearly dry hair, in a small amount, rubbing it thoroughly between your palms first, so you don't leave a “clump” of pomade in one spot.
- Choose matte, lightweight products (water-based or powder), because shine and heaviness instantly give away thin hair and clump it into strands.
- Skip heavy pomades and strong-hold waxes, which weigh the hair down and undo all the work put into building volume.
Recommended Hairstyles for Thin Men's Hair
| Hairstyle | Characteristics | Benefits for Thin Hair |
|---|---|---|
| Short textured crop | Short sides, textured top | Adds volume and texture, masks thin areas |
| Side-swept | Longer top combed to the side | Creates the illusion of greater density on top of the head |
| Short quiff | Lifted front section | Adds height at the front, draws attention to the hair's best features |
| Buzz cut with fade | Very short cut with fading | A minimalist approach that can work well for very thin hair |
| Crew cut | Short hair styled upward | A classic that works well with thin hair, adding apparent volume |
Aftercare: What to Advise Clients
A client with thin hair will only maintain the hairstyle's effect if they know how to take care of it. At-home care determines whether the volume you've cut in will last until the next visit.
- Recommend gentle, lightweight shampoos and washing only when the hair actually needs it, because roots that get oily quickly instantly flatten thin hair.
- Advise against applying conditioner to the roots: it should go only on the ends, so it doesn't weigh down or flatten the hair at the base.
- Show the client how to dry their hair at the root with lift, because without this, even the best product styling will fall flat.
- Set a realistic visit schedule: thin hair loses the shape of the cut faster, so regularly refreshing the sides and the transition will maintain the contrast that builds volume.
Tools and Products for Working with Thin Hair
With thin hair, the tool makes the difference between a clean cut and a ragged, pulled strand. A dull blade crushes thin hair instead of cutting it, which is why keeping your equipment in top shape is especially important here. Remember regular maintenance of your barbering tools, because that's what ensures consistent results.
| Tool/Product | Characteristics | Use with Thin Hair |
|---|---|---|
| Sharp scissors | Precise, high-quality | Clean, precise cuts without pulling the hair |
| Lightweight clippers | With length adjustment | Gentle layering without weighing down the hair |
| Wide-tooth combs | Anti-static | Preventing static in the hair |
| Lightweight texturizing products | Water-based or powder | Adding volume without weighing hair down |
| Diffuser hair dryer | With temperature control | Gentle drying that adds volume |
Common Mistakes When Cutting Thin Hair
- Over-thinning the top, which instead of texture creates visible scalp and removes the only building material for volume.
- Cutting wet and judging length on an elevated strand, which makes the hairstyle turn out shorter and flatter once it dries.
- Leaving a hard, straight fringe line, which on thin hair looks like it was cut in a single stroke and emphasizes the lack of density.
- Taking the sides too low against a thin top, which throws off the proportions and exposes the crown instead of building contrast.
- Applying heavy, shiny pomade, which weighs the hair down and undoes all the volume built through cutting and drying.
Cutting thin hair is all about the details: clean transitions, sparing texturizing, weight left exactly where it builds volume, and a finish that doesn't weigh things down. Mastering these techniques across different hair types comes above all through practice. If you want to expand your repertoire and work more confidently with challenging hair structures, check out our online hairdressing courses.


