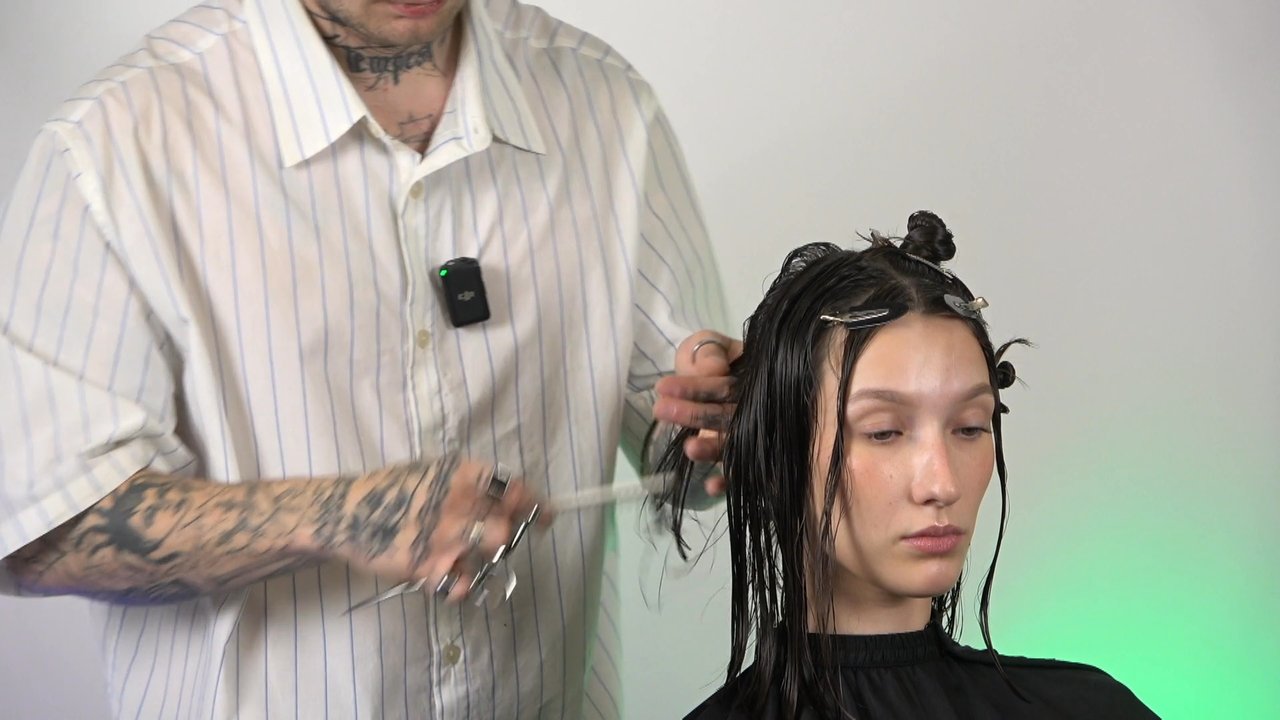
Curly and wavy hair has one problem straight hair doesn't: it dries fast, frizzes up, and loses its curl pattern the moment a haircut is overloaded with weight. A taper fade sorts this out from the line-up side, but on curly hair there's one more thing that matters — how much lightness you leave on top so the curl can even form in the first place. Albert Banaszek cuts a model here who works daily with sea salt spray and paste, and wants a classic taper fade on the sides with a refreshed, bouncy top.
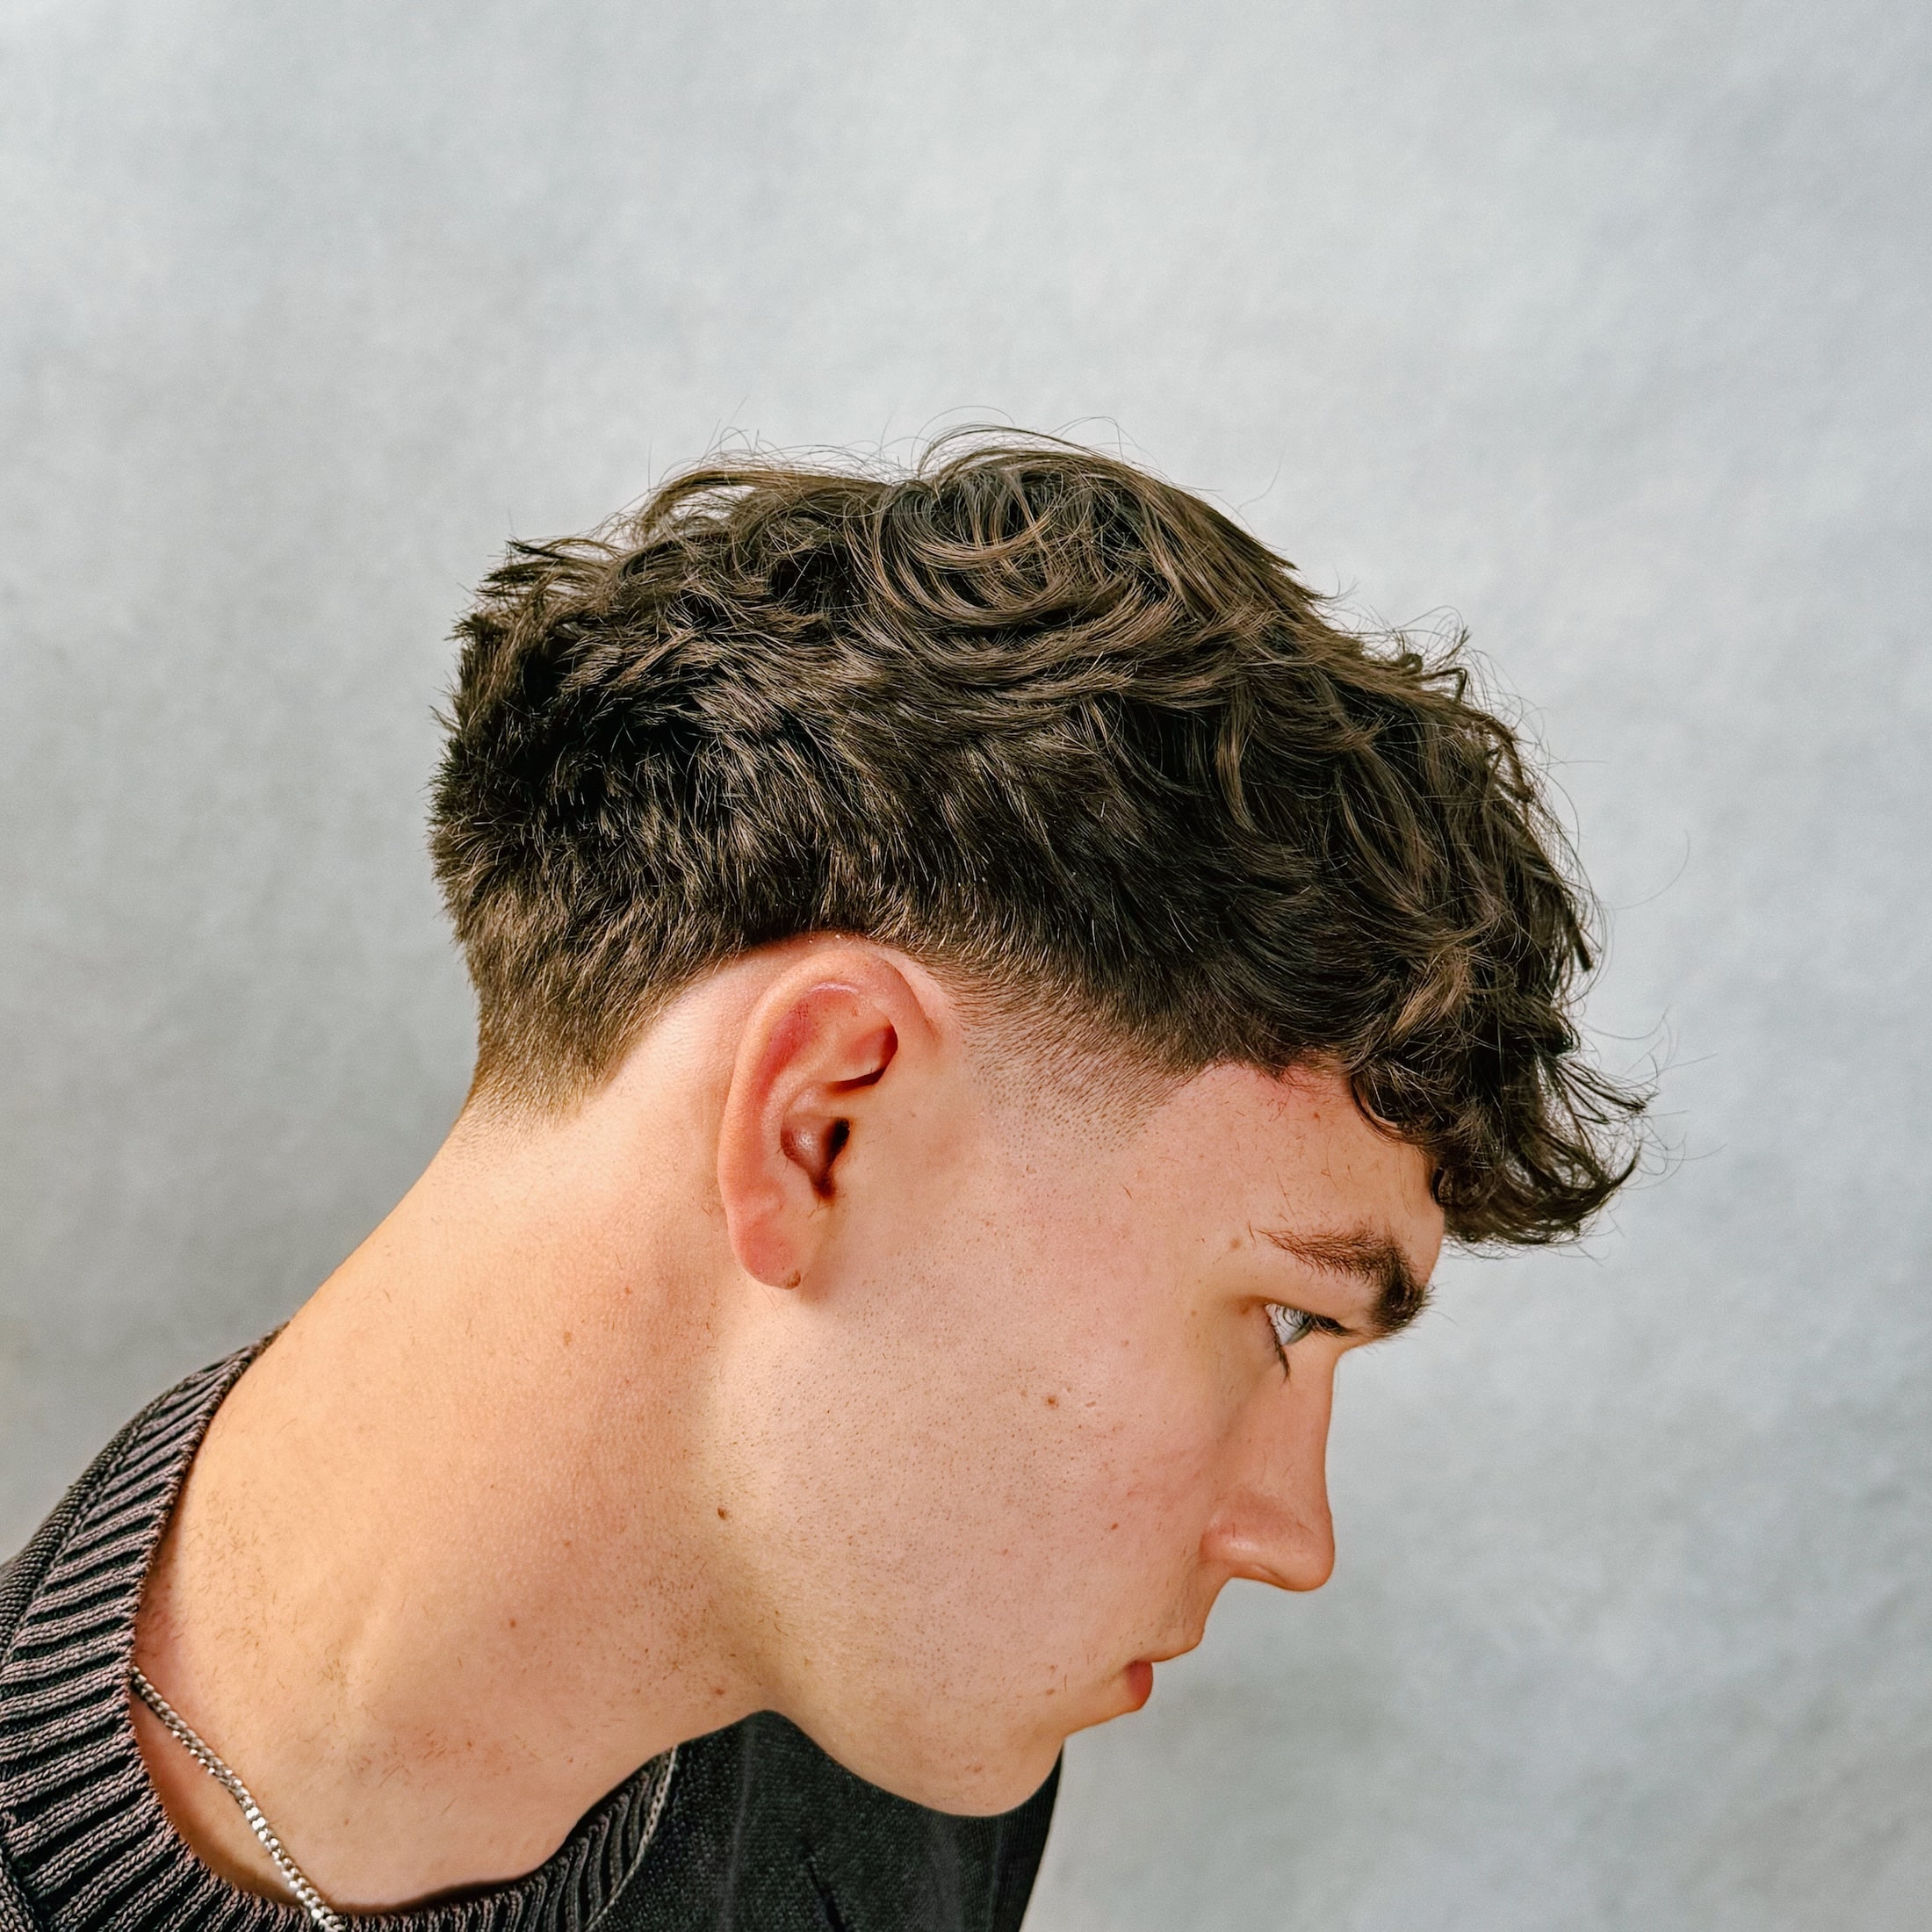
Taper fade on curly hair is a men's haircut where the sides and back gradually shorten from longer hair down to a zero line at the skin, while the top is lightened so the curl can bounce back. In this version, Albert doesn't work with disconnection: the transition is meant to look natural, and the whole job comes down to removing weight from the sides and top and building a sharp, low-set fade. It's the opposite of more creative cuts like the messy taper with heavy disconnection and texture, where the top and sides are deliberately disconnected.
Consultation: How Curly Hair Changes the Taper Fade Plan
Albert doesn't push his own vision on the model — he advises what will work best with his head shape and hair. Before he picks up the scissors, he reads the head shape in two planes, horizontal and vertical. Here, the occipital area doesn't protrude much, so it won't get in the way of building the fade, and the head shape allows for a taper fade without compromises.
The model's hair has fairly low curl definition, and that changes the plan. For the curl to form at all, the haircut needs lightness added, not more weight. The previous cut went square, so Albert shortens and rounds off the shape, removes excess length horizontally, and closes the head into a rounder form. Less weight on the sides and top translates directly into what you see in the mirror: the hair gets bouncy and wants to curl on its own.
- Check the head shape and occipital height before deciding on the fade height
- With loose curl definition, lighten the top so the curl has room to form
- Round off a square shape from a previous cut instead of repeating it
Sides and Back: Round Graduation and the Guideline
Curly hair starts with wetting it down, because it dries very fast, and dry hair can't be sectioned evenly. Albert wets the head and checks the growth pattern, especially at the back, where the whorls decide the parting. If the parting falls too low, you'll cut the hair going upward; if it's too high, you'll run out of length, the hair will bounce back, and you'll get a hole. With longer hair, a simple trick helps: grab the section and roll it slightly, and you'll see where the hair naturally parts.
He starts sectioning at the back, since the two back panels matter most. He runs the natural parting to the mastoid process and works section by section following the head shape, raising the hair to a ninety-degree elevation to remove the inner length. On the outside he builds a square, but each following section is left a touch longer than the last, so the shape builds up and rounds off at the base. The reference point is the guideline, which every following cut is matched to.
He connects the sides to the back with high, round graduation to get rid of weight and prep clean ground for the fade. At the temple, he deliberately tilts his fingers toward a square, so he doesn't shorten the hair too much and keeps some length to extend the shape. It's a small detail, but as he puts it himself, sometimes millimeters can affect the quality and flow of the whole haircut.
Top: Pivoting — a Circle Horizontally, a Square Vertically
Albert works the top so the fringe stays compact rather than lifted. He doesn't take much off the fringe, so as not to shorten the forehead, but rather to visually lengthen it. He also doesn't want too square a fringe or excess volume on the sides, so instead of running everything on a circle, he reaches for pivoting.
Pivoting lets you make a circle horizontally and a square vertically — rounding off the haircut from the profile while extending it exactly where needed. Most of the length comes off the crown and the middle of the head, since that's where the most weight collects. Albert doesn't cut a hard, straight line — instead, he leaves a slightly jagged edge so the hair textures and gets the movement a curly top needs.
Notice that the section runs from narrower to longer, with the comb guiding the hair toward itself. It's this gentle pivot that builds bounce in the middle of the head, instead of flattening it with one even circle.
Drying Before the Taper: Why Order Matters
On curly hair, Albert dries the head before doing the taper, not after. The reason is simple: only once it's dry does curly hair show its real volume, and the fade adapts to the styled top. First comes a small amount of Freestyler mousse — just enough not to dry out the hair and to bring out the curl, since curly hair likes moisture.
Drying is done with a diffuser on the lowest heat and speed setting. For the first while, Albert doesn't touch the hair at all, letting it curl in its own natural pattern, and only then does he lightly scrunch it. Keep the temperature low here, and be careful not to burn the client's scalp, especially on the sides, where the diffuser works close to the head.
Taper and Zero Line: Building a Sharp Transition
Albert starts the taper with guard number two, tilting the head to reach the area of weight. Before moving into the fade, he takes down volume with scissors, picking up the hair from underneath like clippers and tapping the ends following the head shape. This lightens up the sides and removes weight, giving the transition something to build from.
The zero line decides the character of the whole fade. Albert wants an aggressive, sharp fade, so he doesn't set it too high — that would stretch out the transition and make it look too soft. He sets it low, roughly a finger and a half up, right where the ear starts, perpendicular to the baseline. Since he's working with a gentle trimmer, he can run it this way; with a stronger clipper he'd hold it more on its side, so as not to cut too hard a zero line that would need blending out afterward.
The shaver doesn't go all the way down to the zero line. Albert leaves a little room, so he doesn't cut a hard edge that would later show on the skin, and only lightly flicks it with the clippers. He runs the whole blending job with the blade open, using wrist work alone, coming back with texturizing shears wherever the rest of the weight needs knocking down.
Back and Finishing: A Shared Baseline and Playing with Light
Albert runs both sides and the back on one shared scheme, along a horizontal line, so the fade's baseline stays the same all around. At the back, he builds a guideline from the center and makes sure it doesn't go higher than the mastoid process and the occipital area. He goes in with a checking technique, blade open, and knocks down the hard, sharp baseline with the comb.
The final touches are all about light. Albert uses texturizing shears to knock down darker spots, because the whole fade is a game of light: wherever it gets too dark, it needs lightening up — carefully, since it's easy to punch a hole in it. He's careful not to run the texturizing shears into the curly hair on top, since that would straighten it out immediately, and the whole point is keeping the curl.
Styling: Matte Paste and Diffuser for the Curl
To finish, Albert lightly dampens the hair and works in a small amount of matte paste. He finishes drying with the diffuser on cold air, touching up the curl, and adds a bit more mousse, since he prefers a wetter look on the curly top. The result is medium-length hair with a taper fade, with some volume removed from the top specifically to bring out the curl.
It's a natural hairstyle with a strong taper finish: a bouncy, textured top and a clean, low-set transition on the sides. A close relative of this cut is the curly taper crop, a shorter cut for curly hair, where the same lightness logic works at an even shorter length.
Is your taper coming out too high and too flat, with a curly top that frizzes up or loses its curl once it dries? In the full Taper Fade on Curly Hair with Albert Banaszek course, you'll see how to set the zero line low for an aggressive transition, how to run pivoting on top, and in what order to dry the hair so the fade fits the styled curl. The entire haircut step by step on a model, with the educator's commentary.
Frequently Asked Questions
Does a taper fade work on curly and wavy hair?
Yes, as long as the head shape and occipital height allow it, which Albert checks at the start. With looser curl definition, the key lies in lightening the top: the less weight left at the crown, the easier it is for curly and wavy hair to form its curl pattern above a sharp transition.
How high should the fade start on curly hair?
If you want an aggressive, sharp transition, the zero line goes low — for Albert, roughly a finger and a half up, right where the ear starts. A fade set higher becomes more stretched out and classic, so you choose the line height based on the character you're going for.
Why is curly hair dried before doing the taper?
Because only once it's dry does curly hair show the top's real volume, and the fade needs to match it. Albert dries to the final styled result, so the transition suits how the haircut will actually look day to day, not a wet, flattened mass of hair.
What should you use to style a curly top after a taper fade?
Albert combines Freestyler mousse with a small amount of matte paste and finishes drying with a diffuser on cold air, touching up the curl. Curly hair likes moisture, so a wetter look works better than an overly dried-out, stiff style.