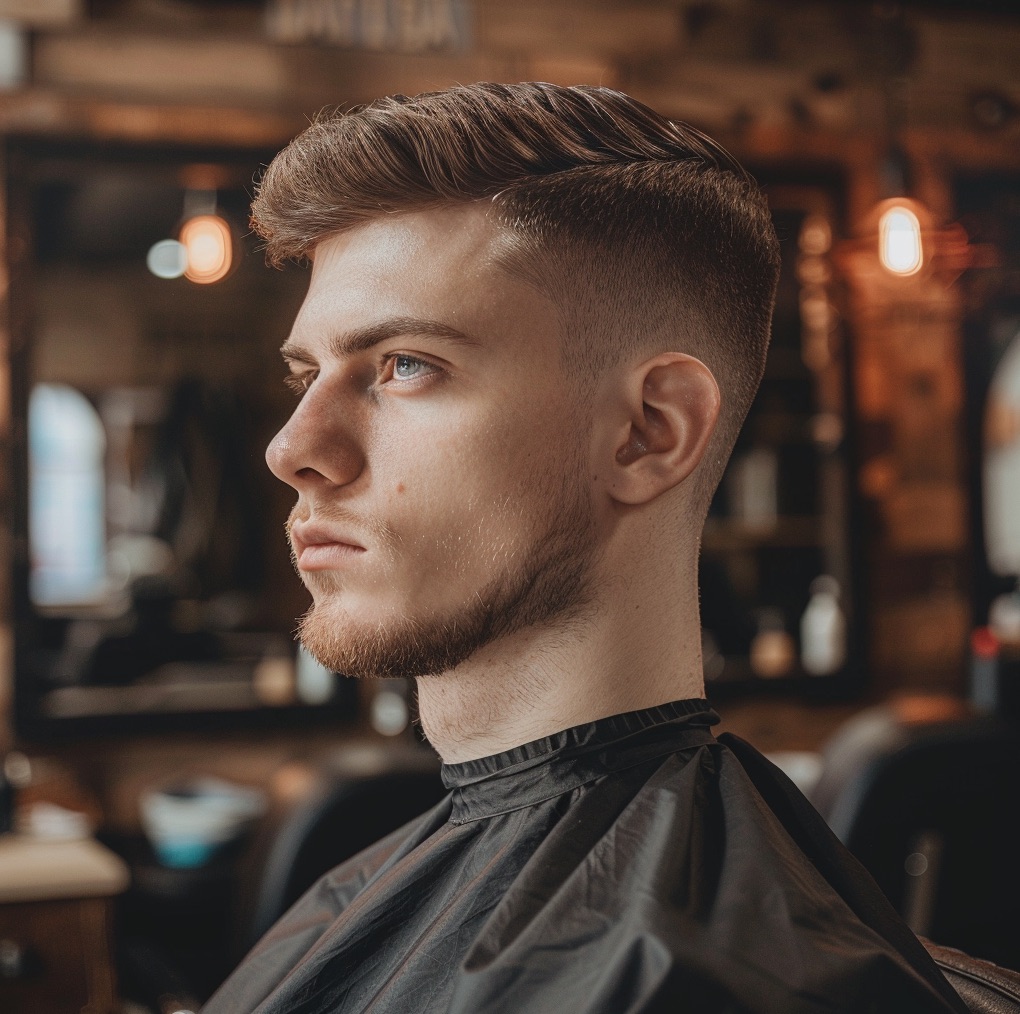
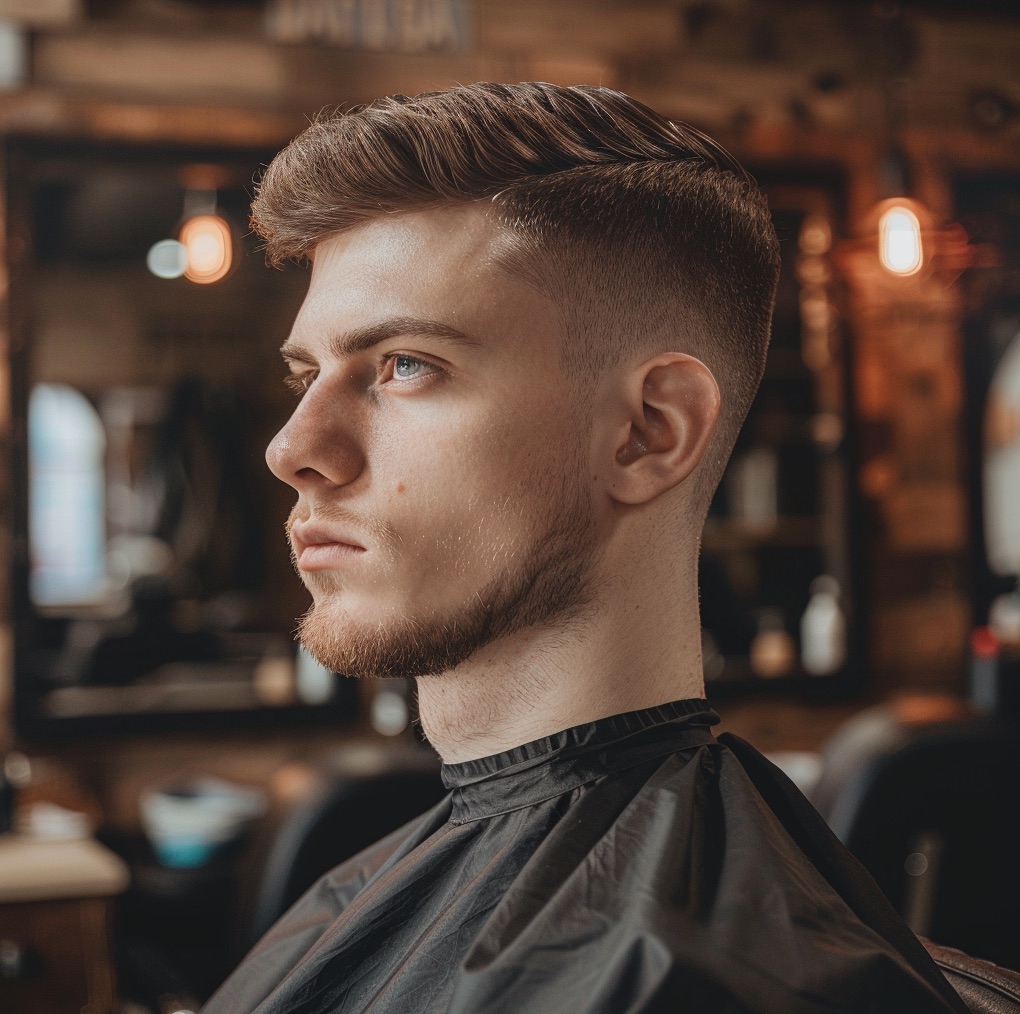
A low fade is a graduation technique with the transition line set low, at the level of the top edge of the ear and the nape. The sides stay longer than in a mid or high fade, with the shortest zone running only in a narrow band above the ear and neck. This makes the haircut subtle, does a great job of masking protruding ears, and works equally well for classic and evening looks. Below you'll find the full clipper-and-comb workflow, guard selection based on hair density, and the common pitfalls that throw off the transition.
What Is a Low Fade and How Does It Differ From Other Fades
In a low fade, the hair shortens gradually from the shortest zone at the hairline down the nape up to the full length of the side. The point where the fade reaches its maximum side length — the so-called transition line — sits low, usually 2-3 cm above the ear. This sets the technique apart from a mid fade (transition at temple height) and a high fade (transition high up, near the crown), where the short-hair zone is significantly larger and the contrast stronger.
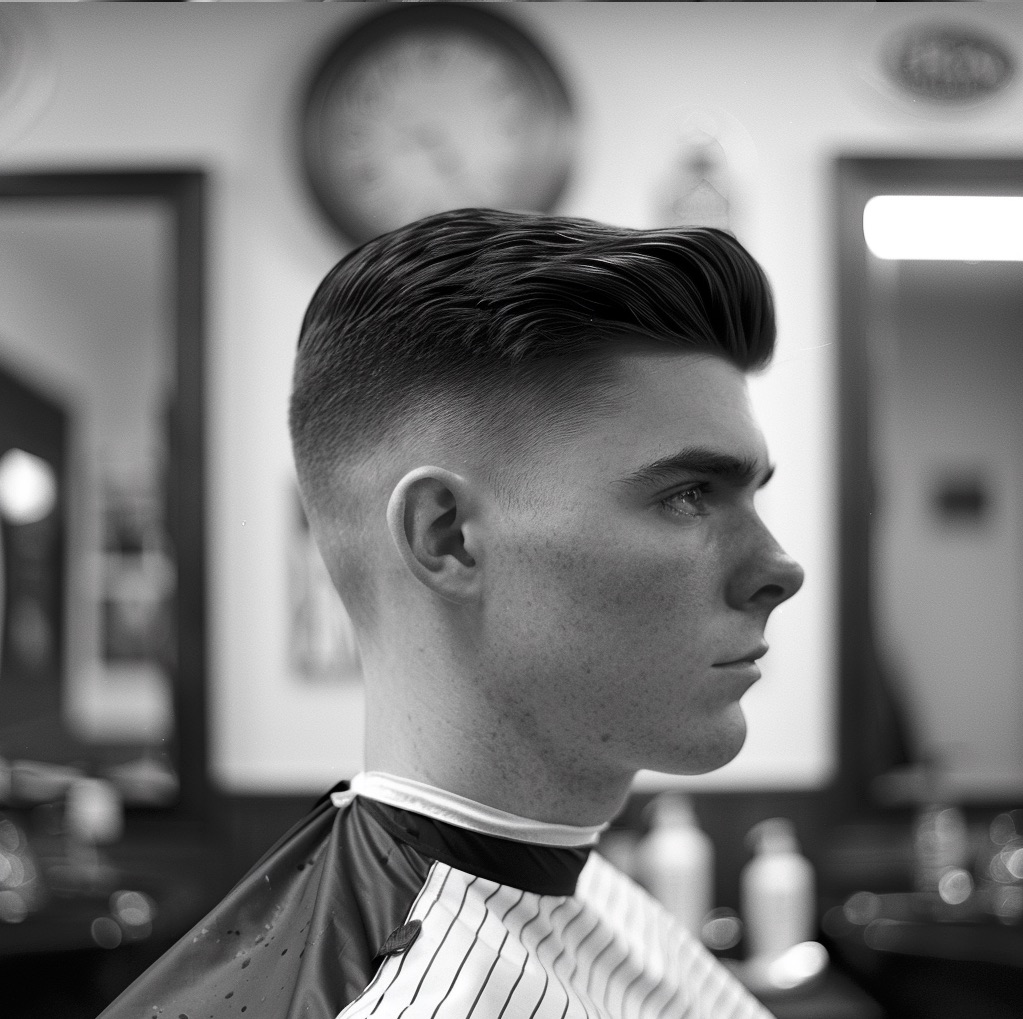
A low fade leaves more weight on the sides, so it forgives an uneven head shape and suits most face types. It pairs well with a beard, since the low transition line blends the haircut smoothly into the facial hair instead of cutting it off with a sharp edge. Up top, anything works — from a textured crop to a pompadour and longer, slicked-back styles.
Essential Tools
A good fade is 80 percent mastery of the clippers and guards, and 20 percent finishing. Get your kit together before you sit the client in the chair:
- Clippers with a taper lever – the lever lets you shift length smoothly without removing the guard, which is key for blending.
- A full set of guards: at minimum #0.5, #1, #1.5, #2, #3 (1.5 / 3 / 4.5 / 6 / 10 mm). The more intermediate lengths you have, the smoother the transition.
- A trimmer (foil or T-blade) for line-ups, temple lines, and the nape edge.
- Hair-cutting scissors for the top and, optionally, for scissor-over-comb work in the transition zone.
- A fine-tail comb for sectioning and a wide comb for scissor-over-comb work.
- A brush for sweeping away clippings and a neck duster.
- Disinfectant spray and blade oil (dry clippers cut unevenly and pull the hair).
- Towels, a cutting cape, and a spray bottle of water.
Keep in mind that keeping your hair-cutting scissors sharp is essential for precise cutting. The same goes for clipper blades: a dull blade doesn't cut, it crushes the hair, leaving streaks and bumping up the shortest length, which makes the fade look patchy.
Preparing for the Haircut
- Wash and dry the hair, or cut on slightly damp hair. Clean hair with no styling product residue glides evenly over the guard and shows the true length.
- Set expectations with the client: how high the transition line should sit, whether the line-up should be sharp (skin fade right by the ear) or natural, and what length stays on top. It's best to point on the head exactly where the transition will fall.
- Assess the hair's density, thickness, and growth direction. Crowns, whorls, and a receding hairline determine where you need to soften the transition to avoid a bald patch or a sticking-out strand.
- Oil and disinfect the blades, check that the taper lever moves smoothly, and attach the guards.
- Put on the cape, tuck in the collar, and position the client's head straight. A tilted head gives you a crooked fade.
Low Fade Step by Step
Step 1: Mark the Transition Line
- Determine the highest point of the fade. For a low fade, draw it as an arc 2-3 cm above the ear, coming down symmetrically to the nape and the other side of the head. The line should follow the natural curve of the skull, not run flat like a straight edge.
- Mark this height with a light, barely visible pass of the bare clipper blade on both sides, then compare them in the mirror head-on. Symmetry gets locked in now, not at the end.
Step 2: Cut the Top
- Shorten the top to the target length: using scissor-over-comb or lifted sections (finger-over-comb technique), or, for short crops, clippers with a longer guard.
- Leave the top noticeably longer than the sides — that's what builds the contrast a fade is meant to create. Finishing the top first gives you a clear reference point to work the side graduation toward later.
Step 3: Fade Base (Longest Zone)
- Attach the longest fade guard, usually #2 or #3 (6 or 10 mm), and go over the entire side and back zone below the top, running the clippers against the grain — at an angle to the growth direction.
- Move the clippers from bottom to top and flick them off the head in a smooth scooping motion at the transition line. This curved lift-off — not an abrupt pull-away — creates the first soft step. This is your longest, base side length.
Step 4: Working Down, Guard by Guard
- Switch to a shorter guard (#1.5, then #1) and repeat the scooping motion, but stop each successive length about a centimeter lower than the previous one. This creates a chain of overlapping zones, with shorter lengths tucking under longer ones.
- Work with an arcing wrist motion that follows the curve of the head. A flat motion leaves horizontal lines that are hard to blend out later.
- In the lowest zone (above the ear and on the nape), go down to #0.5 or to the bare blade with no guard if the client wants skin. In a low fade, this shortest zone is narrow — only one or two centimeters in height.
Step 5: Blending (Softening the Lines)
- Open the taper lever halfway and work along the boundaries between guards, scooping the clippers exactly where a line is visible. The half-open blade length falls between two guards and merges them into a single graduation.
- You can also use scissor-over-comb in the transition zone: hold the comb against the head at the same angle as the fade and cut off any stray ends the clippers missed.
- Every few passes, brush away the clippings and check the head from the side and back under good light. Lines only show up once the hair settles and dries, so blend patiently.
Step 6: Finishing the Line-Up
- Use the trimmer to clean up the line around the ear, sideburns, and the nape edge. Guide the blade confidently, in one motion, without hesitation, so the line-up is clean and not jagged.
- At the nape, decide with the client: a natural line (soft, grows out nicely) or a sharp one (blocked). A sharp edge looks fresh for about a week, while a natural one holds up longer between visits.
Step 7: Check, Adjust, and Style
- Walk all the way around the client and check both sides for symmetry and the evenness of the fade's highest point. Fix any unevenness with the appropriate guard — don't jump straight to the shortest one.
- Catch any stray hairs with scissors, especially at the boundary between the top and the fade.
- Rinse or blow off the clippings, dry the hair, and style the top with a product suited to the effect: matte paste for texture, pomade for shine and slip.
Adapting the Low Fade to Hair Type
- Straight hair: the standard workflow applies without modification, but straight hair mercilessly shows every line, so spend extra time blending with the taper lever.
- Curly hair: the curl springs back, so hair ends up shorter once dry than it looks wet. Cut on dry hair or leave extra length, and add texture on top to keep the fade proportional. More in our guide to cutting curly hair.
- Fine, thinning hair: leave more length on top for volume, and don't go too short with the shortest length, since thin hair quickly shows scalp through it. See our tips for hairstyles for thinning hair.
- Thick hair: thick sides can bulge right above the transition line. Choose a longer base and add an extra intermediate guard to spread the graduation across more steps and eliminate the mushroom effect.
Most Common Low Fade Mistakes
- Transition line set too high. That's no longer a low fade. Keep the highest point low, 2-3 cm above the ear.
- Asymmetrical sides. The left and right sides drop at different heights because the head was tilted, or you didn't compare both sides head-on after each stage.
- Visible lines. A flat clipper motion and skipped taper-lever blending leave clear lines between guards.
- Cutting against the roots and whorls. Clippers run across a whorl cut too short and create a bald patch. Read the growth direction, especially at the nape.
- Jumping too fast to the shortest length. Skipping intermediate guards creates a hard jump instead of graduation. Introduce lengths one at a time.
Aftercare and Maintenance
Instruct the client on how to keep the look fresh between visits:
- Refresh the line-up every 2-3 weeks. The fade grows out fastest in the shortest zone, and that's the first area to lose its sharpness.
- Daily styling with a product suited to the hair's length and type, to keep the top holding its shape.
- Shampoo and conditioner suited to the scalp. With a very short zone, the scalp dries out faster.
- Sun protection for exposed skin with a heavily shaved fade during summer.
Low Fade Compared to Other Fading Techniques
| Technique | Fade Starting Point | Contrast Intensity | Length Retained on Sides |
|---|---|---|---|
| Low Fade | Just above the ears | Moderate | Greater |
| Mid Fade | At ear level | Medium | Medium |
| High Fade | Above the ears | High | Less |
| Taper Fade | Very low, at the neck | Low | Greatest |
A low fade gives a more subtle transition than a high fade and keeps more hair on the sides than a classic taper. That makes it a versatile choice that suits most face shapes and works for everything from business looks to evening styles.
Low Fade Variations
- Low fade with a pompadour: the low transition line cleans up the sides without stripping volume from the top. A classic pairing with a modern edge. More in our article on the pompadour hairstyle.
- Low fade with a textured crop: a short, textured top with clean sides. A trendy, low-maintenance look for less demanding clients.
- Low fade with a quiff: adds height and volume up front, while the low line keeps everything in check.
- Low fade with a long top: strong contrast between the short side and the long, slicked-back weight of hair on top.
- Low fade with waves or curls: the low line highlights natural texture without flattening the curl pattern.
Want to refine your fade to the point where the transition disappears even under direct light? Check out our online barbering courses, where we break down graduation techniques, taper-lever work, and line-up finishing step by step.


