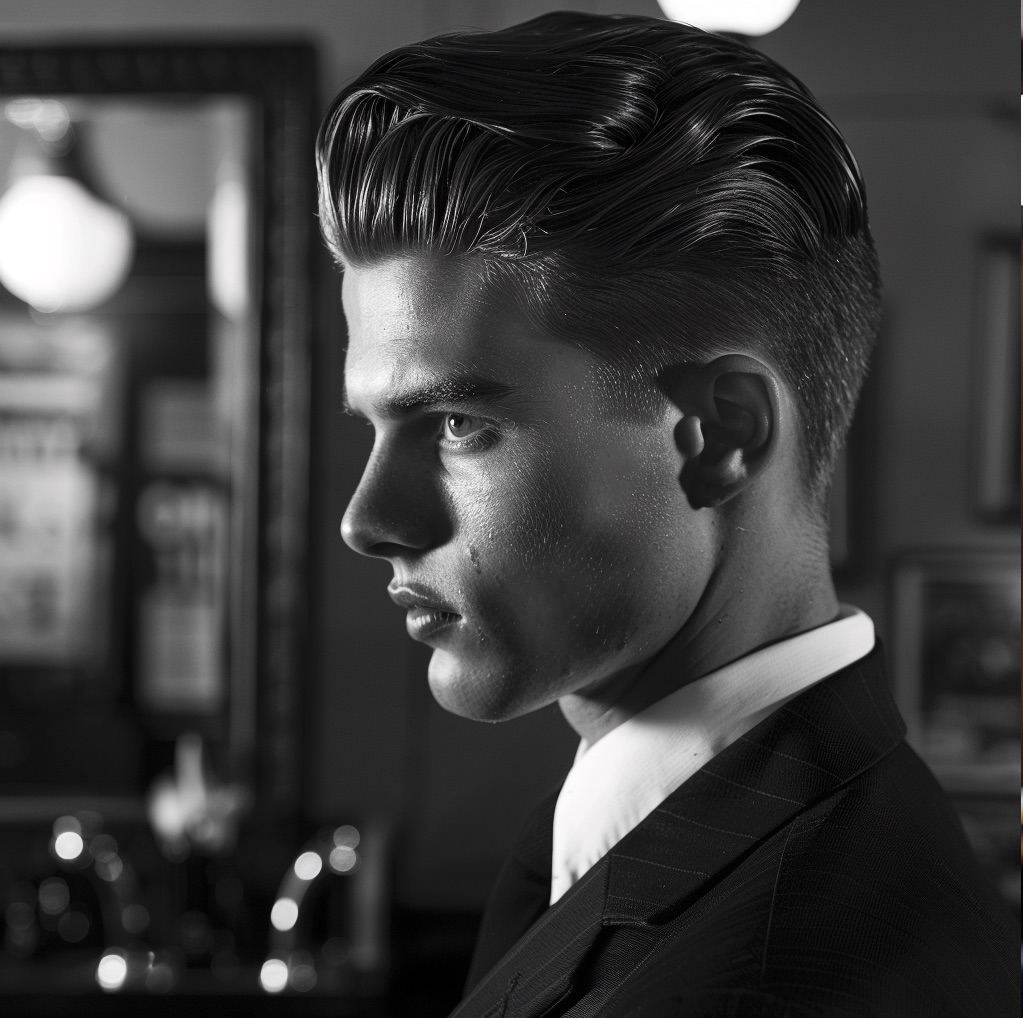
The Slick Back is one of those haircuts clients order with a simple phrase — “hair slicked back” — yet the execution still falls apart in the details: too-short top, a hard line at the blend, hair that flops onto the forehead after two hours. Below is a complete workflow from cutting to finishing, with concrete lengths, angles, and decisions that separate a clean Slick Back from a haircut that's only faking it.
Characteristics of the Slick Back
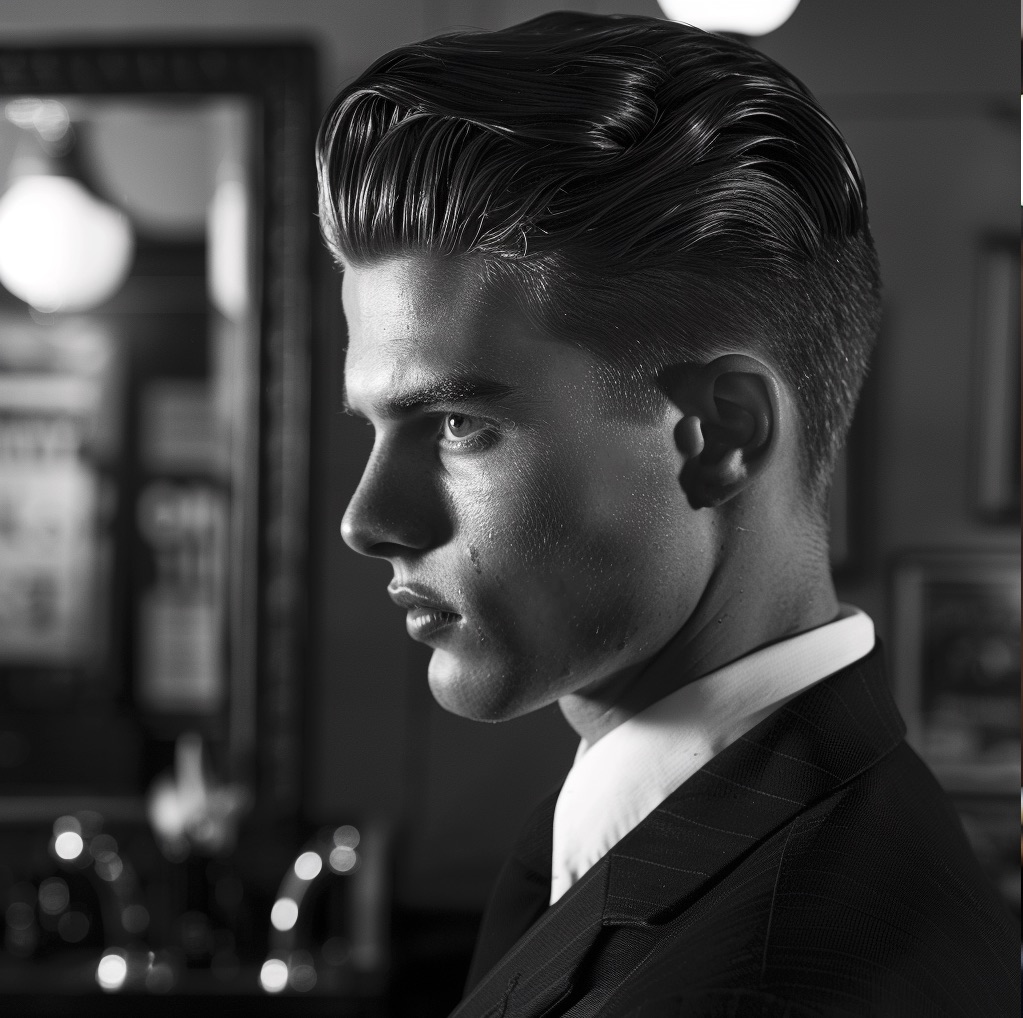
The Slick Back relies on a single contrast: shorter, tapered sides and back against a noticeably longer top combed flat toward the back. Hair on top moves in one direction, from the hairline toward the back of the head, with no parting and no separation into strands. This is a directional haircut, not a volume-based one: what matters is a smooth surface and a clean line above the ear.
Before you pick up the clippers, check two things. First, the hairline: receding temporal angles and high corners are easier to disguise with a textured Slick Back than a wet, mirror-finish version. Second, the growth pattern at the back of the head, since it determines whether the hair will lie back or fight against direction. A client with a strong crown swirl will always need more length on top so the hair's weight can cover it.
Prep and Cutting
Start with a clarifying shampoo to strip out pomade residue and sebum. Clean hair holds better against the comb during cutting and responds more evenly to product at the end. Apply conditioner only to the lengths, then towel-dry to damp — not soaking wet — since you can't judge true length on dripping hair before it dries.
Sides and Back
Set the sides and back first, since they determine the height of the transition. A standard starting point is guard #2 or #3 at the bottom, with an open fade moving upward. Guide the clippers against the grain, working bottom to top, and at the point where you reach the longer section, use a wrist-scooping motion so the blade lifts away from the scalp and doesn't leave a hard edge. The higher you take the fade, the stronger the contrast and the more contemporary the look; a lower line gives a more classic, toned-down effect.
- Lower zone: shortest guard, clean outline above the ear and at the nape.
- Middle zone: a single step up, with no visible cutoff line.
- Blend zone: work with an open blade or over the comb to soften the border with the top.
This is where the layering technique comes in: each section needs to flow smoothly into the previous one, with no steps. After passing through with the clippers, always comb the sides against the light and check for any line casting a shadow. The most common mistake is a visible edge right at the blend with the top — and it ruins the whole haircut more than any detail on top ever could.
The Top
Leave real length on top — usually around 7-10 cm — since that's the material you'll need for combing back. Measure the length with the hair combed back, in the direction it will ultimately lie, not pulled straight up. Hair that's too short above the forehead is a classic trap: once dry, instead of lying flat, it starts to stick up, since there's no weight to hold it down.
Control the top with scissors, not clippers. Section perpendicular to the direction of styling, lift strands between your fingers, and check length against each other, working from the front toward the back. Finish the ends with point cutting — driving the scissors into the strand at an angle instead of cutting straight across. This avoids a hard, straight line and gives you soft, natural ends that style more easily. Leave a touch more length right above the forehead, since this area does the most work during combing and is the most visible part.
Close the blend between top and sides with the “scissor over comb” technique. Bring the comb into the transition zone, lift the hair with it, and run the scissors along the comb, trimming down the longest strands hanging out of the top section. This lets you merge two different lengths without a visible border, and it's the only reliable way to remove a dividing line that clippers alone won't close.
Styling and Finishing
The Slick Back is made in styling at least as much as in cutting. On damp hair, apply a heat protectant and comb everything back with a wide-tooth comb to set the direction from the very start.
Drying Sets the Direction
Blow-drying builds the base that pomade can no longer fix afterward. Direct the airflow in line with the styling direction, from the hairline toward the back of the head, and run the heat along the hair, not across it. Use a round brush to lift the hair right at the root and pull it back: the goal is to lift the root so the haircut doesn't lie flat against the skull and keeps a slight height above the forehead. Angle the airflow so it closes the hair in the chosen direction; a cool shot at the end will lock the pattern in place.
Product and Hold
Once the hair is fully dry, move on to final styling. Warm the pomade or wax between your palms until the product becomes translucent and spreadable, then apply it starting from the back of the head toward the front. Work in small amounts and add more as needed, since too much product clumps the hair together and creates a greasy, heavy look that can't be undone later without a re-wash. The consistency you choose depends on the finish you're after: water-based pomades give strong shine and a mirror-like surface, while matte products or wax leave a more natural, dry look.
Close out the final shape with a fine-tooth comb, pulling even paths toward the back and erasing finger marks. For extra shine, add a minimal amount of serum or oil to the very top layers only. Lock everything in with a medium-hold hairspray, spraying from a distance to preserve movement in the hair and avoid a stiff, helmet-like shell.
Tips for Different Hair Types
The same moves produce different results on different hair, so adapt the technique to the texture.
- Straight hair is the ideal base for a Slick Back. Focus on lifting the root so the result doesn't come out flat, and use a lightweight product, since straight hair weighs down quickly.
- Wavy hair needs more brush work during drying to straighten the wave and set the direction. A stronger-hold product works well here, keeping the hair in line all day.
- Curly hair is the hardest to comb smooth. Lean toward a textured Slick Back that works with the curl pattern rather than aiming for a mirror-flat surface. For clients also opting for lightening or bleaching, remember the treatment changes the hair's structure, so plan the styling after it.
- Fine hair weighs down almost instantly, so avoid heavy pomades and lean toward texturizing, volumizing products, and use shine sparingly to avoid exposing the scalp.
Care and Maintenance
A haircut isn't finished until the client knows how to recreate it at home, so take a moment to walk them through it. Washing every 2-3 days with a shampoo suited to their hair type, plus conditioner on the lengths, will maintain hydration and prevent product buildup. Daily styling is a must here — without it, the Slick Back will simply fall. To keep the sides sharp, book the client for a touch-up every 3-4 weeks: the top grows slowly and stays forgiving, but the tapered sides and back blur out the fastest, and that's the first place the haircut shows it's “grown out.”
Common Mistakes and How to Avoid Them
Most failed Slick Backs come down to a handful of recurring mistakes:
- Top too short. Without weight, the hair sticks up instead of lying flat. Always measure length with the hair combed back, never lifted upward.
- Unfinished blending. A hard line between the side and the top casts a shadow and is the first thing that gets noticed. Close it out with scissor over comb.
- Too much product. Excess pomade clumps the hair and creates a greasy look. Apply in small amounts and add more only as needed.
- Underdried hair. Direction comes from blow-drying, not pomade. On a damp base, the style will fall apart within an hour.
Slick Back Variations
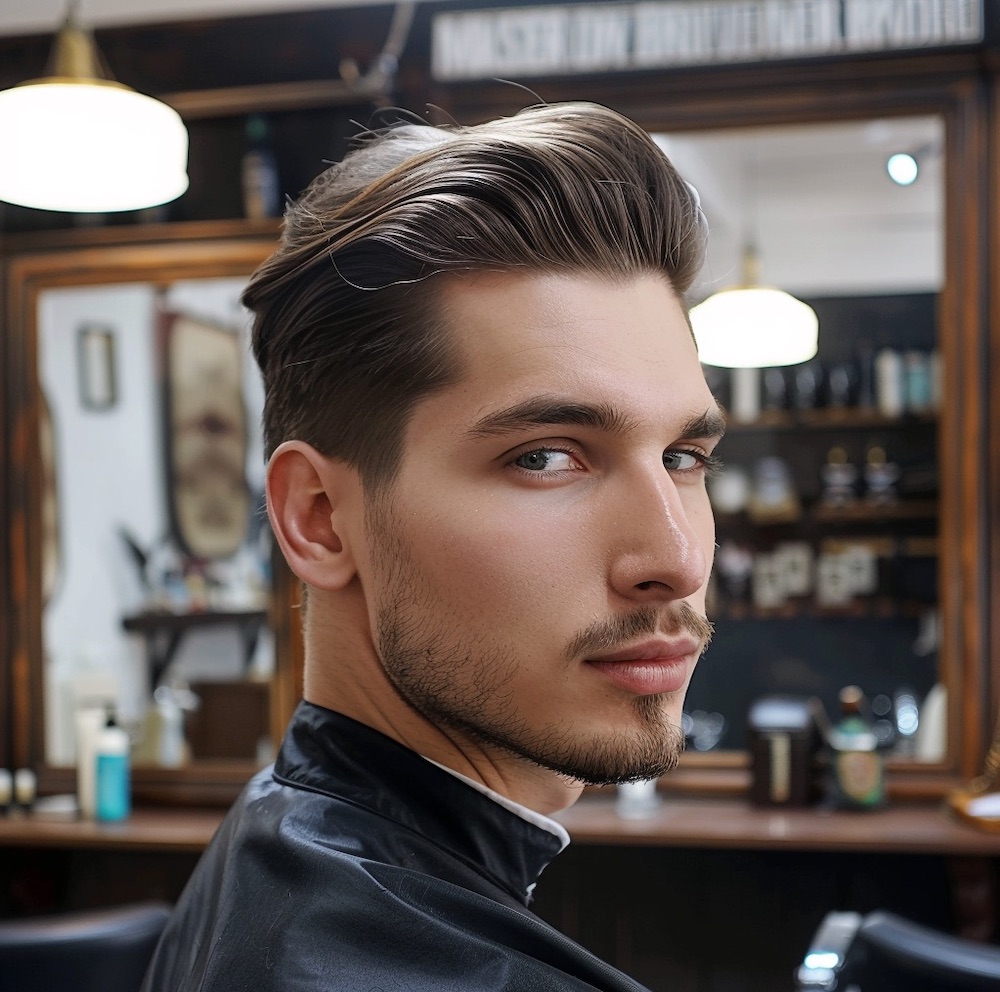
The classic, mirror-finish Slick Back is just a starting point. Pairing it with a low fade pushes the contrast down close to the ear and gives a modern, clean look while keeping the classic top. The Textured Slick Back trades shine for a matte texture and works well for looser styling and hair with natural movement. For clients after a more formal effect, add a clear side part, which brings extra elegance and organizes the direction on top.
Slick Back Table: Key Elements
| Stage | Technique | Tools | Tips |
|---|---|---|---|
| Cutting | Layering, point cutting | Clippers, scissors | Keep more length on top |
| Drying | Directional, with lift | Blow dryer, round brush | Add volume at the root |
| Styling | Combing back | Comb, pomade/wax | Even product distribution |
| Finishing | Precise shaping | Fine-tooth comb, hairspray | Lock it in without stiffness |
See it in practice: in the Layered Slick Back course with Kacper Orzechowski, you'll follow the entire process step by step on a model, with running commentary from the educator.
Summary
A clean Slick Back stands on three pillars: a longer top with a real reserve of length, tapered sides with no hard line at the blend, and directional blow-drying that sets the pattern before you ever reach for pomade. Fine-tune the rest to the client's hair type and face shape.
If you want to sharpen your fade, scissor over comb, and scissor work on top, the fastest way to master these techniques is under an instructor's eye in our online barbering courses, where we break down specific haircuts step by step.


