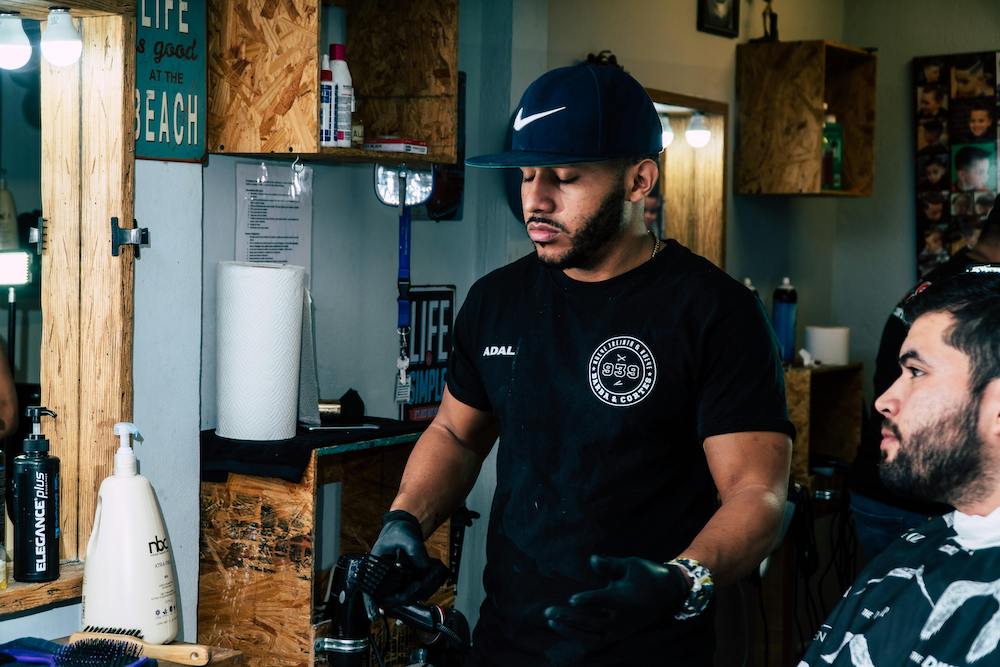
A round face is one of the most common shapes you'll encounter behind the chair. The client won't tell you outright that they have full cheeks and an undefined jawline, but it's your job to guide the cut so it elongates the face and gives it structure. Below is the concrete craft: how to identify a round face, how to plan the haircut, which hairstyles work best, and which techniques to use to execute them.
How to Identify a Round Face
You make the diagnosis dry, on clean hair combed straight back, looking at the client from the front. Characteristic features of a round face:
- Width and length of the face are similar, with proportions leaning toward a circle rather than an oval
- Full cheeks, with the widest point of the face at cheek height
- A rounded, soft jawline with no clear angle
- No clearly defined cheekbones, and a low, wide forehead line
Also check the profile. If the face is both round and wide at the base, you'll want to build even more height on top rather than volume on the sides. Assess the shape before the consultation, since it determines the entire geometry of the cut.
Rules for Cutting a Round Face
There's a single goal: optically elongate the face and draw attention away from its width. Base every technical decision on five rules:
- Build height on top of the head. Verticality at the front hairline draws the eye upward and elongates the face. This is the single most important move for a round shape.
- Elongate the face, don't widen it. Any volume at temple and cheek height works against you, so keep the sides close to the head.
- Minimize volume on the sides. Short, tight temples and back narrow the face and create contrast with the fuller top.
- Introduce asymmetry. A side parting and uneven weight on top break up the symmetry of the circle and add character to the face.
- Play with length contrast. A clear difference between short sides and a longer top builds structure where nature didn't provide it.
Recommended Hairstyles
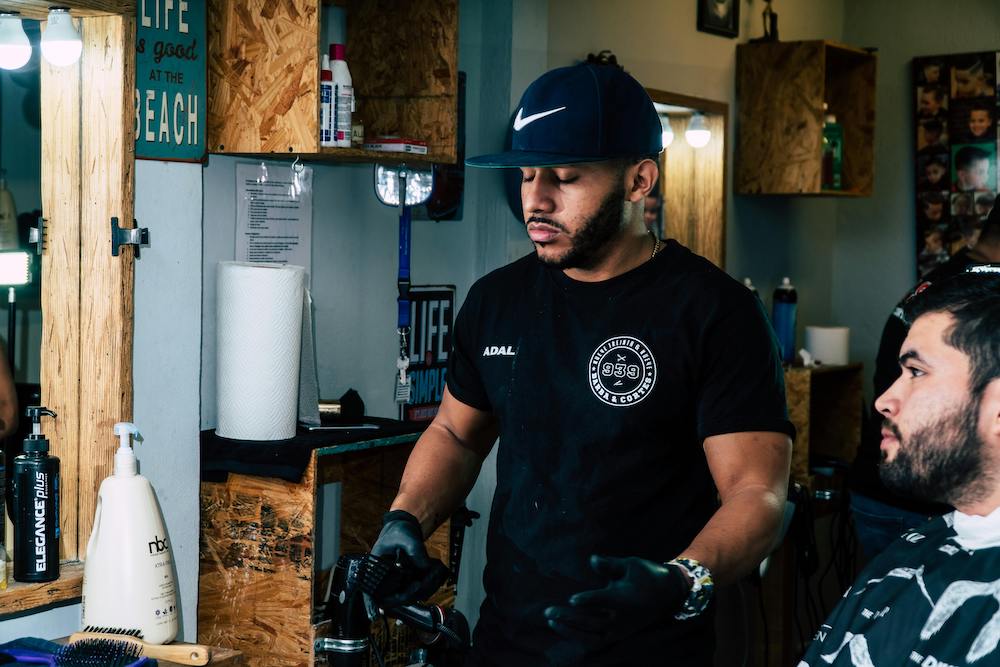
Each of the hairstyles below follows the same principles: high top, tight sides, contrast. They differ in difficulty level and the hair type they suit best.
Quiff
Adds the most height and elongates the face most strongly. Sides and back are faded or given short layering with a guard #0.5-2, while the top is left long enough to be lifted forward and up. Thin out the front hairline area with scissors so it doesn't form a dense mass. The styling itself builds verticality, making this a safe choice for most clients with a round face.
Pompadour
A classic that works because it's built on volume and height on top by definition. Keep a clear contrast with the sides, otherwise the style will add width to the face instead of reducing it. Read more about the technique itself in our article on the pompadour hairstyle.
Textured Crop
A modern choice, but more demanding than it looks. The fringe and top need texture and movement rather than lying flat, since a flat top on a round face emphasizes its width. Sides are kept tight, usually faded, with the top cut roughly and finished with point cutting. Style with a matte finish, no shine, so the texture stays visible.
Side-Parted Hairstyle
A clear side parting is a built-in source of asymmetry. On a round face, run it a bit closer to the center to leave more room for volume on the heavier side. You can emphasize the parting line with clippers, but do it subtly, without too hard a line.
Undercut with Long Top
The strongest length contrast you can give. Short, almost shaved sides paired with a long top narrow the face as much as possible. The key is smooth or deliberately sharp graduation at the boundary between zones, since that's what determines whether the cut looks polished or unfinished.
Cutting and Styling Techniques
These are the tools you use to execute the hairstyles above. On a round face, each of them serves the same purpose: narrowing the sides and building verticality on top.
Layering the Sides and Back
First plan the break line (where the short sides transition into the longer top). On a round face, run it higher than you would on an oval face, so the short-hair zone is larger and narrows the face more. Work with guards in ascending order, blend the transitions with clippers using the open fade method (opening the comb), and soften the boundaries between lengths with the clipper's edge or a trimmer. Check the final transitions with a comb and scissors.
Texturizing the Top
Texture on top adds movement and verticality without adding width. Use point cutting (cutting vertically into the section with the tips of the scissors), slicing (sliding the scissors along the section), or razor cutting if the hair is thick enough. Hold the section vertically and cut from the top down to remove weight from the middle of the length, not from the ends. Texturize fine hair sparingly, since it's easy to thin it out too much.
Asymmetrical Cuts
Leave a bit more weight on one side of the top and work with a parting instead of cutting the face perfectly symmetrically. With scissors, you can shorten one temple slightly more than the other. Subtle asymmetry breaks up the round outline, but do it with intention, not by accident.
Graduation and Blending Zones
The critical spot is where the side transitions into the top. This is where a visible step often appears. Work with scissor over comb and pull sections from two adjacent zones out at the same angle to connect them. Smooth graduation makes the eye read the silhouette as one elongated shape, not a patchwork of lengths.
Hairstyles to Avoid
These options work exactly against what you're trying to achieve. Rule them out already at the consultation:
- Bowl cut: an even, round line traces the outline of the face and emphasizes its roundness.
- Very short hairstyles with no contrast: a uniform length across the whole head exposes and emphasizes full cheeks.
- Long, straight hair with no layers: hair falling on the sides optically widens the face and makes it look even rounder.
Choosing Styling Products
The product needs to hold volume and verticality on top while keeping the sides under control. Go for a matte finish, since shine flattens the style and reveals every flat spot on top:
- Matte pastes: for texturizing and separating strands on top, with medium hold and no shine.
- Volumizing powders: worked into the roots, they lift the hair and lock in verticality at the front hairline.
- Medium-hold hairsprays: to set the whole look without stiffening it, so the style keeps its movement.
Adapting the Haircut to Hair Type
- Straight hair: ideal for classics like the pompadour. Verticality can be harder to hold, so support it with root texturizing and a volumizing powder.
- Curly hair: natural texture provides height on its own, so put it to work on top, and keep side volume in check with a shorter cut.
- Fine hair: build volume through layering and light texturizing, avoid long shapes that fall flat and expose the scalp.
- Thick hair: thin out and texturize to remove excess weight, especially on the sides, where thick hair quickly widens the face.
Client Communication
The consultation determines whether the client leaves happy, even with a flawlessly executed cut. Three things worth doing every single time:
- Explain why a particular hairstyle will work for their face: a high top elongates, short sides narrow. Clients accept shorter sides more easily once they understand why.
- Show examples, photos, or finished work to agree on the result before the first cut and avoid mismatched expectations.
- Say plainly how much upkeep the hairstyle requires at home. A quiff or a pompadour won't style itself, and the client should know that upfront.
Hair Care and Maintenance
A hairstyle with strong length contrast doesn't last long without regular refreshing. Give the client the specifics:
- Match shampoo and conditioner to the hair type — lightweight, volumizing formulas for fine hair, moisturizing ones for thick hair to make styling easier.
- Set a visit schedule. Fades and short sides blur out within a few weeks, so contrast needs more frequent trims than a longer top.
- Show them how to dry and style the top: blow-dry from the roots, lifting sections up and forward to build the same verticality you create behind the chair.
A round face isn't a limitation, it's a starting point. The whole craft comes down to two moves: verticality on top, narrowing on the sides. Everything else you adapt to the client's hair type and lifestyle. The more fluently you work with layering, texturizing, and blending zones, the more confidently you'll match a hairstyle to any face. If you want to sharpen these techniques in practice, check out our online hairdressing courses.
For more grooming tips, check out our men's hair care guide.


