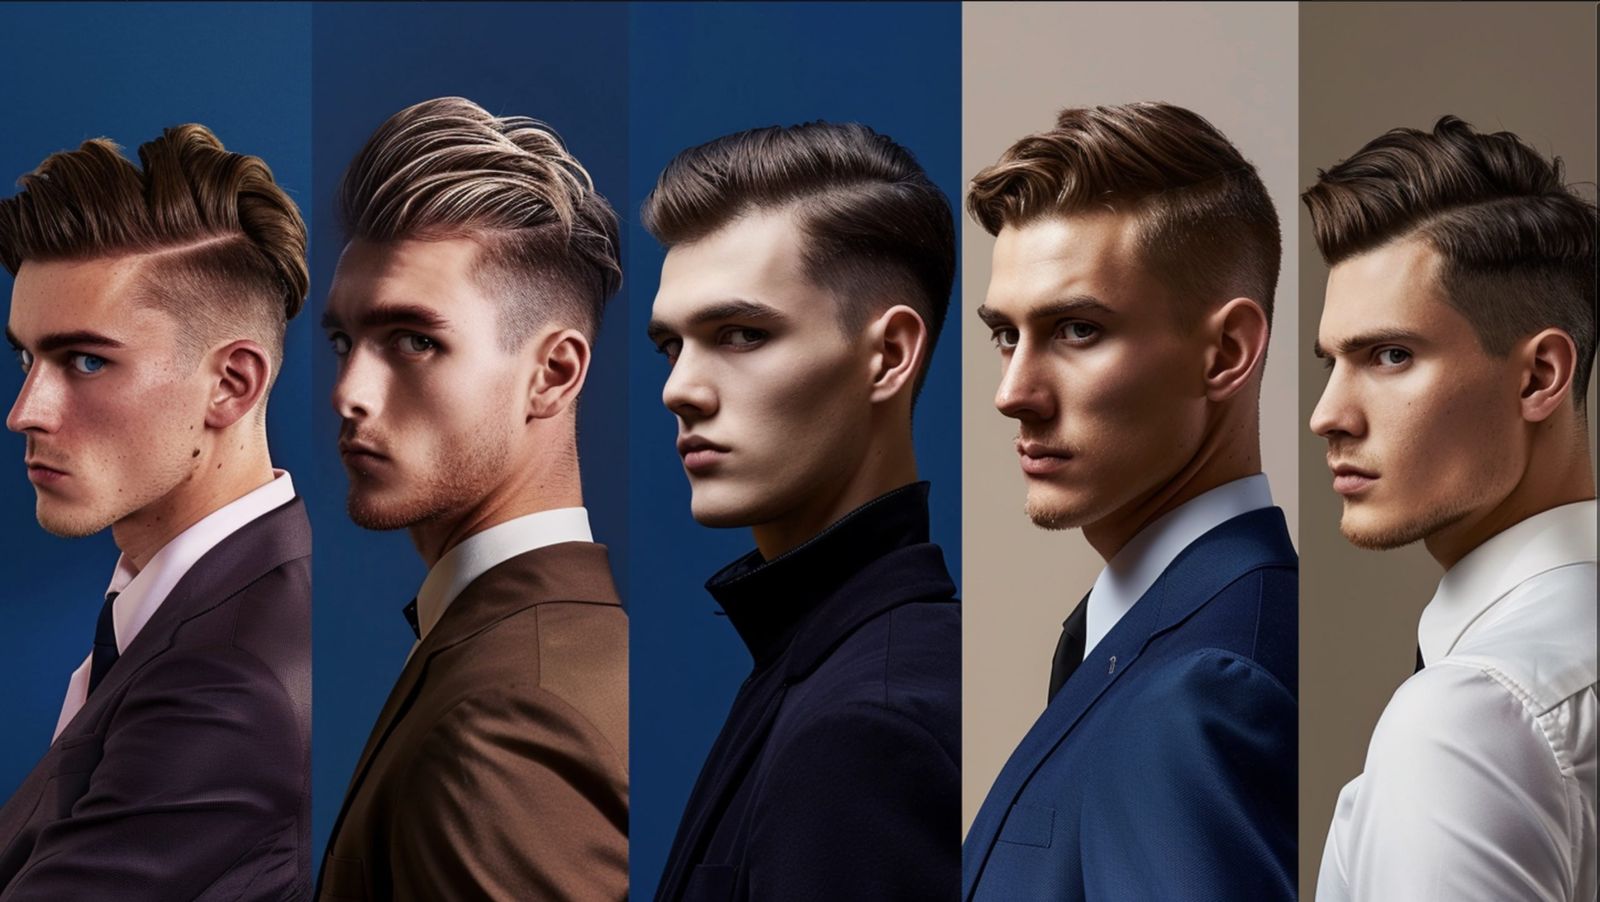
Men's haircutting is built on a dozen or so base techniques that you combine depending on hair type, head shape, and the effect the client wants. The more confidently you work with scissor-over-comb, clippers with different guards, and texturizing techniques, the faster and cleaner you build the form. Below is a structured overview of classic, modern, and advanced techniques, with concrete execution tips, plus a map of the most popular hairstyles and the combinations of cuts they require. The Connected Hair Academy develops each of these topics in video courses with real models.
Classic Men's Haircutting Techniques
1. Scissor Over Comb
The foundation for working on short and medium lengths. The comb replaces your fingers where they can't get a grip: it lets you lift the hair close to the scalp and cut it evenly along the comb's edge. This lets you get as close to the head as you want, without your fingers getting in the way.
- Choose your comb: wider tooth spacing for thicker, denser hair, fine teeth for thin hair and for precise finishing along the line.
- Comb the hair up from the scalp, guiding the comb at a constant angle to the head. The angle of the comb determines the degree of graduation: the flatter it sits against the head, the shorter the result.
- Cut along the edge of the comb, opening and closing the scissors smoothly, parallel to the teeth. Move the scissors and comb upward at the same pace.
- Work in sections from bottom to top, overlapping the previous pass so you don't leave any steps. Check your work by combing through and catching any longer hairs.
2. Blunt Cutting
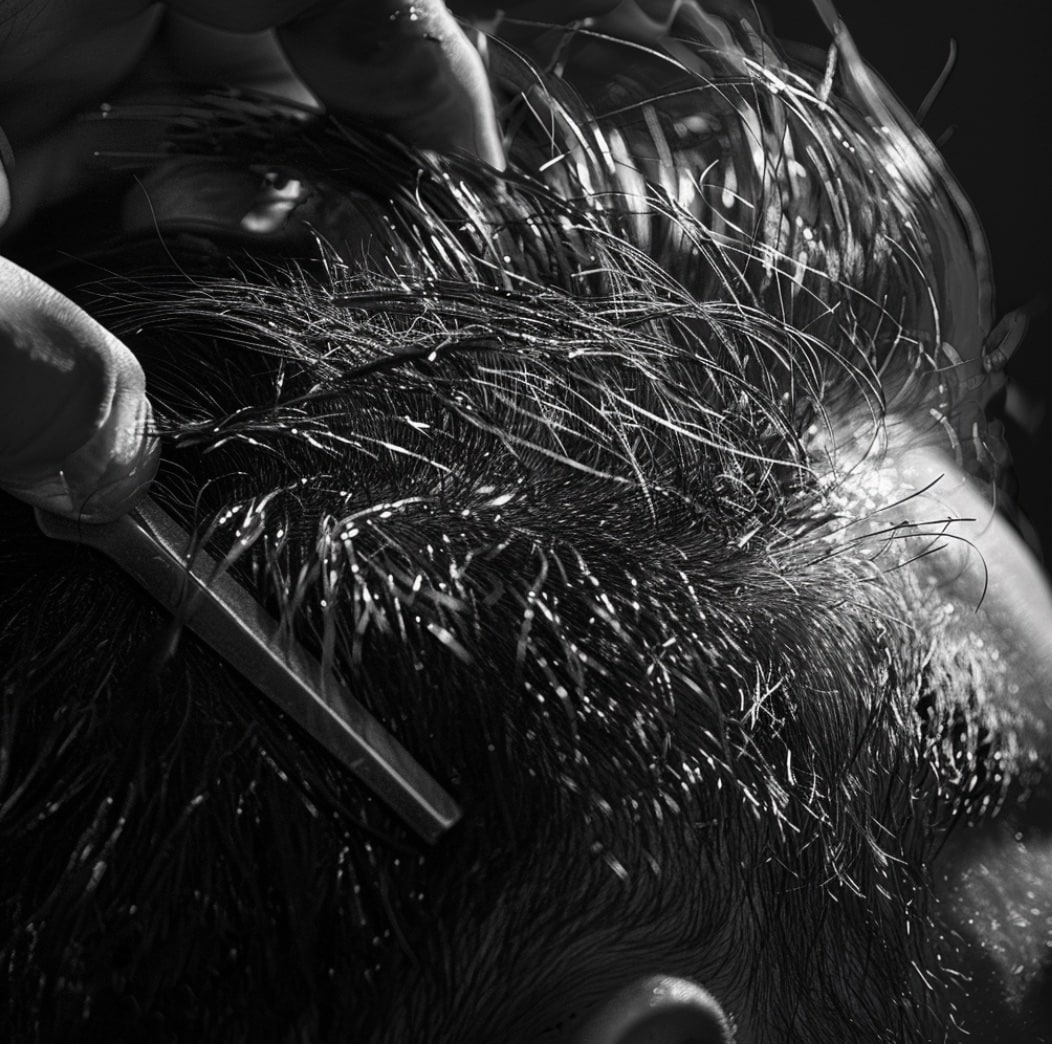
A cut made perpendicular to the section, giving an even, strong end line. You typically use it to create a hairstyle of the same length all around the head, with a straight, blunt line. The technique builds clear, geometric shapes and full weight at the ends, which is why it works well along the fringe line, on strong edges, and on straight hair, where a clean line shows up clearly. Cut on a combed-through, evenly tensioned section: any uneven tension will show up in the finished line.
3. Clipper Cutting
Clippers let you move quickly and evenly through large amounts of hair, without the risk of missing a section. This is the foundation of short haircuts and all fades. Work with guards from longest to shortest, guiding the clippers against the grain and tilting them slightly away from the scalp at the top of the stroke, to leave more length and set up the transitions. The clipper-over-comb technique (clippers instead of scissors over the comb) gives you control wherever no guard matches the length you need.
Modern Techniques and Trends
1. Skin Fade
The skin fade is one of the most popular men's haircuts: a transition from bare skin at the bottom to full length at the top, with no visible dividing line. First mark the guard line (the highest point the skin fade reaches), then build the transition from the bottom up, stepping down through the guards one by one and cleaning up the hard line with the guardless clipper technique, worked in an arc. Blend every sharp line between lengths with clipper-over-comb until the transition looks seamless from every angle of light. At Connected Hair we offer the Side Part Skin Fade course, which walks you through this process step by step.
2. Buzz Cut
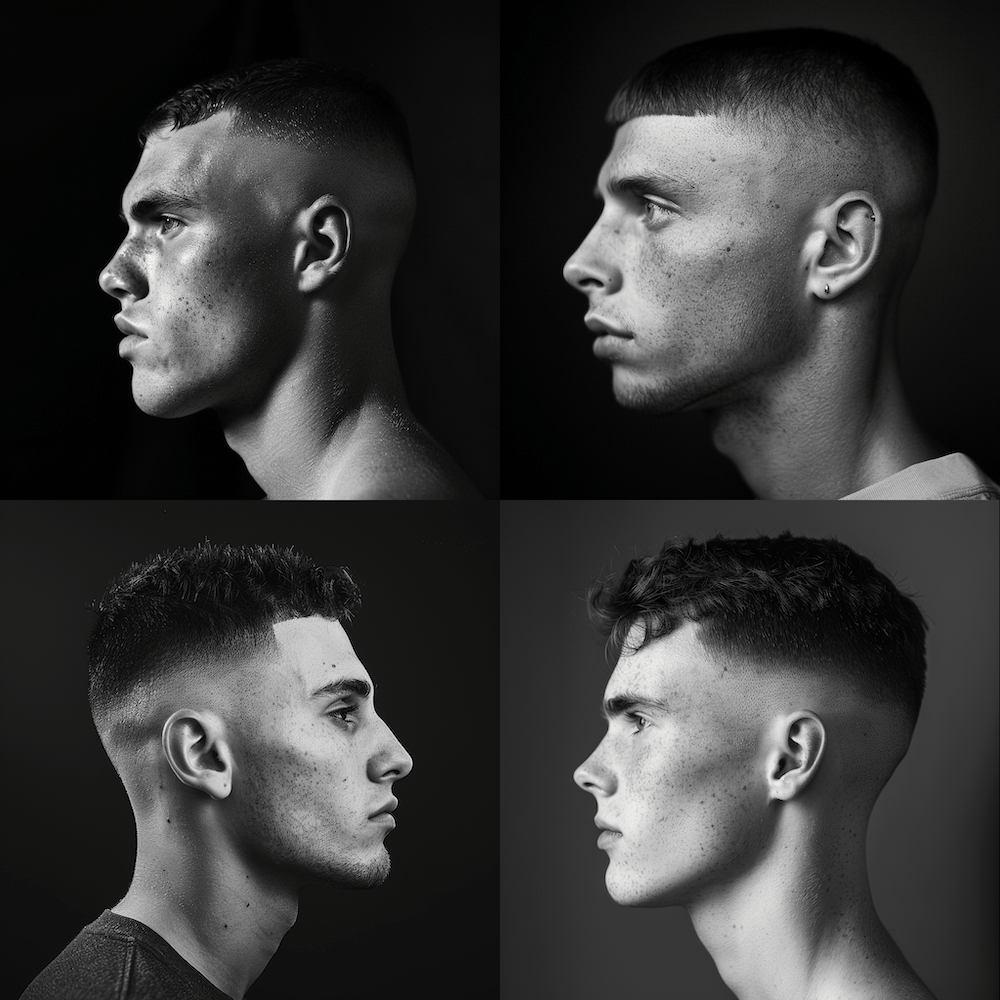
The buzz cut is an almost complete shave of the sides, back, and top down to a single uniform length. Despite its simplicity, it demands attention: a single guard over the whole head highlights every irregularity in the skull, so run the clippers at different angles, against the grain, paying particular attention to the crown and nape area. Finish the edges (hairline, sideburns, nape) cleanly with a trimmer.
3. Texturizing
Texturizing breaks up heavy, uniform weight and gives the hairstyle movement and apparent volume. You separate the ends so the hair doesn't sit as one solid block, making it easier to style and helping it hold its shape longer between visits. You usually achieve this through point cutting, slicing, and thinning shears worked deeper into the section. On thin hair, texturize sparingly so you don't expose the scalp; on thick hair, you can work more aggressively to reduce weight. At Connected Hair we offer the Graduation and Hair Texturizing Techniques course, which builds on these topics.
4. Thinning
Thinning removes some of the weight without shortening the overall length of the hairstyle. Work with thinning shears or the slicing technique in the middle and near the root of the section, never too close to the scalp, so you don't leave sticking-up tufts. It's a lifesaver for thick, frizzy hair that's hard to tame. Apply it gradually and check the result on dry hair, because over-thinning is hard to undo.
Advanced Haircutting Techniques
1. Shear-Over-Comb (Blending with Scissors)
Using a fine-toothed comb, comb the hair upward where the clipper-cut section meets the scissor-cut section. With the scissors, trim off what sticks out of the comb, blending the sharp line that separates the clipper-cut area from the scissor-cut area. This is a key tool for eliminating the demarcation line between these sections. Keep the comb flat against the head and cut only what protrudes, working your way up through successive passes until the boundary disappears.
2. Point Cutting
Cutting with the tips of the scissors pointed into the section (vertically, in a pecking motion), instead of perpendicular to it. It breaks up a hard end line, softens it, and gives a natural, irregular texture. The deeper you drive the scissor tips into the section, the stronger the effect. It works best on thicker hair and anywhere you want to avoid a stiff, blunt-cut edge: on the fringe, on the top of a crop, on the ends of a pompadour.
3. Slicing
You slide the scissors along the section with the blades slightly open, gliding over the hair. This gently thins it and introduces movement without affecting the length. Work on slightly damp or dry hair, with the blades open at a small angle, controlling the pressure, since too firm a slide will cut away too much.
Popular Men's Hairstyles and the Techniques Used to Create Them
1. Pompadour
The pompadour is a classic with plenty of volume on top and hair combed back, contrasted against shorter sides. At Connected Hair we offer the Pompadour course, which covers the techniques for creating this hairstyle in detail.
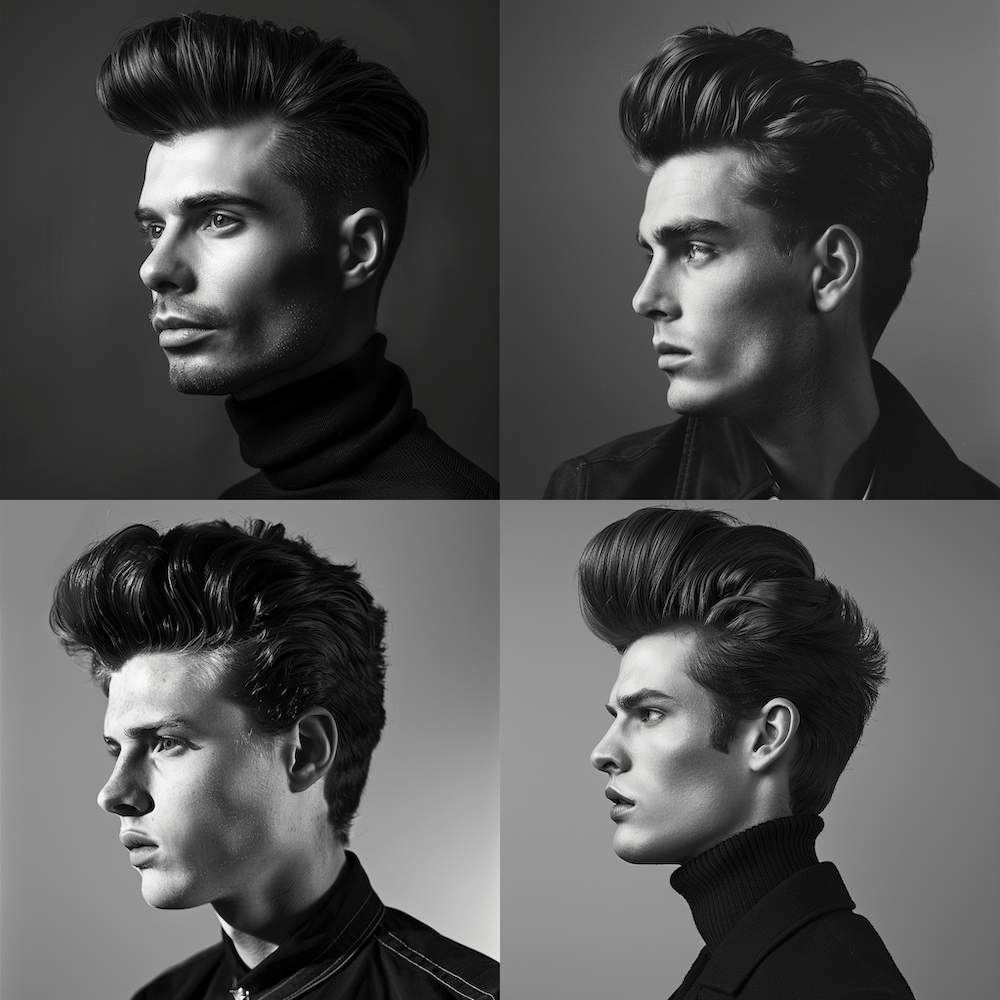
Techniques used to create the Pompadour:
a) Length graduation:
- Build the sides with the scissor-over-comb technique, creating a smooth transition from shorter temples to the longer top.
- Gradually increase the length from the temples toward the crown, leaving the most weight in the front section (this is what builds the pompadour's height).
b) Texturizing:
- Use point cutting on top to add texture and make it easier to comb back without a single solid-mass effect.
- Use thinning shears to reduce excess weight in thicker sections, working deep in the section rather than at the ends.
c) Blending:
- Connect the sides with the top using the shear-over-comb technique, eliminating the demarcation line between the sections.
- Smooth out the transitions between lengths, checking the result from different angles and under different lighting.
d) Line-up:
- Mark clean lines around the ears and at the nape with a trimmer or razor, matching the line-up to the shape of the pompadour.
2. Crop
The crop is a short top with texture and a fringe, usually paired with a fade or a strong contrast on the sides. In the Dynamic Crop Mullet Hybrid course, we show how to combine styles for a unique effect.
Techniques used to create the Crop:
a) Precise cutting of the top section:
- Set the base length of the top section with slicing, keeping control over the weight.
- Add texture and movement with point cutting, pecking deep into the section.
b) Fade on the sides:
- Start with the shortest length at the skin, gradually stepping up through the guards.
- Blend out the demarcation lines until the transition becomes seamless.
c) Texturizing:
- Use the chipping technique (small, irregular notches cut with the scissor tips) for a raw, tousled texture.
- Gently thin with thinning shears and introduce extra movement, without affecting the length.
d) Fringe:
- Trim the fringe with point cutting for a soft, natural edge instead of a hard line.
- Adjust the length and texture of the fringe to the client's face shape and hairline.
3. Middle Part
The middle part is a center part with symmetrically falling sections — a classic that's back in favor. At Connected Hair we have a dedicated Middle Part course, which covers the techniques for creating this hairstyle in detail.
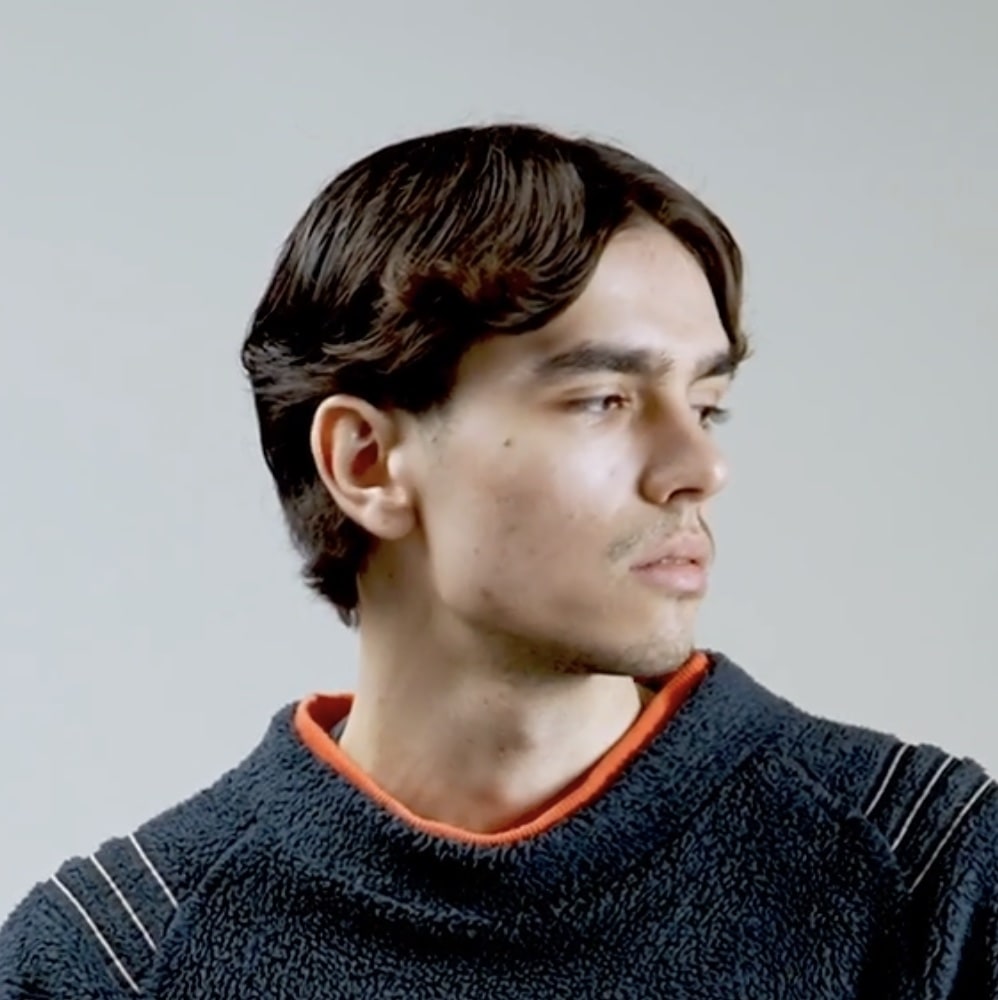
Techniques used to create the Middle Part:
a) Precise hair parting:
- Using a fine-tail comb, mark a perfectly straight center part running from the hairline. The symmetry of both sides determines the whole hairstyle.
b) Length graduation:
- Cut on wet hair to achieve a precise, repeatable length on both sides.
- Finish with slide cutting (a gliding cut with the blades open) for a soft, natural fall of the sections.
c) Texturizing the ends:
- Use point cutting on the ends to add lightness and movement, especially in the sections framing the face.
- Use slicing to gently thin thicker sections, so they lie flat without weight.
d) Shaping the line-up:
- Precisely trim the hair around the ears and at the nape with scissors or a trimmer, matching the line-up to the length of the part.
4. Burst Fade
The burst fade is a fade that radiates out around the ear, with a longer section at the back (often combined with a mullet or a taper at the nape). At Connected Hair we offer the Kamil Cesarski – Burst Fade course, which covers the techniques for creating this hairstyle in detail.
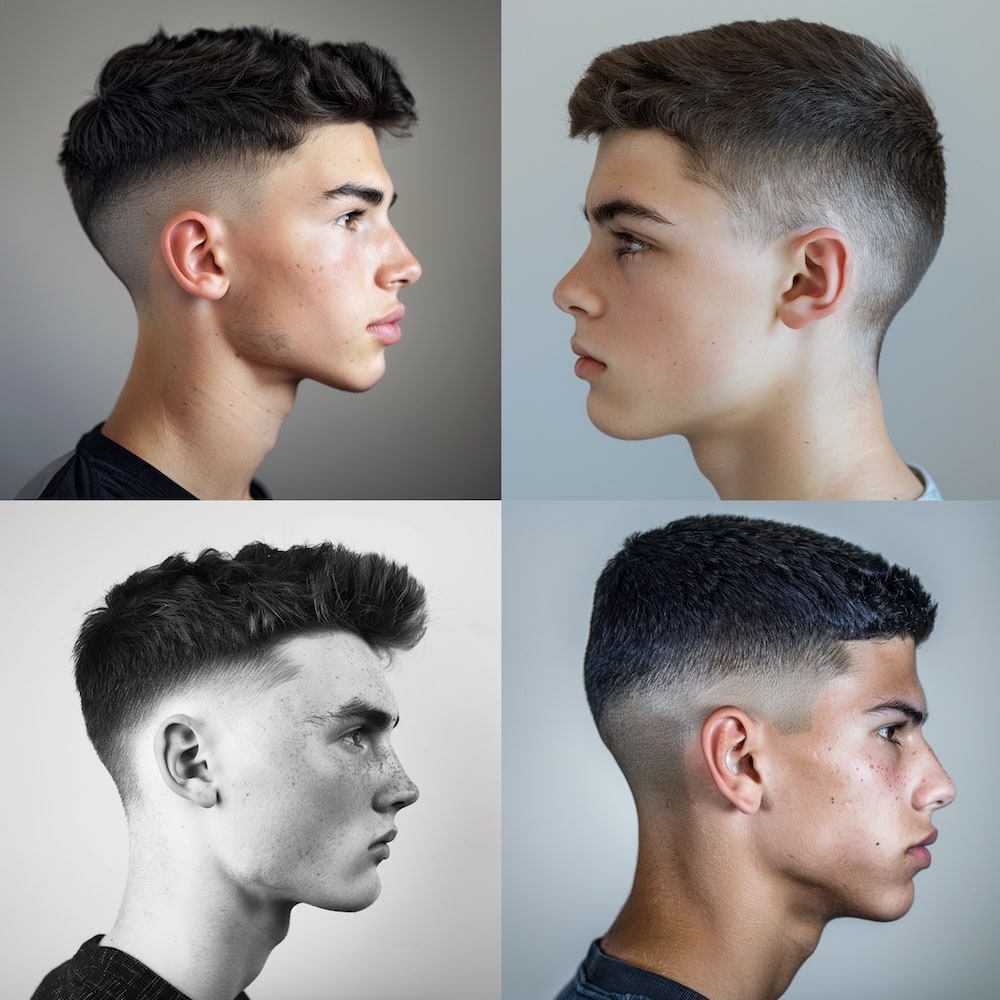
Techniques used to create the Burst Fade:
a) Precise fading:
- Start with the shortest length at the skin behind the ear, and build the transition radially, in a burst shape spreading out from the ear.
- Blend out the demarcation lines, working in an arc that follows the shape of the ear.
b) Shaping the burst:
- Combine clippers and scissors to build the characteristic radial shape around the ear, controlling the arc of the fade.
- Soften the transition line with point cutting where the short section meets the longer one.
c) Texturizing the top section:
- Build texture into the longer top section with slicing.
- Add volume and make styling easier with point cutting on the ends.
d) Line-up:
- Mark clean lines around the ears and at the nape with a trimmer.
- Leave a sharp, clean line-up that emphasizes the radial fade effect.
Each of these hairstyles requires a different approach and a different combination of techniques. Mastering them in isolation lets you later combine them freely into personalized versions, tailored to the client's head shape, hair type, and preferences.
Cutting Techniques for Different Hair Types
1. Cutting Straight Hair
Straight hair mercilessly shows every irregularity and every step, so precision of line and thorough blending are what matter. Blunt cutting gives clean, strong edges, while point cutting softens them wherever a hard line would be too sharp. Cut at even tension and check the symmetry of both sides often.
2. Cutting Curly Hair
Curly hair springs up and shortens once it dries, so don't cut it the way it lies when wet. Work dry instead, or leave a generous length margin, and follow the natural curl rather than straightening it out for the scissors. At Connected Hair we offer the Bringing Out Curl with Circular Cutting course, which dives deeper into working with curls.
3. Cutting Thin Hair
With thin hair, it's about the illusion of volume and not cutting away what the client doesn't have in excess. Texturizing and point cutting add movement and apparent density, but use them sparingly so you don't expose the scalp. Avoid heavy thinning, which will only thin out thin hair further.
4. Cutting Thick Hair
Thick, dense hair usually carries too much weight and pushes itself out of shape, so the main task is controlled volume reduction. Slicing and thinning pull weight out from the middle of the section, so the hairstyle doesn't frizz out and lies better. Work gradually and check the result on dry hair.
Hairdressing Tools and Their Uses
1. Hairdressing Scissors
Standard cutting scissors handle the line and most of the hands-on work, while thinning shears (with a toothed blade) handle thinning and soft blending. Investing in a quality tool that sits well in your hand and holds its edge translates directly into cleaner cutting and comfort throughout a full working day.
2. Clippers
Clippers handle fades, short haircuts, and clipper-over-comb work. It's worth having both a corded model (steady power for thick hair) and a cordless one (maneuverability for detail work) in your kit. A set of guards in different lengths is the foundation for building transitions.
3. Trimmers
The trimmer (and detail clipper) handles the finishing touches: the hairline, sideburns, the line-up around the ears, and a sharp edge at the nape. It's the precision tool you use to finish off a haircut and give it a clean edge.
4. Combs
Different combs for different jobs: wide tooth spacing for detangling and thick hair, fine teeth for precise scissor-over-comb work and finishing along the line, and a fine-tail comb for marking parts and sectioning.
Current Directions in Men's Haircutting
- Textured medium-length hairstyles
- Modern interpretations of classics (e.g., a textured crop, a pompadour on a skin fade)
- Experimenting with color in men's hairstyles
- Vintage-inspired hairstyles
- Natural, unstyled finishes
You'll find more on current trends in the article 5 Hottest Hairdressing Trends.
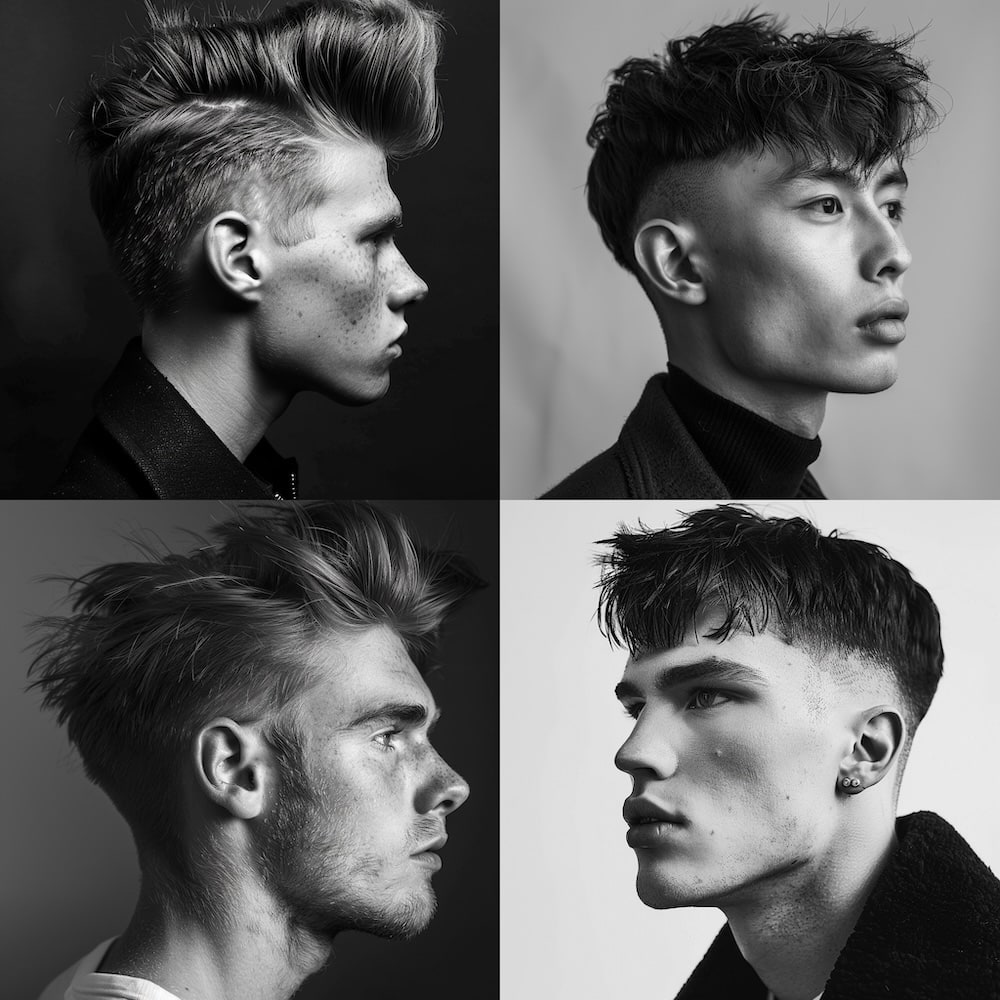
Advanced Techniques
1. Triangular Graduation
Advanced sectioning where you arrange sections into geometric fields, creating clean, architectural shapes in the hairstyle. It requires precise line planning and consistent tension. At Connected Hair we offer the Triangular Graduation with a Square Back Panel course, which covers this technique in detail.
2. Disconnection Techniques
Disconnection is the deliberate breaking of a smooth transition: you leave a clear contrast in length where you'd normally blend. It creates a strong, modern effect, but it requires a conscious decision about where the line should be visible and where it shouldn't. Our course Marek Krzyminski – Disconnection and Graduation Techniques dives deeper into this topic.
Personalizing Men's Hairstyles
The same technique gives a different result on different heads. Before you choose a cut, assess:
- The client's face and head shape (where to add volume, and where to take it away)
- Hair texture and density (straight, curly, thin, thick)
- Lifestyle and occupation (how much time the client will realistically spend on styling)
- Preferences around styling and upkeep between visits
Combining Techniques for Unique Effects
The craft lies in consciously combining base techniques. A few examples:
- A fade on the sides plus texturizing on top for a modern Pompadour.
- Graduation plus disconnection for a dynamic, high-contrast look.
- Classic scissor cutting plus clipper work for an elegant Side Part.
Refining Your Skills
Your level in men's haircutting is built through repeated practice and regularly adding new techniques. A few directions for growth:
- Regular courses: check out our online hairdressing courses, which let you learn new techniques whenever suits you.
- Practice: try out new cuts on training heads and models before applying them to a paying client.
- Follow the trends: keep an eye on what's happening in men's hairdressing and barbering, so you don't fall behind on shapes.
- Networking: learn from others. Consider joining our in-person courses, where you can exchange experience with other hairdressers.
Classic and modern men's haircutting aren't two separate worlds — they're the same set of base techniques used in different proportions. Once you can confidently handle scissor-over-comb, the fade, point cutting, and thinning, you can combine them into any form and tailor it to a specific head.
Want to refine these techniques on real models and examples, step by step? Join Connected Hair and raise your game in men's haircutting.


