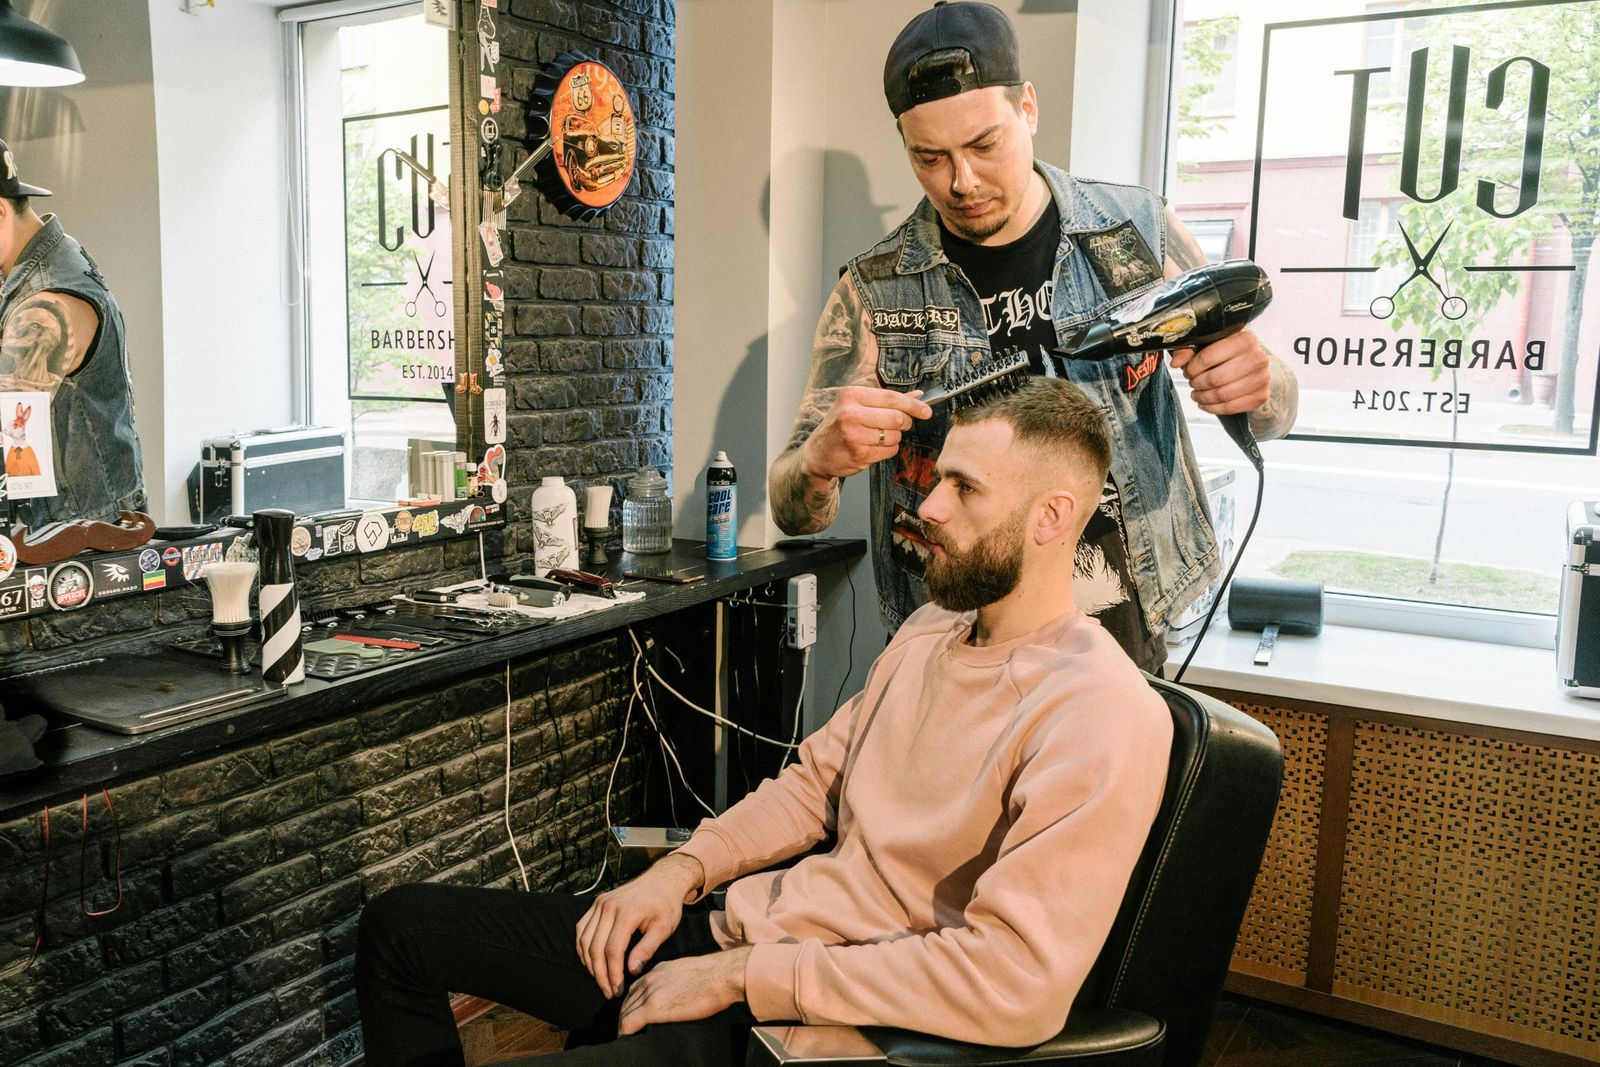
Men's haircutting looks simpler than women's, but that's an illusion. Shorter hair forgives nothing: every uneven line, choppy blend, or crooked nape line is visible to the naked eye the moment the cape comes off. Below you'll find the most common mistakes that keep showing up even with experienced hairdressers and barbers, along with concrete ways to avoid them behind the chair.
Ignoring Head and Face Shape
What the mistake looks like
Cutting “on autopilot,” following one memorized template without reading the client's skull shape and facial features. The result: the same haircut ends up highlighting a flat back of the head, protruding ears, or making an already long face look even longer.
How to avoid it
- Before the first cut, look at the head from all four sides and from above. Check where the skull is flat (usually the back) and where it curves out.
- Build volume over a flat back of the head: leave more length there and work a rounder silhouette instead of cutting straight down to the skin.
- Lengthen a round face with volume on top and shorter, tighter sides. Balance a long face with a lower top and a softer, fuller side.
- With protruding ears, don't cut the sides too short, as bare skin exposes them even more. A little more hair above the ear visually presses them down.
- Keep an eye on the top-side-back proportions as a whole. Before you start, decide on the target silhouette in your head, not just the length of each zone separately.
- Talk about lifestyle: how much time the client realistically spends styling in the morning. A haircut that needs a blow-dryer and paste won't work for someone who just gets up and goes.
To get better at matching haircuts to face shape, check out the article “How to Advise Clients on Choosing a Hairstyle: A Guide for Hairdressers“.
Incorrect Graduation
What the mistake looks like
Instead of a smooth blend, you get visible bands—clear borders between lengths. The most common cause is skipping two guard numbers at once and leaving no overlap zone between them.
How to avoid it
- Build the fade progressively with adjacent lengths. Each higher section should overlap the previous one, not start from a hard line.
- Pull out the key transitions with the “clipper over comb” technique or scissors over comb. Clippers with the lever set between positions give you intermediate lengths that guards alone can't provide.
- Work in a fanning motion from bottom to top, tilting the clippers slightly away from the skin at the point where the lighter section should begin. The higher you go, the shallower you angle the guard.
- Close the zone where lengths meet with point cutting—snipping vertically into the line with the tips of the scissors to break it up and soften it.
- Comb through and check the result every few passes, ideally under side lighting. Bands show up most clearly when the hair falls at an angle to the light source.
- Set the initial rough graduation on wet hair, then close and blend it out on dry hair. Wet hair is longer and darkens the picture of the transition.
To refine your graduation techniques, consider the course “Graduation and Hair Texturizing“, and for precise, clean transitions, check out the course “C-Shape Graduation“.
Cutting the Sides Too Short
What the mistake looks like
The sides are cut more aggressively than the haircut calls for. Once the sides are too short, there's no going back during that visit, and the whole silhouette becomes disproportionate—especially when the top wasn't planned for strong contrast.
How to avoid it
- Start with a longer guard than you think you need, and only go shorter after assessing. You can always cut more off—you can't add it back.
- Set the overall guideline before you touch the sides. Side length should follow from the top length and the desired contrast, not the other way around.
- Agree with the client not just on the number, but on the feel: “skin” or “a bit of hair.” Those are two different haircuts.
- Treat the area above the ear with care, especially with protruding ears. Slightly longer hair there gives a softer, less “military” look.
- If the client doesn't want sharp contrast, work with a taper: the sides stay longer, and you only go shorter right at the line-up and the step.
If you want to sharpen your side-cutting techniques, check out the course “Burst Fade“.
Ignoring Hair Growth Direction
What the mistake looks like
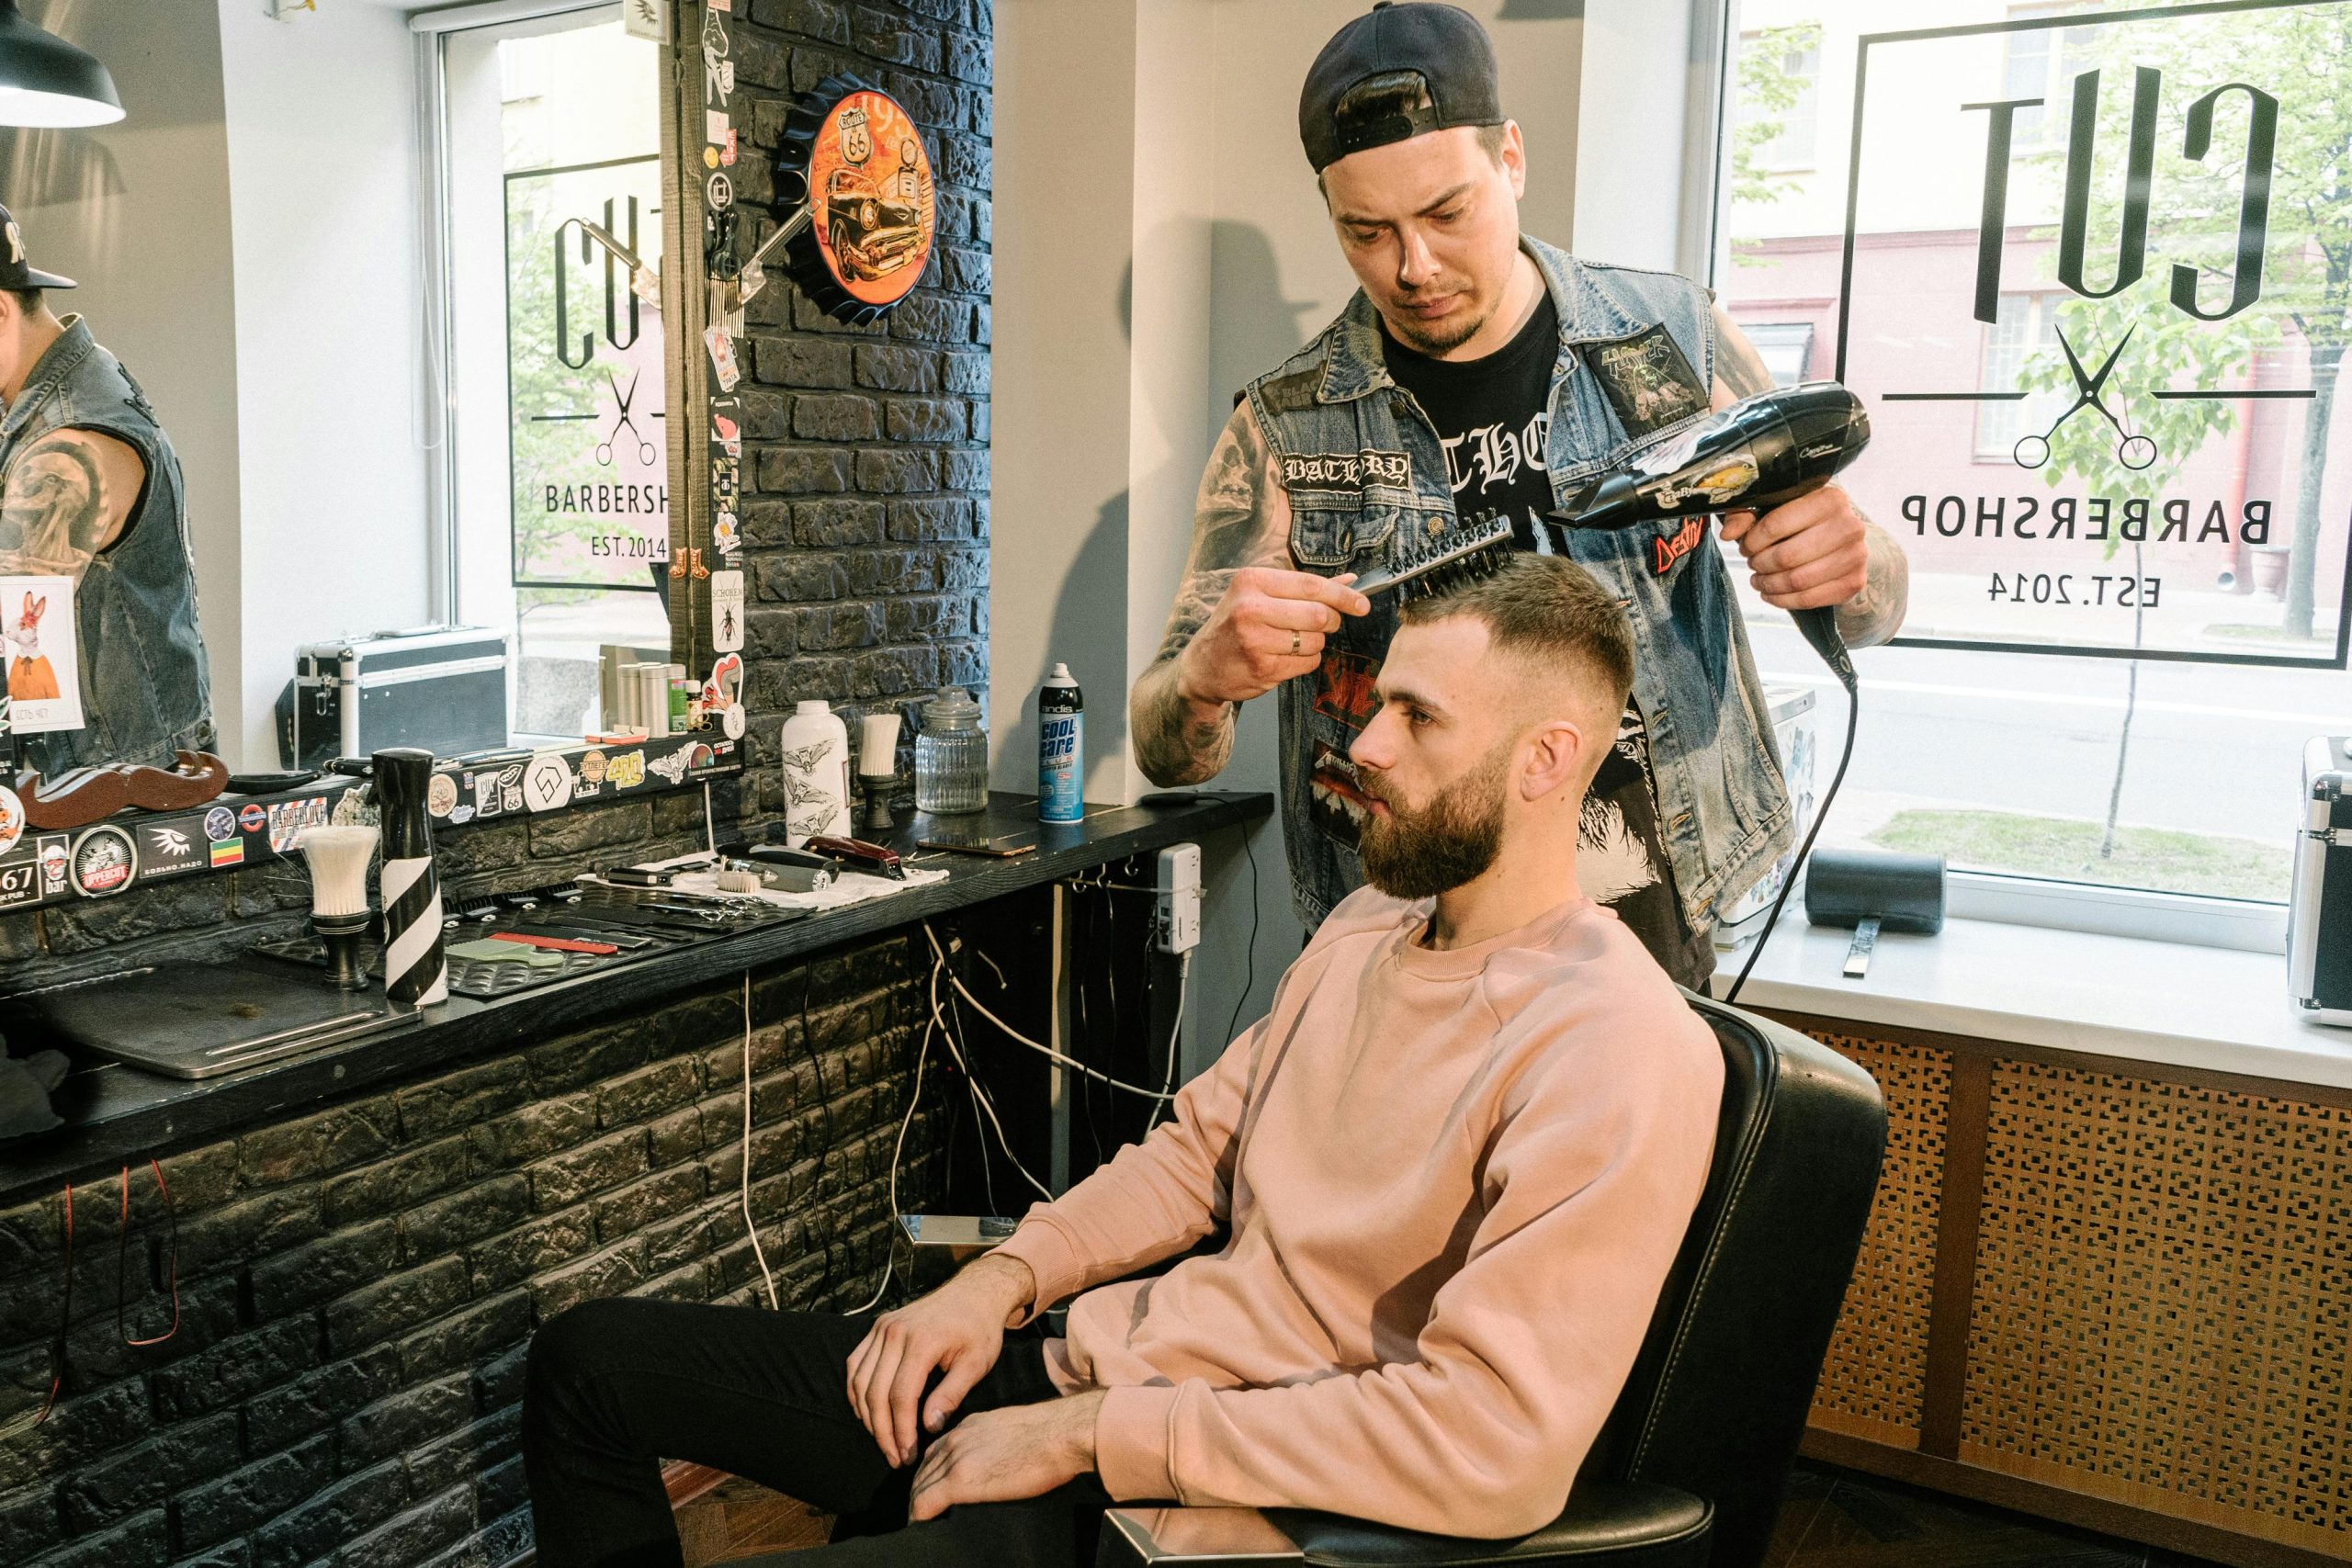
Cutting against the hair's natural pattern, without reading the whorls and growth lines. The hair later bounces back its own way, the haircut won't sit right, and the client comes back complaining it “falls apart” after a few days.
How to avoid it
- Before you start, comb dry hair in a few directions and see where it falls back on its own. This shows the natural pattern better than wet hair does.
- Locate the whorl at the crown and any whorls near the nape. These determine how to guide the length so the hair doesn't stick up.
- Leave a bit more length around the whorl. A whorl cut too short will always stick out and create a “hole.”
- Always run the clippers against the grain of the hair, not with it. Cutting with the grain won't give you an even result, because the guard glides over the hair as it lies down.
- When elevating hair on the comb, check that it feeds into the tool naturally. If it kinks, change the angle you're feeding it at, not the length.
- Tell the client about their whorl and how to style with the grain. Half of all styling problems come from combing against the grain at home.
For more on working with different hair types, check out the article “Men's Haircutting Techniques: From Classic to Modern“.
Improper Use of Tools
What the mistake looks like
Trying to achieve every effect with a single tool, or reaching for one out of habit. A dull blade tugs instead of cutting, the wrong guard throws off the fade, and thinning shears used in the wrong spot leave visible gaps.
How to avoid it
- Match the tool to the task: clippers and guards for basic lengths and the overall shape, straight scissors for lines and scissor-over-comb work, trimmers and a detail clipper for the line-up and nape.
- Learn the difference between straight scissors and thinning shears. Thinning shears remove density and create texture—they don't shorten length—so don't texturize with them close to the root or on fine hair.
- Keep your blades sharp and serviced. Scissors that “leave behind” hair and need a second pass in the same spot are due for sharpening.
- Check the clipper blade and the blade gap. A poorly set blade or clogged teeth give an uneven cut and pull the hair.
- Keep an organized set of guards and know the length of each one. Grabbing the wrong number on the sides can ruin an entire fade.
- Disinfect and clean your tools between every client. It's not just about hygiene—it's about performance: leftover hair and oil ruin the blade's cutting action.
To learn more about proper tool use and maintenance, read the article “Secrets to Keeping Hairdressing Scissors Sharp“.
Neglecting the Nape Line
What the mistake looks like
A rushed, asymmetrical finish at the nape. The client can't see this zone in the mirror behind the chair, but everyone standing behind them can—and it's the first thing that stands out in a photo from the back.
How to avoid it
- Position the client's head straight, without tilting to either side. A crooked head position means a crooked nape line, even with perfectly guided trimmer work.
- Line up with the corner of the trimmer blade, guiding it confidently in one motion. Poking around and making step-by-step corrections leave a jagged edge.
- Choose the shape with intention: straight (block), rounded, or tapered into the natural growth. Rounded is the most forgiving, and a natural taper should be blended out rather than cut sharply.
- Check symmetry with a mirror from behind and compare the height of both sides relative to the ears. One side sitting higher is the most common nape mistake.
- With fine, light peach fuzz, use a bit of powder or talc to see the real hairline before you cut it.
To sharpen your finishing techniques, check out the course “Crop with a Taper“.
Improper Fringe Cutting
What the mistake looks like
The fringe cut too short or unevenly. This is a zone where every millimeter shows instantly, and one you can't “mask” during the appointment.
How to avoid it
- Set and finalize the fringe length on dry hair, in its natural fall. Wet hair can “bounce up” by a centimeter or more once dry, especially if it's wavy.
- Leave extra length on the first cut, longer than your target. Shorten it in stages, checking after every comb-through.
- Read the texture and any whorl at the forehead. Hair that grows “toward itself” will fall differently than an evenly measured line assumes.
- Soften the fringe edge with point cutting rather than a blunt cut, in most cases. A blunt, straight fringe line looks stiff and won't forgive the slightest unevenness.
- If the client wants the fringe to “fall” to the side, consider a slightly asymmetrical, longer line. It's easier to style day-to-day than a perfectly symmetrical blunt cut.
For more inspiration on creative fringe hairstyles, check out the article “Wolf Cut – The Wild, Stylish Haircut Taking Over the Fashion World“.
Lack of Communication with the Client
What the mistake looks like
Assuming you know what the client wants without confirming before starting and along the way. The same words—“short on the sides” or “just a trim”—mean completely different things to two different people.
How to avoid it
- Run a concrete consultation before cutting. Nail down length, contrast, and the line-up finish in a way that leaves no room for guesswork.
- Clarify with your fingers or a photo. “This much shorter” shown on a section of hair means more than ten sentences.
- Speak the client's language, not jargon. Instead of “we'll give you a low taper,” show or describe what that actually means on their head.
- Confirm the points of no return as you go. Before going shorter on the sides or before the line-up, make sure that's exactly what the client expects.
- Use a mirror to show progress from different angles, not just the finished result. It's easier to adjust course halfway through than to explain yourself at the end.
To learn more about communicating effectively with clients, check out the podcast “Building a Personal Brand“.
Ignoring Hair Texture
What the mistake looks like
Using the same technique on straight, wavy, and curly hair. In reality, every texture shortens differently and behaves differently once dry, and what works on straight hair can give the opposite result on curly hair.
How to avoid it
- Cut curly and strongly wavy hair on dry hair, in its natural curl pattern, whenever possible. Cutting it wet stretches it out, and you end up cutting a length that won't be there once it dries.
- Use thinning shears sparingly on curly hair, especially close to the root. A thinned-out curl starts to frizz and stick out.
- Straight, fine hair won't forgive gaps, so work with full sections and avoid excessive thinning that exposes the scalp.
- Always factor in “shrinkage”: the tighter the curl, the shorter the hair will look once dry compared to what you have stretched out in your hand.
- Match your texturizing technique to the hair type: remove density on thick, dense hair, and build the impression of volume on fine hair instead of stripping it away.
To deepen your knowledge of working with different hair textures, check out the course “Bringing Out Curl Pattern with Circular Cutting“.
Wrong Cutting Pace
What the mistake looks like
Working too fast, at the cost of precision, or too slow, at the cost of your schedule and the client's comfort. Rushing produces choppy transitions and missed zones, while excessive slowness tires the client out and throws off your bookings.
How to avoid it
- Work through a fixed order of zones (e.g., top, sides, back, fade, line-up, nape). A repeatable routine eliminates oversights and speeds you up over time without sacrificing quality.
- Slow down with intention wherever a mistake is irreversible: transitions, the line-up, the nape, the fringe. Everything else can move more efficiently.
- Plan realistic time for consultation and styling, not just the cut itself. These are what shape the client's overall impression of the visit.
- Keep in mind that some stages (the overall shape with clippers on a guard) move faster, while others (a precise fade with scissors over comb) take time. Allocate your time where it really makes a difference.
To learn more about time management and workflow organization, check out the article “How to Start a Career as a Barber: The Complete Guide“.
Neglecting Client Education
What the mistake looks like
The client leaves with a great haircut but no idea how to recreate it at home. The next day they can't style it and blame the cut, rather than their own styling.
How to avoid it
- At the end, show them live how to style the haircut: how much product to use, whether to apply it on dry or damp hair, and which direction to work it in.
- Match the product to the effect and hair type. Matte paste or clay for a matte look with hold, pomade for shine and a combed-through style.
- Give a realistic visit frequency needed to maintain the haircut. A hard fade grows out faster than a longer, classic shape.
- Give the client a heads-up on how the haircut will behave as it grows out and when it will start to lose its shape. Clients appreciate knowing what to expect.
- Briefly show how to use a blow-dryer and brush wherever it matters, e.g., for a pompadour or volume on top.
For more on educating clients about grooming, check out the article “How to Care for a Beard: A Complete Grooming Guide“.
Neglecting the Final Styling
What the mistake looks like
Focusing solely on the cut itself and treating styling as an afterthought. The client judges the haircut by how it looks the moment they get up from the chair, not by how precisely it was cut.
How to avoid it
- Treat styling as a full-fledged stage of the service, not a bonus tacked on at the end. It's what sells the entire haircut.
- Match the product and the amount to the haircut and the hair. Too much product weighs it down and clumps it together; too little won't hold the shape.
- Style it in a way the client can actually replicate at home. A result that can't be reproduced without your hands is a letdown the next day.
- Pay attention to the finishing details: texture, volume, and a clean line-up. These are what make the difference between “cut” and “polished.”
To sharpen your styling skills, check out the course “Pompadour Styling“.
Summary
The common denominator behind these mistakes is one thing: not reading the head before cutting, and rushing through the stages that don't forgive mistakes. Skull shape, growth direction, texture, and the whorl are all given facts—your technique has to adapt to them, not the other way around. You'll gain the most by slowing down wherever every millimeter counts: at the transitions, the line-up, the nape, and the fringe.
Trends are worth following, but classic cutting fundamentals are what separates consistently good work from a one-off lucky result. To stay on top of new techniques, check out the article “5 Hottest Hairdressing Trends and How to Master Them Through Online Courses“.
Don't forget the business side either: a satisfied client isn't just about a good cut—it's the whole experience of the visit, comfort, service, and a predictable result. For more on running a hairdressing business, check out the podcast “The Business of Barbering“.
Every one of these mistakes can be eliminated with practice and consciously checking your results as you go. To develop specific techniques, browse our full range of courses and check the blog for more tips from the world of hairdressing and barbering.


