
Front Light Air Touch
A course on the Front Light Air Touch technique, which creates strong brightness around the face with natural depth at the back. Perfect for hairdressers who want to offer clients a visible change without full colouring.
Result and process
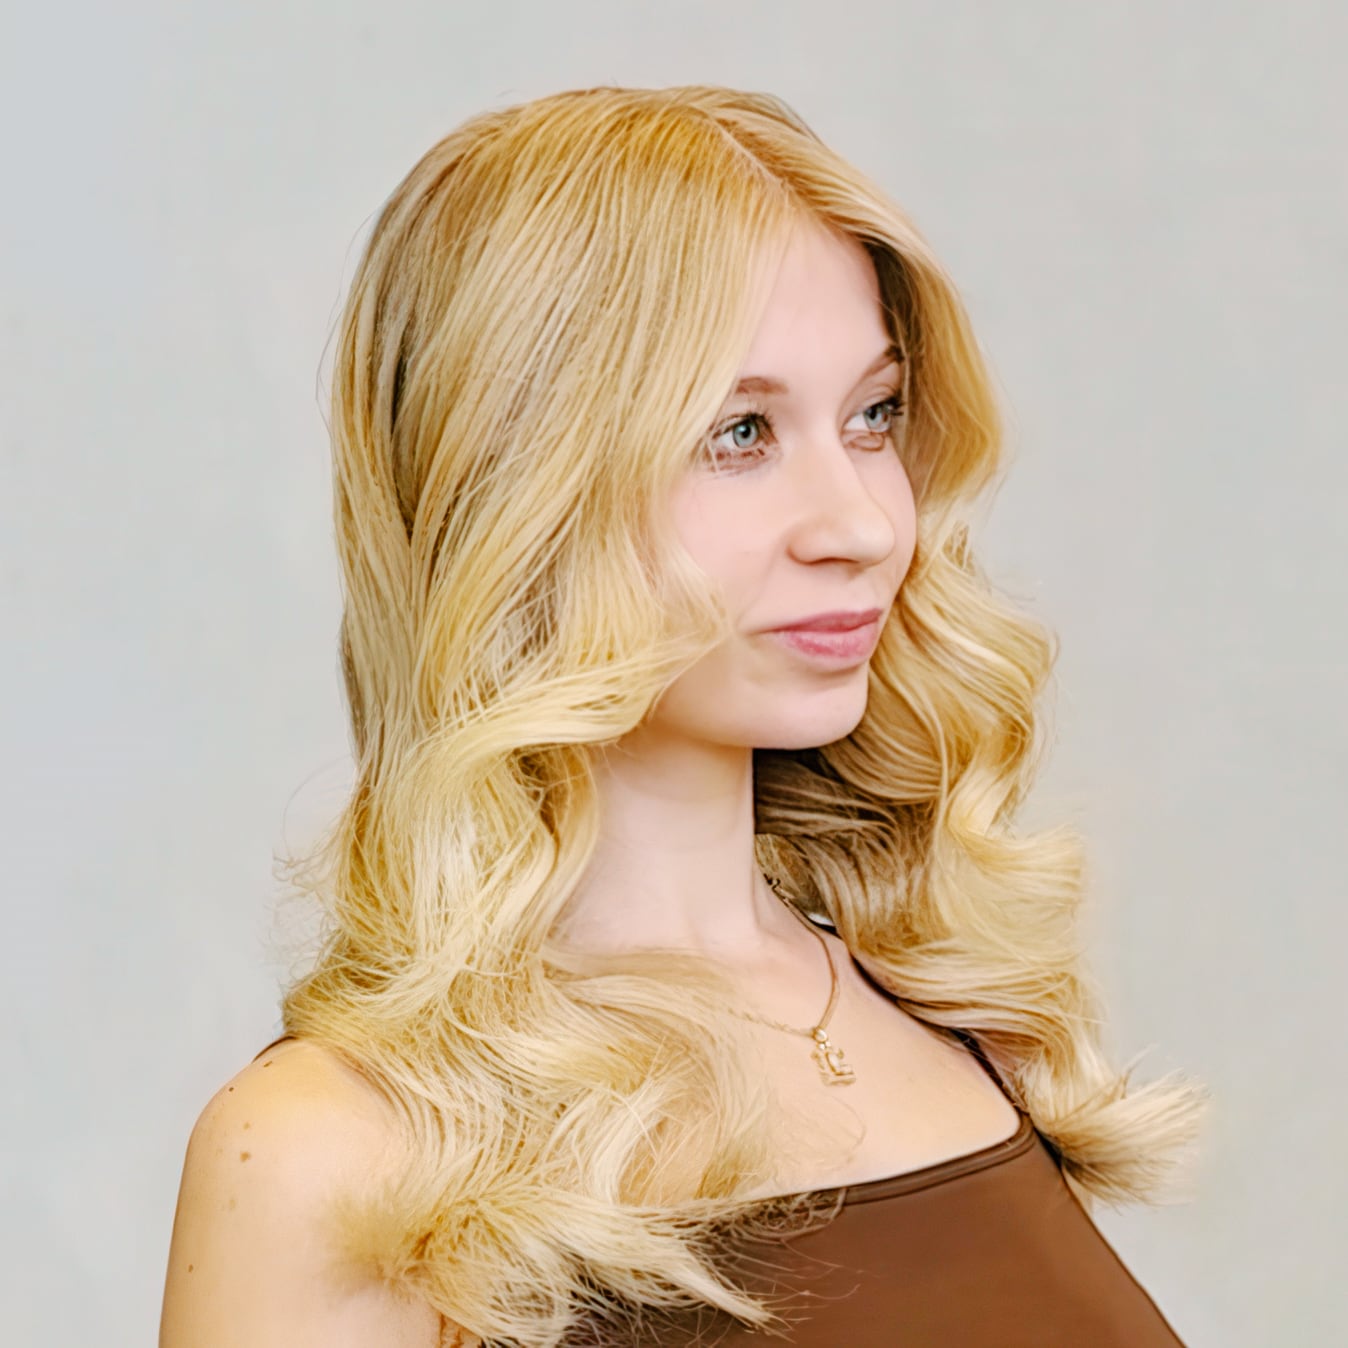
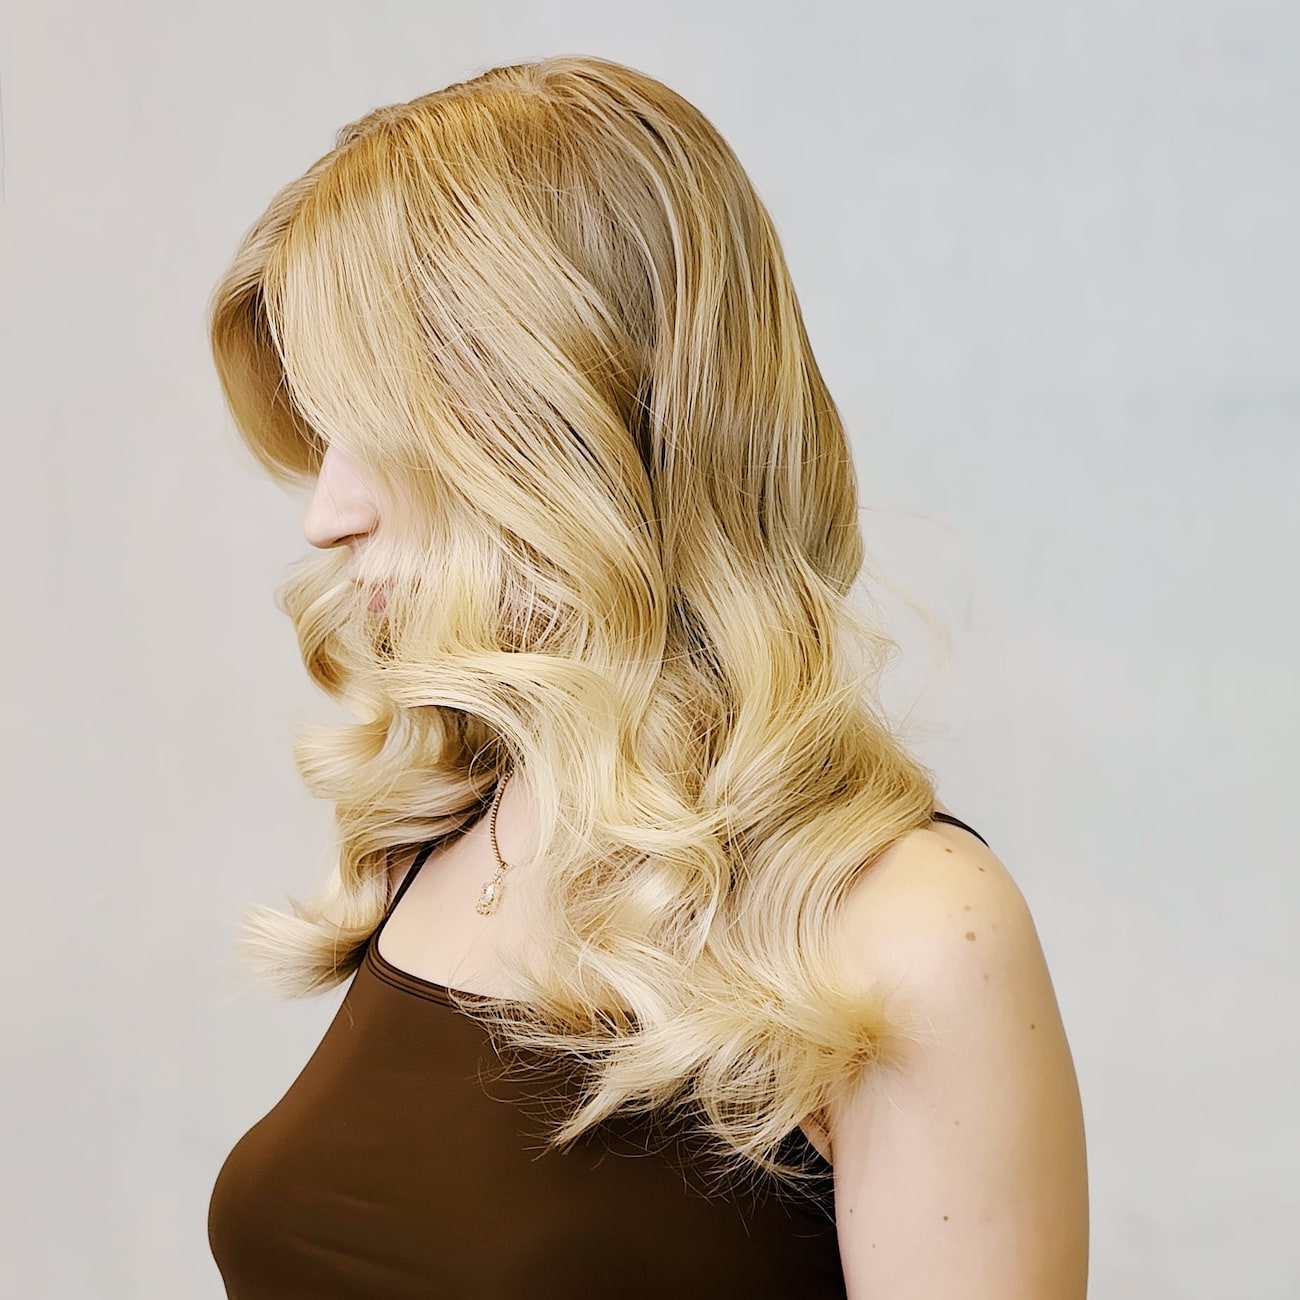
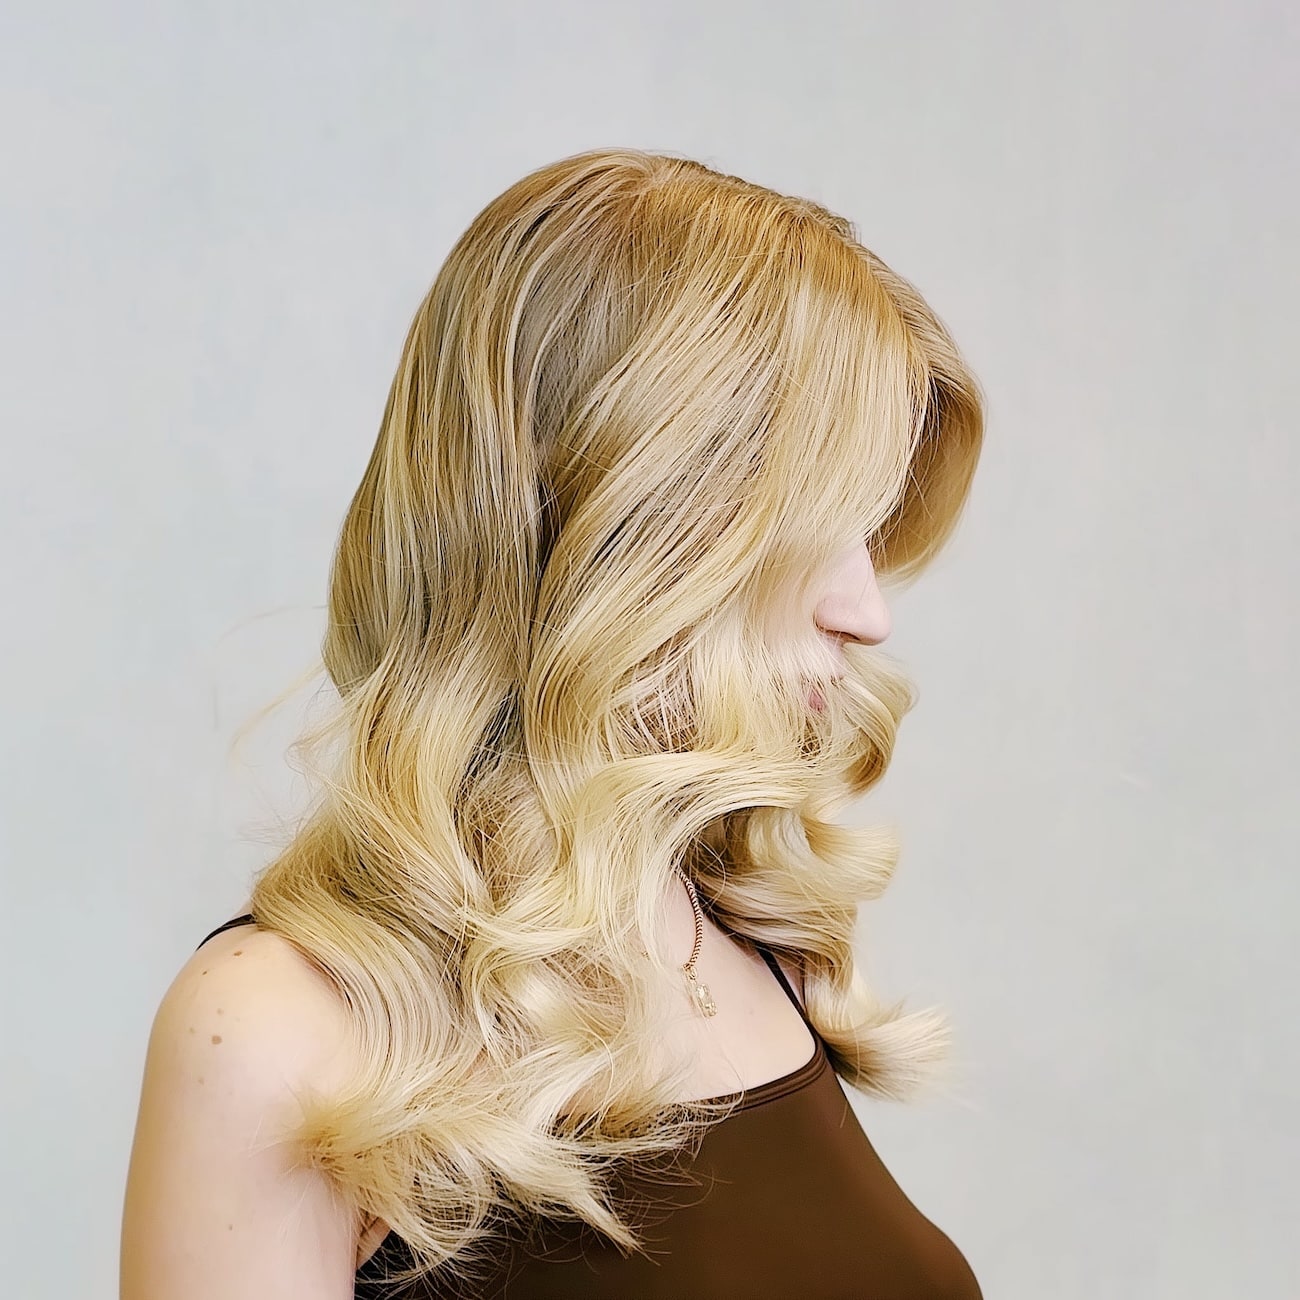
About the course
Front Light Air Touch is a colouring technique that builds a strong brightening effect around the face while preserving natural colour depth at the back of the head. This course addresses one of the most common client needs: the desire for a visible change and a refreshed look without a full, global colour service. The Air Touch technique creates soft, seamless transitions that look natural and grow out beautifully.
Radek Smarz guides you through the entire process step by step: from precisely dividing the head into three key sections (two front and one back), through adjusting the thickness of the front to match the desired effect, all the way to product application. He shows how to combine a clean air-blowing technique at the front with the weaving method in the mid-section to create a harmonious, seamless transition between the strongly brightened areas and the darker back.
In this course you'll see
- Precise division into three sections accounting for the natural hairline at the temples - the foundation of a predictable result
- The air touch technique step by step: working with cold airflow, holding the strand at a 90° angle, and controlling the 50/50 ratio
- How to avoid "backcombing" at the root - the key hairdryer movement that guarantees clean work without tangling hair
- Consciously combining the air touch technique with the weaving method for a seamless colour gradient
- Brightening the contour in the back section - why it's key to a consistent 360° effect, especially with hair worn up
- Practical use of a colouring board and foil-securing technique so it doesn't shift during air-blowing
- Radek's tip: how to use a comb to remove small tangled hairs at the root for a perfectly clean application
After this course, you'll start consciously controlling the degree of brightening around the face, creating natural, seamless transitions without patches or harsh lines. Front Light Air Touch will become your answer to clients seeking a colour refresh between full colouring services, as well as those craving a "sun-kissed" effect in a modern, salon-finished style.
What you will learn
- 01How to precisely divide the head into 3 key sections, accounting for the hairline.
- 02How to correctly perform the air touch technique using a cold hairdryer setting.
- 03How to avoid tangling hair and creating "backcombing" at the root.
- 04How to consciously combine the air touch technique with the weaving method for a seamless transition.
- 05How to brighten the contour at the back of the head for a beautiful effect when hair is worn up.
- 06How to control product application at the root using a fine-tipped brush.
Before you start
This course assumes you already have:
What's inside
Full access with the course 4:02
4:0201Dividing the side section by the temple
We mark out another division from the side section following the temple line.
 12:13
12:1302Correct hairdryer movement for Air Touch
That's why this movement should be very gentle and very controlled.
 19:32
19:3203Tip: How to remove a small "backcomb"?
My tip for this problem is to gently run a comb through the strand.
 25:59
25:5904New stage - highlight behind the front
Next, we bring the highlight into the front section we clipped earlier.
 34:35
34:3505Combining the comb with air-blowing
To make the transition more even, I'll also air-blow the middle part of this strand.
 46:25
46:2506The purpose of brightening the back contour
This is useful when hair is pulled into a ponytail - these hairs beautifully brighten the whole contour.
 51:31
51:3107Connecting sections for a consistent effect
The strand must connect with this foil and with the one marked at the front.
 54:01
54:0108Toning philosophy - a natural effect
We didn't want a very cool effect, but not too warm either.
FAQ
What final result does the Front Light Air Touch technique deliver?
Is this course suitable for beginner hairdressers?
Why is the air touch technique used at the front instead of classic weaving?
What tools are essential for performing this technique?
How do you avoid tangling hair and creating "backcombing" at the root while air-blowing?
What developer strength does Radek Smarz use in this course?
How long is this video course?
Details
Educator
Radek Smarz
Educator · 2 courses
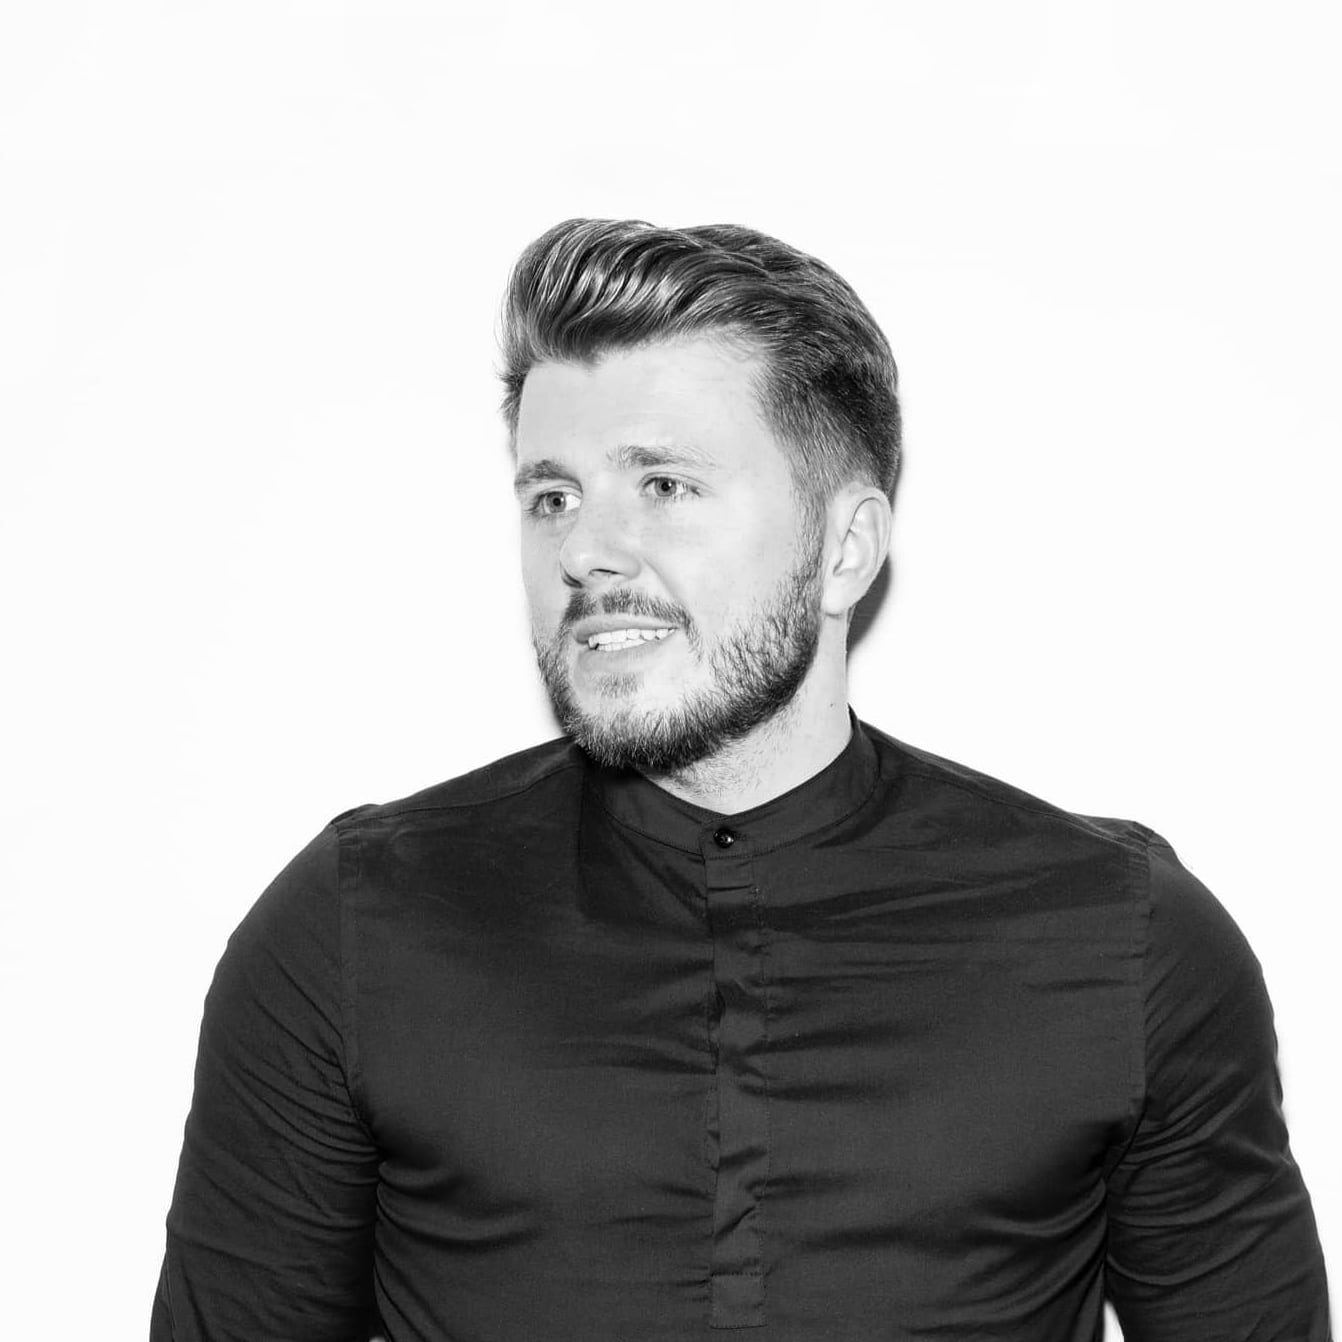
Hairdresser and salon owner in Gdańsk, running the business together with his spouse for 15 years. As an educator with 8 years of experience, he specializes in coloring techniques, with a focus on blonde methods. In his teaching, he rejects overly complicated theoretical divisions in favor of concrete, practical solutions that work in everyday client-facing salon work.
Ready for the next level
Unlock full access to the Connected Hair course library.
Join the Academy