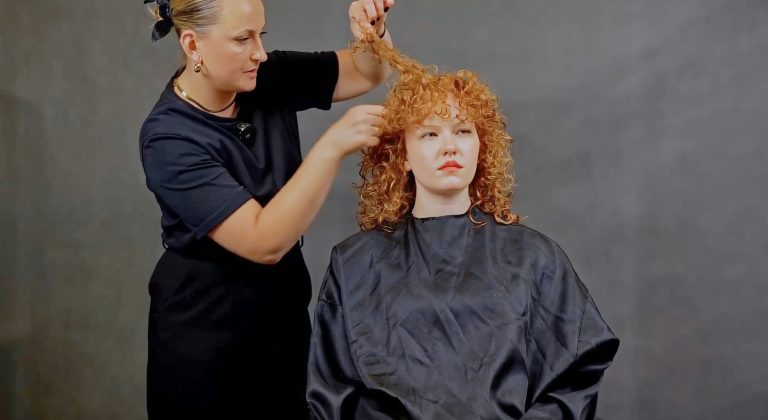
The skin fade is one of the most popular men's haircut techniques, requiring precision, patience, and skill. In this step-by-step guide, we'll show you how to achieve the perfect skin fade that will impress your clients.
What is a skin fade?
A skin fade, also known as a bald fade, is a haircut technique in which the hair gradually transitions from completely shaved skin to full length at the top of the head. The effect is clean, sharp, and extremely stylish.
Interesting fact: The skin fade has gained immense popularity in recent years thanks to its versatility—it suits both elegant and casual styles.

Essential tools
Before you begin, make sure you have all the necessary tools:
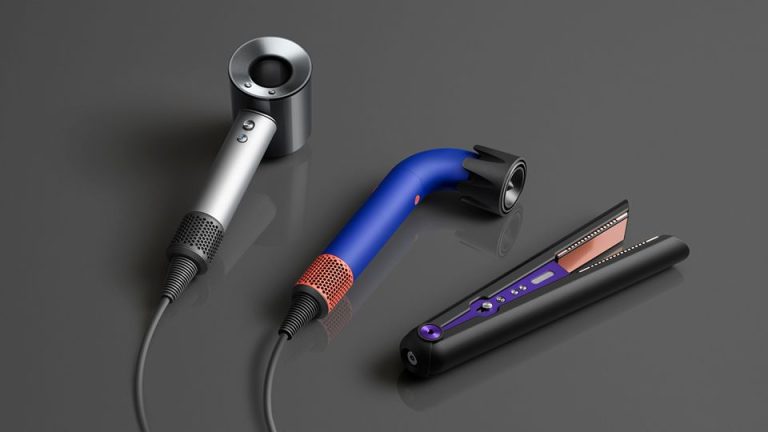
- Hair clipper with various attachments
- Trimmer for precise finishing
- Hairdressing scissors
- Hairdressing comb
- Cleaning brush
- Disinfectant spray
Expert tip: "Investing in a high-quality clipper is the key to achieving the perfect skin fade. Good equipment will make your work easier and ensure better results," advises Kamil Cesarski, Connected Hair educator.
Step 1: Preparing your hair
- Wash and dry the client's hair.
- Comb your hair to remove any tangles.
- Determine the desired length at the top and the height of the fade with the client.
Communication tip: "Always make sure you fully understand the customer's expectations. Show them sample photos and discuss how the fade will look on their hair," emphasizes Mateusz Poznański, customer communication specialist.
Step 2: Creating a guiding principle
- Start by creating a guideline around your ears and on the back of your neck.
- Use the trimmer without the attachment to create a clean line against the skin.
Technical tip: "The guide line is the foundation of the entire fade. Take the time to make it perfectly even and clean," says Bartosz Lącz, an expert in precision cutting.
Step 3: Creating the lowest level of fade
- Use the clipper without a comb attachment or with the shortest comb attachment (0.5 mm).
- Cut the hair to a length of approximately 1-2 cm above the guide line.
- Use gentle, overlapping strokes to avoid harsh lines.
Pro tip: "When using the lowest fade setting, it's crucial to keep your hand light. Don't press too hard on the skin; let the clipper do the work," advises Maks Łukaszewicz, fade specialist.
Step 4: Creating a medium fade level
- Change the cap to a longer one (e.g., 1.5 mm or 3 mm).
- Cut the hair to a length of approximately 2-3 cm above the lowest level.
- Use the "flicking out" technique at the border with the lowest level to achieve a smooth transition.
Tip for beginners: "If you're just starting out, you can use a comb as a guide for the clippers. This will help you maintain an even line," suggests Michał Lewiński, instructor for beginner hairdressers.
Step 5: Creating the highest level of fade
- Change the cap again to a longer one (e.g., 6 mm or 9 mm).
- Cut the hair to the desired fade height.
- Use the "point cutting" technique at the border with the previous level to achieve a natural transition.
Expert advice: "The highest level of fade should blend smoothly with the hair on top of the head. Avoid sharp lines—the goal is to create the illusion of gradual hair growth," explains Marek Krzyminski, master of shading techniques.
Step 6: Blending and finishing
- Use the "blending" technique between levels to remove any visible lines.
- Use the "scissor over comb" technique to precisely finish the top of the fade.
- Use the trimmer to refine the lines around the ears and on the neck.
The secret to perfect blending: "The key to perfect blending is patience and attention to detail. Take your time—this is the stage that gives the fade a professional look," emphasizes Kacper Orzechowski, a specialist in finishing techniques.
Step 7: Styling and finishing
- Wash your hair to remove loose hairs.
- Dry the hair, styling it according to the customer's wishes.
- Use the right styling products to enhance texture and give your hairstyle the look you want.
Styling tip: "Choosing the right styling products can significantly affect the final result. For a skin fade, I recommend light, matte pastes or texturizing powders," advises Aneta Dąbrowska, an expert in men's styling.
The most common mistakes when performing a skin fade
- Switching between levels too quickly
- Insufficient blending
- Creating a fade line that is too high or too low
- Uneven cut on both sides of the head
Advice from a professional: "If you make a mistake, don't panic. Most mistakes can be corrected by spending more time blending. Remember, practice makes perfect!" reassures Jakub Ciężadlik, an experienced hairdresser and educator.
Improving skills
Achieving the perfect skin fade requires practice and continuous improvement of your skills. Here are a few ways to develop your skills:
- Practice regularly on hairdressing mannequins.
- Analyze the work of other hairdressers and learn from their techniques.
- Record your haircuts and analyze them later to find areas for improvement.
- Participation in online training courses and workshops, such as those offered by Connected Hair.
Motivation from a master: "Remember that every master was once a beginner. The key to success is the constant pursuit of excellence and a willingness to learn," inspires Paweł Pohlheimer, one of Connected Hair's leading educators.
The skin fade is a technique that requires precision and practice, but the end result is worth the effort. With this guide and continuous improvement of your skills, you will soon be creating perfect skin fades that will delight your clients.
Want to deepen your knowledge of fade techniques? Check out our Side Part Skin Fade course, which will help you master this popular technique to perfection.


