The barber profession combines precise men's haircutting with facial hair work and client care—clients who return regularly every two to three weeks. It's an industry with real demand and a low barrier to entry in terms of tools, but a high barrier when it comes to craft: the difference between an average barber and one in high demand lies in fade consistency, clean line-ups, and working speed. Below is a concrete path from your first course to your own chair, with an emphasis on what actually determines the quality of the work.
What Barbering Work Actually Involves
Barbering is a narrow specialization within hairdressing: short men's haircuts, transitions (fade, taper), line-ups, and beard shaping. Unlike in a classic women's salon, most of the work is done with clippers and a comb, while scissors are used for the top of the head and blending with longer sections. Male clients judge the result mainly by the hairline, the sharpness of the line-up, and the symmetry of the sides—so there's no room for sloppiness here.
What daily work involves:
- Men's haircuts: fade, taper, crop, pompadour, side part, buzz cut
- Facial hair work: beard shaping, line-ups, razor or shaver shaving
- Finishing: nape and temple line-ups, lineup, product styling
- Diagnosis: hair type, growth direction, head and face shape, correcting imperfections
On top of that comes repeat service: a barber's regular client returns on average every 2-3 weeks, which means building a base of loyal clients matters more here than one-off, flashy haircuts. A consistent cutting standard that clients recognize every single time is the foundation of this profession.
Build Your Foundation: School, Courses, Practice
In Poland, there's no mandatory state barber license, but a solid foundation comes from one of two paths: hairdressing school (a technical or vocational school ending in a diploma), or intensive barber courses combined with hands-on practice on live models. Most practitioners combine both tracks: theory and workplace safety from school, and specific cutting techniques from courses and an apprenticeship at an active barbershop.
A sensible learning order:
- Master hygiene and safety: tool disinfection, single-use razor blades, protecting the client's skin
- Learn the basics of clipper cutting with guards before moving on to guardless fading
- Practice one cutting pattern until it clicks on a training head, only then move on to a model
- Take on an internship or assistantship at a barbershop to build speed and get a handle on client service
- Add techniques through topic-specific courses instead of trying to learn everything at once
Learning genuinely never stops here: clippers, blades, and products keep changing, and haircut trends move at their own pace. Educators like Maks Łukaszewicz and Aneta Dąbrowska regularly update techniques that looked different just a year ago. The ones who progress fastest treat every course as a layer built on solid foundations, not as a shortcut.
If you're just starting out or want to organize your knowledge, check out our online hairdressing courses, where techniques are broken down into single, masterable steps.
Master the Key Barbering Techniques
This is the heart of the profession. Everything else—equipment, branding, client service—only matters if a clean, symmetrical haircut walks out of your chair. Focus on perfecting a handful of fundamentals before you start experimenting with your own variations.
Fade and Taper: Clipper Work
A fade is a smooth transition from skin (or very short length) at the bottom to a longer section higher up, with no visible cut line. The key is working the clipper-opening technique (scooping): you bring the blade in against the skin and tilt your wrist away from the head as you move upward, gradually leaving more hair behind. The earlier you start tilting, the higher the transition line will sit.
- First establish the density line (the guideline): the lowest point where hair starts to appear
- Work in sections and overlap successive lengths to blur the boundaries between guards
- Grade with guards or the clipper lever: 0, 0.5, 1, 1.5, 2 is a typical transition ladder
- Blend the connection with a fade comb and the tip of the clippers using a flicking motion, picking up any sharp edges
- Check the result under different lighting and from a distance: cut lines only become visible once you step back
A taper is fade's gentler cousin, usually confined to the area around the ears and nape, where the length drops shorter but not necessarily to the skin. The side part skin fade—a popular starting haircut for beginners—combines both worlds: skin at the bottom, a clear part, and a blend into a longer top.
Our Side Part Skin Fade course is a good starting point, walking you through the entire haircut step by step, with an emphasis on a clean transition. Sectioning and clipper techniques are broken down, among others, by Bartosz Lącz, who specializes in men's haircutting.
Scissors, Comb, and Finishing the Top
The top of the head and the blend with the sides are done with scissor-over-comb work or over-the-fingers. The comb sets the length and angle, and the scissors cut along its edge. Keep the comb consistently at the same angle within a single section, otherwise you'll create gaps and steps. Layering and removing excess weight is done with thinning shears, but sparingly, so you don't over-thin the hair.
- Work on damp hair for scissor cutting, and on dry hair when checking the final length
- Cut in thin sections and compare each one to the last (cross-checking), holding the sections perpendicular
- Blend the top into the fade with scissor-over-comb, tapering the length down toward the transition
Line-Ups, Lineup, and Razor Shaving
Line-ups (hairline, temples, nape) and the lineup are done with a trimmer or detail clippers, guiding the blade edge-on, not flat. These are what determine whether a haircut looks fresh. Follow the natural growth line rather than fighting it: pushing the hairline too aggressively grows back unevenly and quickly ruins the result.
- Set the hairline symmetrically relative to the face's centerline, checking it in a mirror from the front
- Run the razor with the direction of hair growth (with the grain) on the first pass
- Always prep the skin: a warm towel, oil, or foam to soften the hair and reduce irritation
- Use a single-use or freshly changed razor blade for every client, without exception
Creativity and a signature style come with time and the number of heads you've worked on. First get the fundamentals to a repeatable standard, then look for your own signature.
Assemble the Equipment You'll Use Every Day
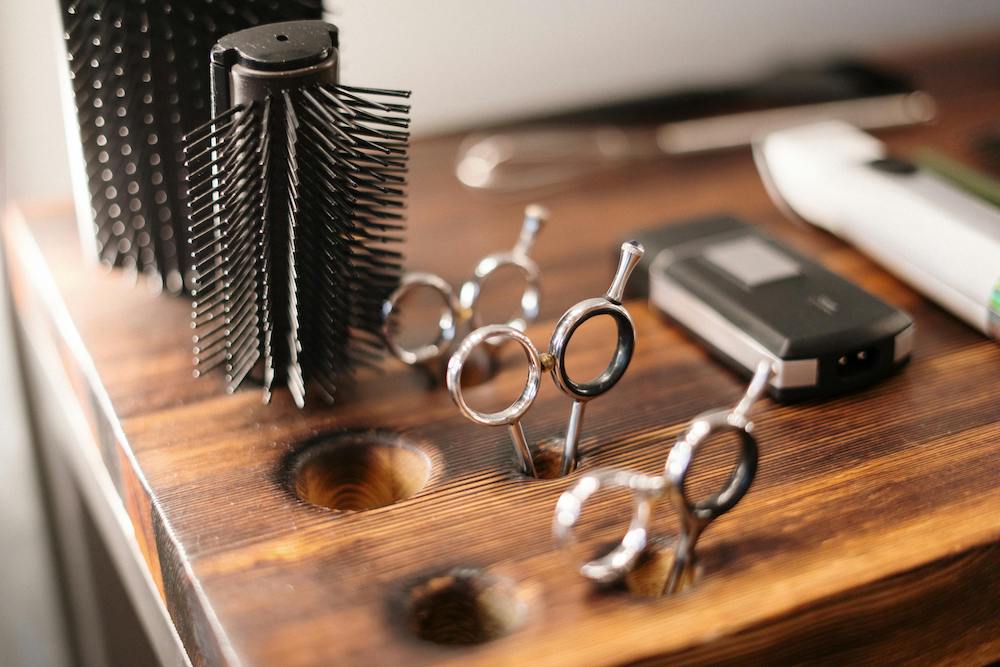
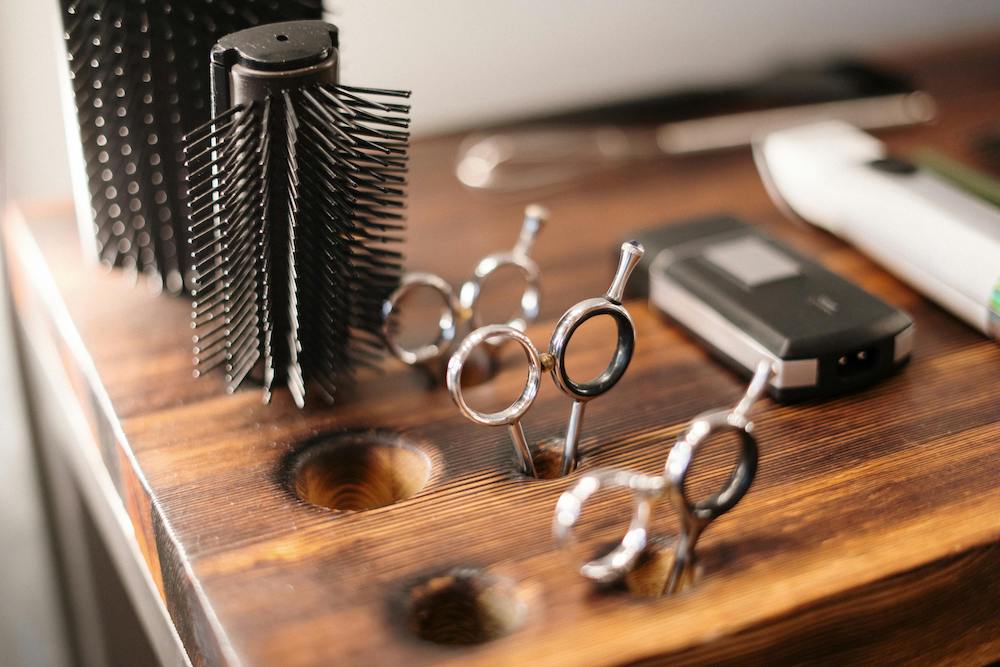
Tools won't make you a barber, but a dull clipper and poor-quality scissors will sabotage even a skilled hand. To start, you don't need the most expensive equipment—just gear that's functional and well-maintained. It's better to have two reliable clippers than five random ones.
A basic chair kit:
- Hair clippers with a full set of guards, plus a trimmer for detailing and line-ups
- Cutting scissors and separate thinning shears for layering
- A shavette with replaceable blades, combs (including a fade comb), and a brush
- Blade disinfectant and clipper oil
- Styling products: pomade, clay, paste, plus beard care essentials
Equipment maintenance: oil the clipper blades after every workday, clean out hair debris, and adjust them periodically. Send your scissors for sharpening regularly, because dull blades don't cut—they crush the hair and split the ends. Well-maintained equipment runs quieter, heats up less, and delivers a cleaner cut. You can learn a lot about choosing and caring for tools from practitioners like Jakub Ciężadlik.
Learn Client Service, Not Just Cutting
Male clients often can't put into words what they want. Your job is to draw it out of them before the first clipper stroke, not guess along the way. A short, focused consultation at the start saves you from corrections and dissatisfaction at the end.
What actually builds a regular client:
- Pre-cut consultation: ask about the length of the sides, the top, the hairline, and how they style at home
- Realistic advice: tailor your suggestion to the client's hair type and face shape, not to a photo on their phone
- Consistency: record settings (guards, lengths) so you can reproduce the result at the next visit
- Punctuality and pace: clients come back to places where they don't have to wait and leave with a predictable result
Clients come in for a haircut, but they come back for the experience and the feeling that they're in capable hands. The chair-side atmosphere—something barbers like Michał Lewiński place a lot of emphasis on—is often what separates a one-time visit from a regular client.
Build Your Personal Brand and Portfolio
For a barber today, Instagram and TikTok serve as a portfolio and the main source of new clients. A before-and-after photo, a video of a fade in progress, a clean lineup in close-up—these are concrete proof of skill that work better than any description.
How to run it sensibly:
- Photograph your work in consistent, good lighting and from the same angle so your profile looks cohesive
- Show the process, not just the result: short clipper-work videos build trust in your craft
- Network with other barbers: swapping models, joint sessions, and referrals drive momentum early on
- Be consistent but authentic: show your personality and approach too, not just finished cuts
How to run social media without overdoing it, and with real results, is covered in our article Social Media for Hairdressers: How to Build a Personal Brand Online. The marketing side of the profession is also covered by Mateusz Poznański.
Choose Your Path in the Industry
Once you've built confidence in cutting, there are several realistic directions for growth, each differing in work style, risk, and earnings. You don't have to choose once and for all: many barbers combine chair work with an additional track.
- Working the chair at a barbershop: the fastest route to building speed and a client base, either on a commission model or chair rental
- Your own barbershop: more freedom and potential, but you take on the full weight of running a business, scheduling, and a team
- Education and brand collaborations: running courses, demos, and ambassadorships for equipment and cosmetics manufacturers
Every one of these paths requires one shared foundation: craft that doesn't fail under pressure. Barbers running their own venues and chains, like Marek Krzymiński, typically spent years behind the chair before moving into management or education.
Keep Developing Once You Have the Basics
Men's haircutting keeps evolving: lengths, line-ups, fade approaches, and styling products all change. Barbers who stay at the top treat ongoing development as part of the job, not as an optional extra.
- Choose topic-specific courses to fill a concrete gap in your craft, instead of trying to learn everything at once
- Attend industry shows and trade events, where you'll see technique live rather than on a screen
- Record your own haircuts and watch them critically: the camera catches symmetry mistakes you won't notice live
In short: the path to becoming a barber comes down to perfecting a handful of techniques, good and well-maintained equipment, honest client service, and consistent development. Everything else—your brand, your own chair, or teaching—builds on top of that foundation.
If you want to organize your learning and practice specific haircuts step by step, check out our online hairdressing courses and start with one well-mastered technique.


